- OPMAATZAGEN.nl
- Do it yourself
- DIY Projects
Utility room transformation with practical underlayment cupboard wall, by Ben
Utility room transformation with practical underlayment cupboard wall, by Ben
Create this project yourself with sheet material cut to size by OPMAATZAGEN.nl!
Ben
Above average
3 minutes
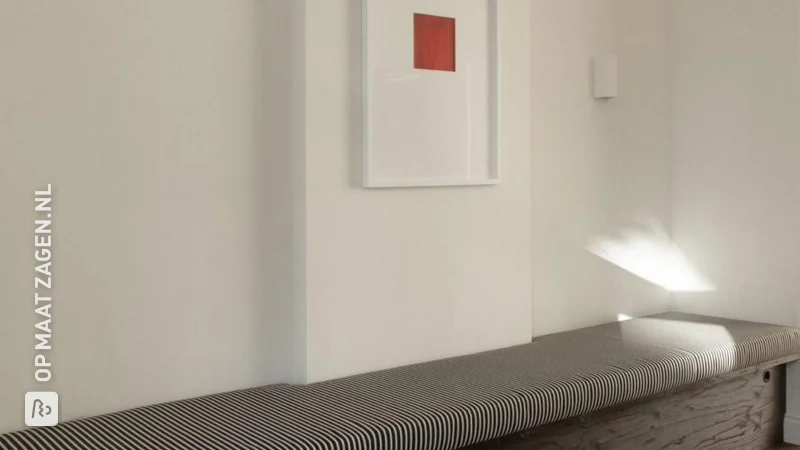
An Efficient and Stylish Utility Room
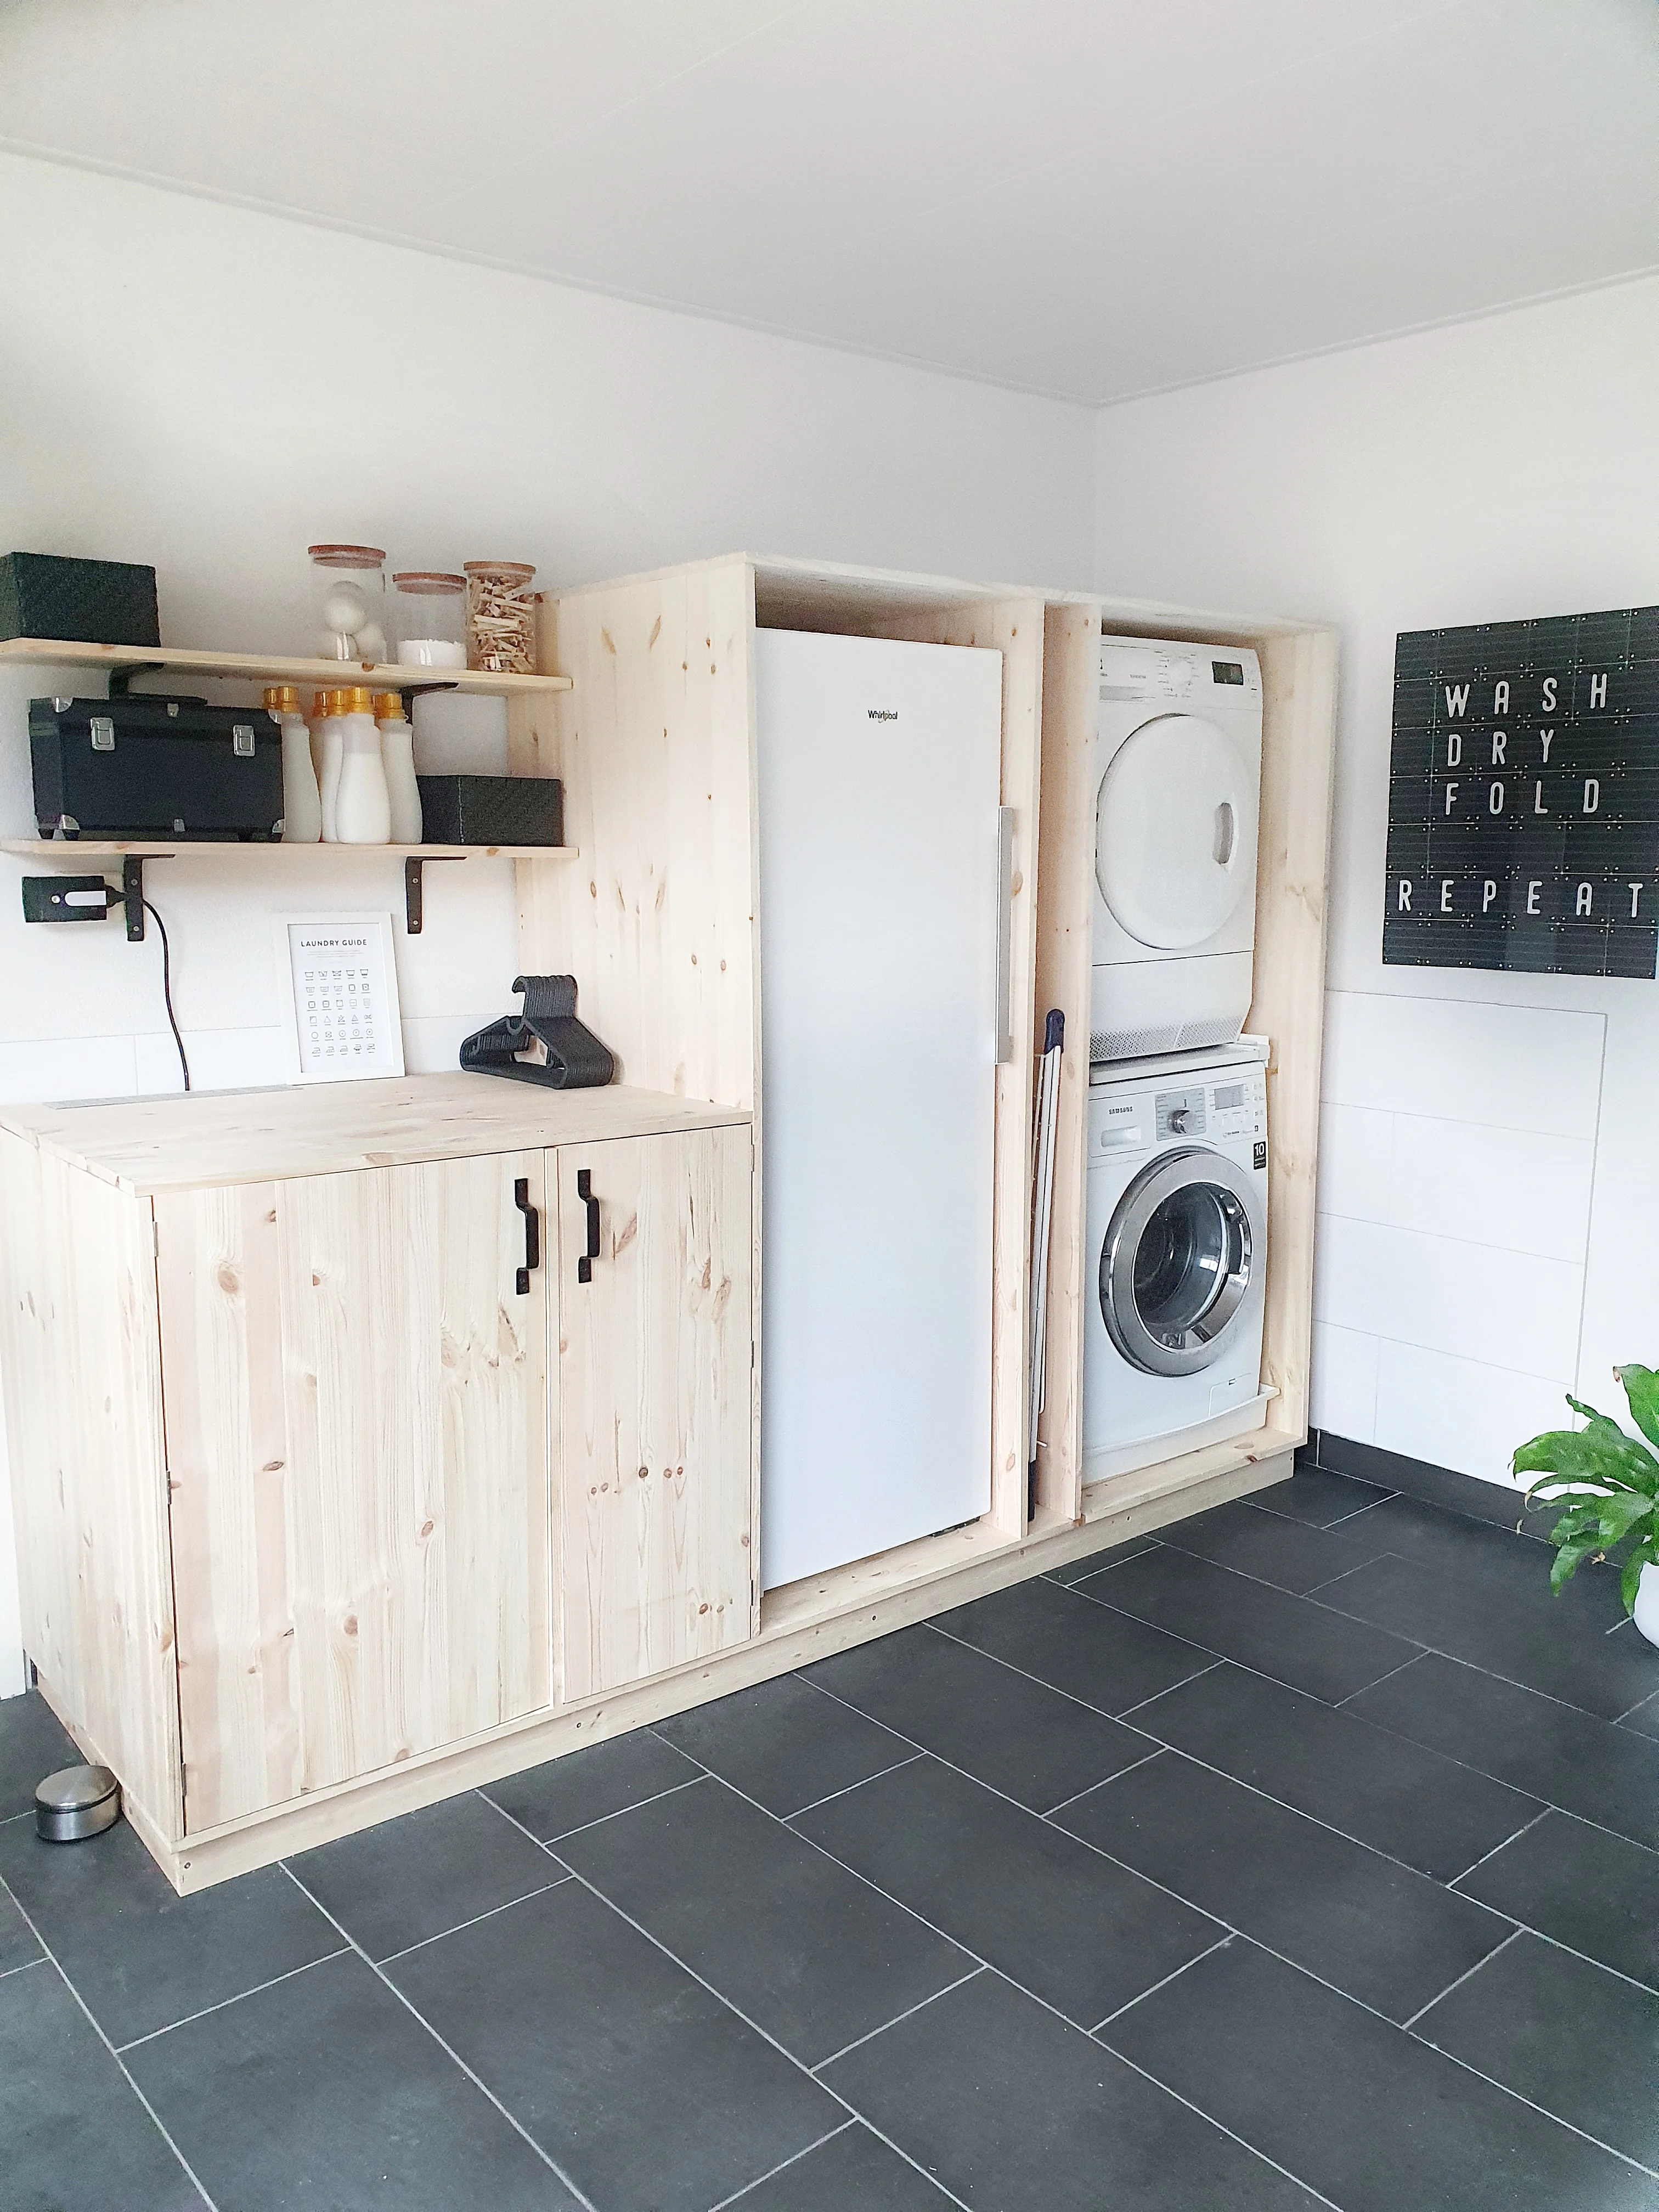
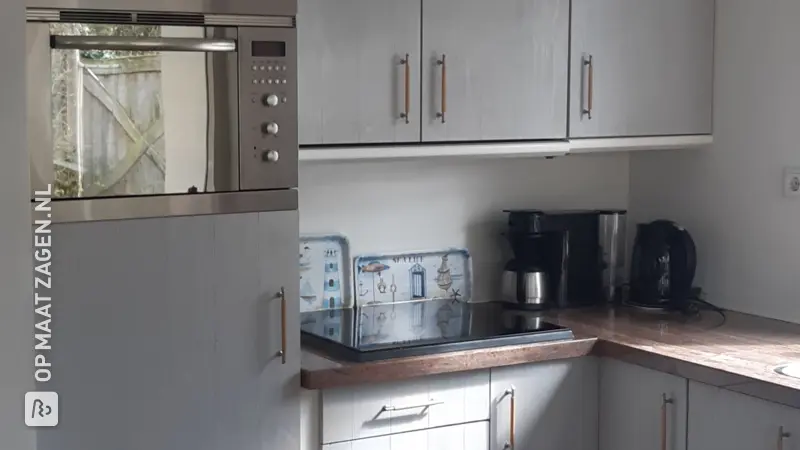
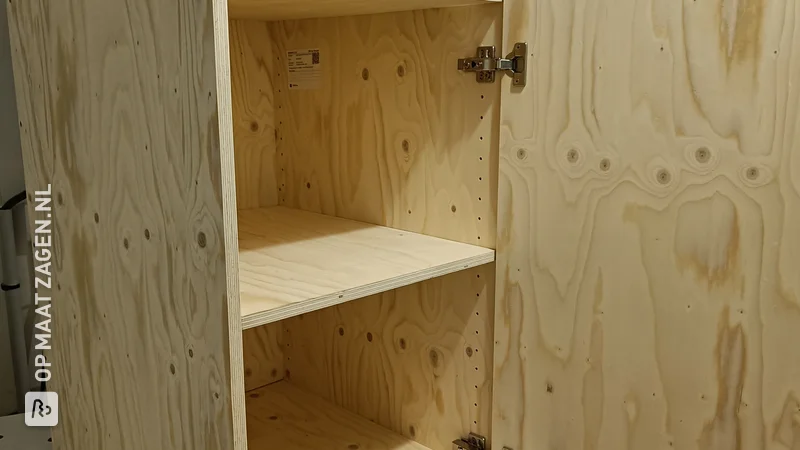
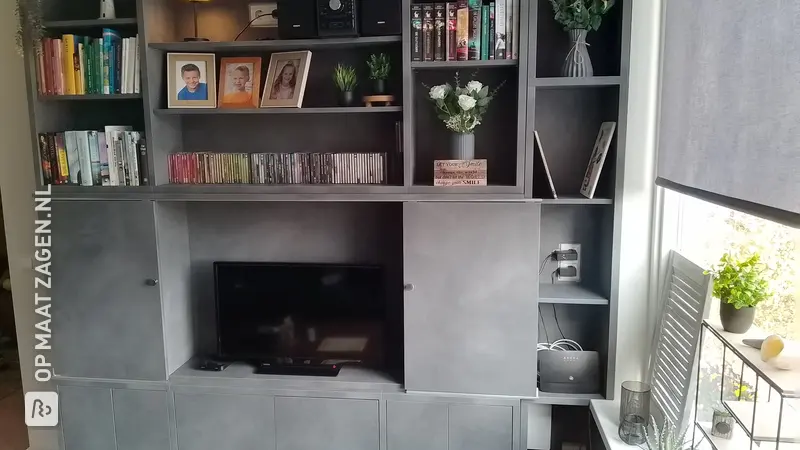
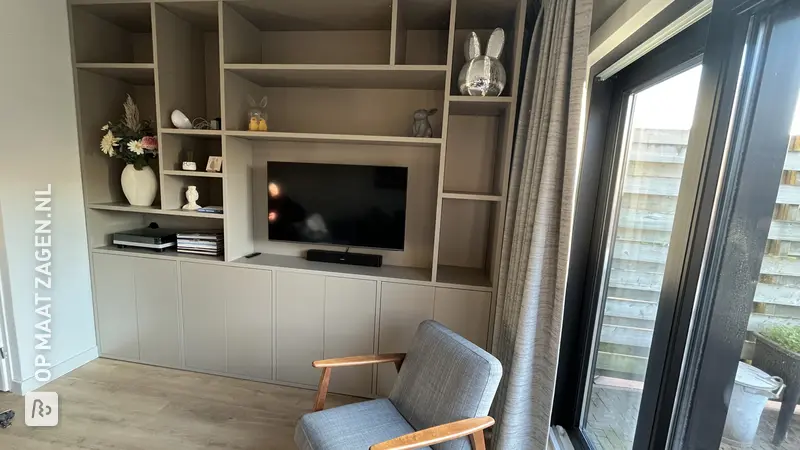
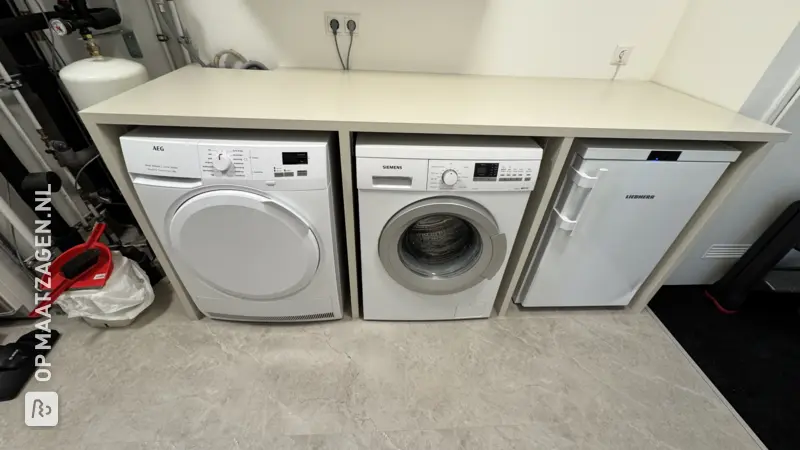
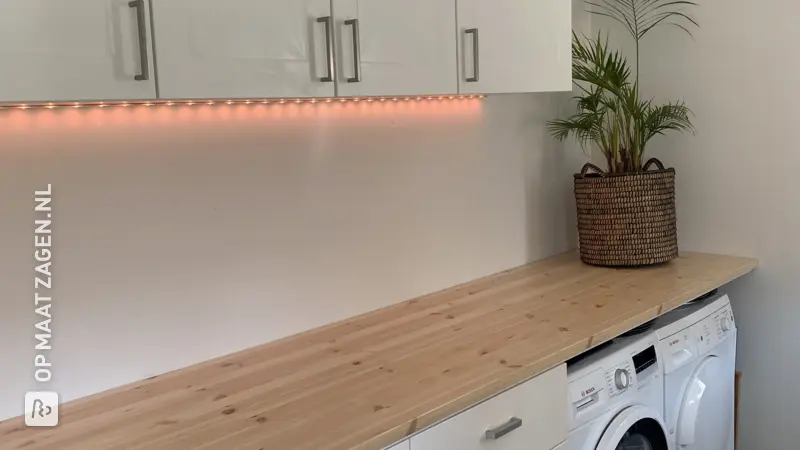
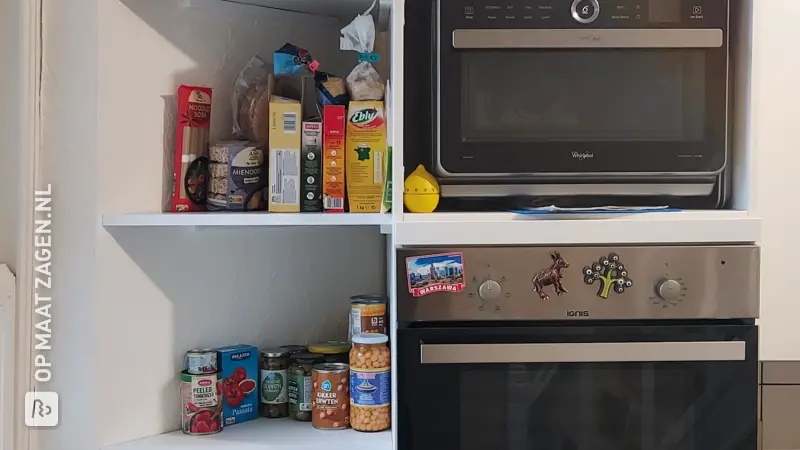
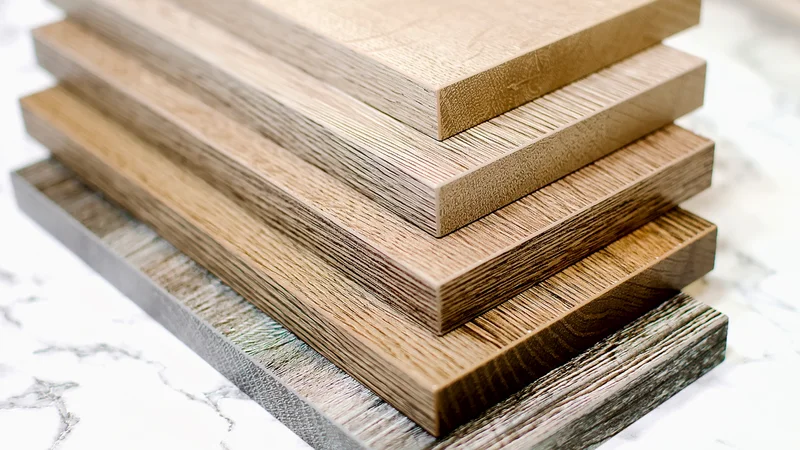
Ben has used his creative eye to create a beautiful project using Underlayment Radiata Pine B/C 18 mm. With the help of OPMAATZAGEN.nl he chose this wood for its unique patterns and versatility. The space Ben tackled is the utility room, where he managed to neatly integrate a washing machine and dryer as well as a freezer and microwave.
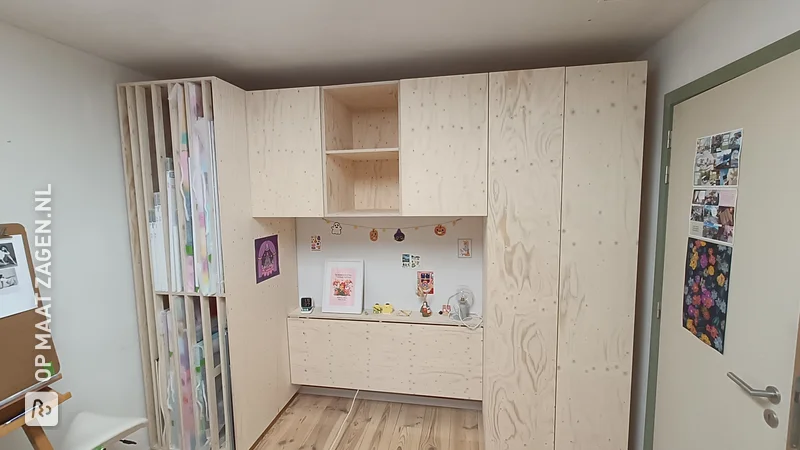
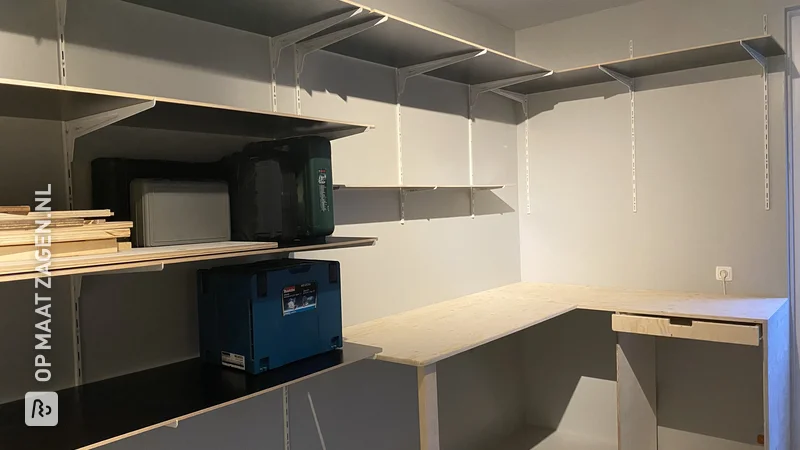
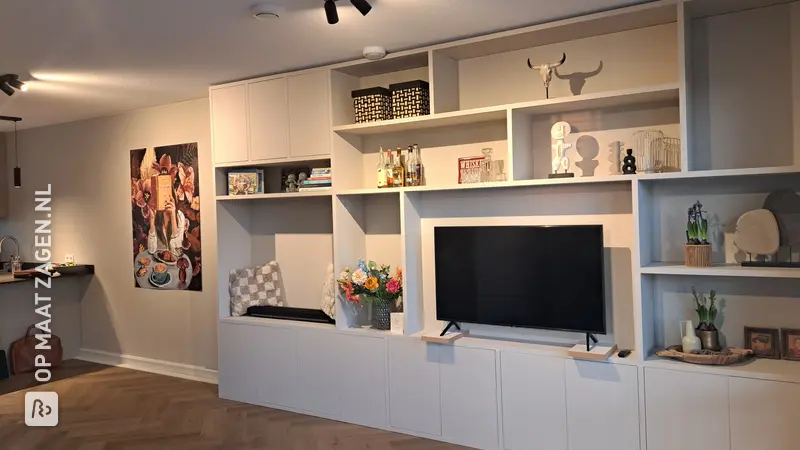
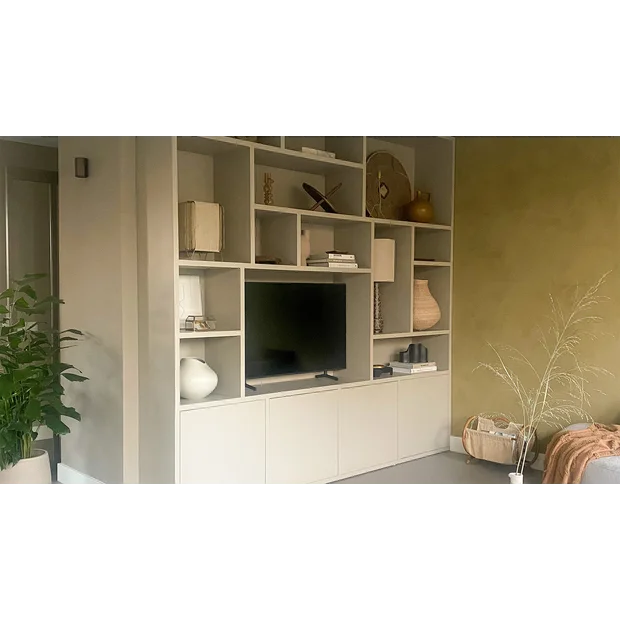
The Layout and Construction
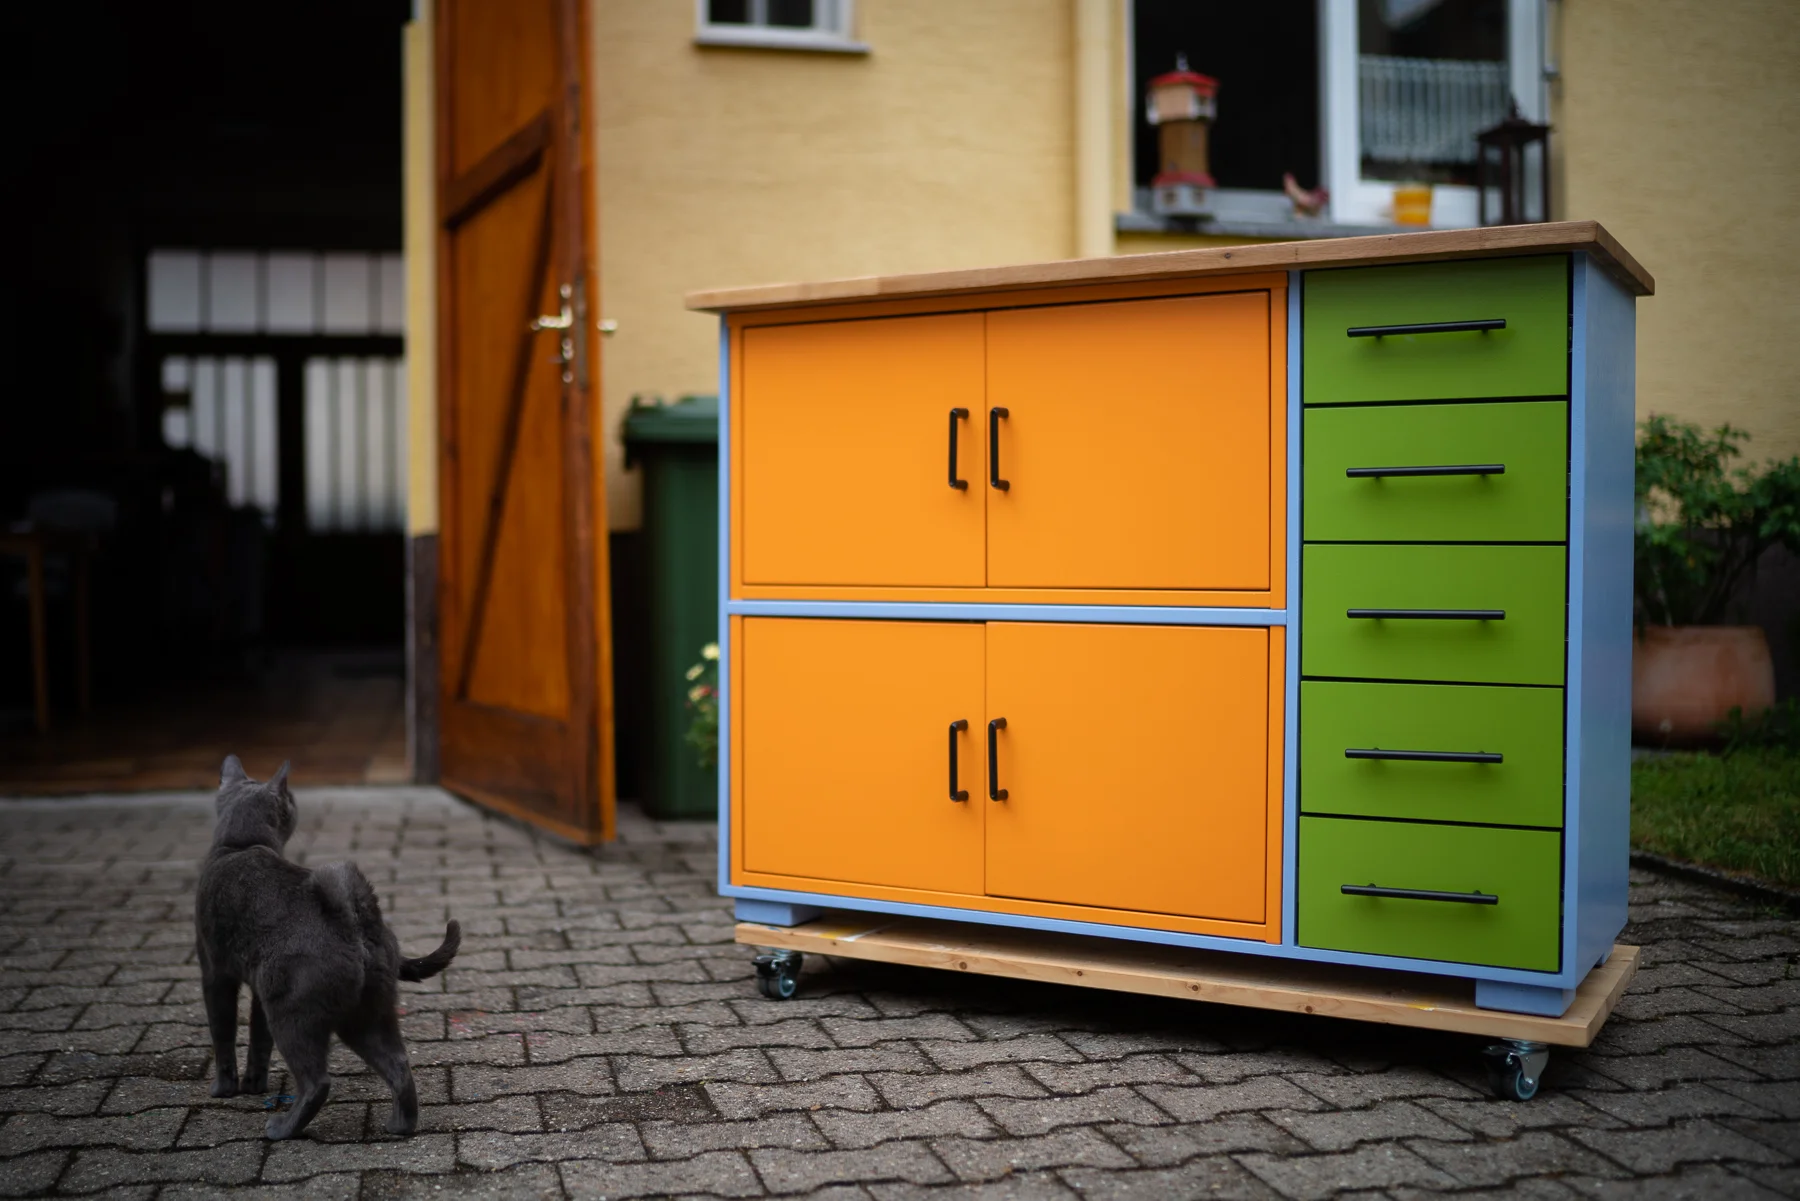
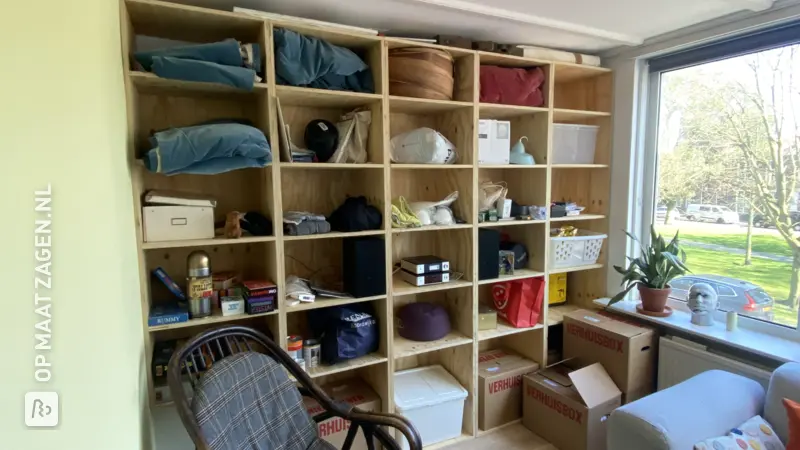
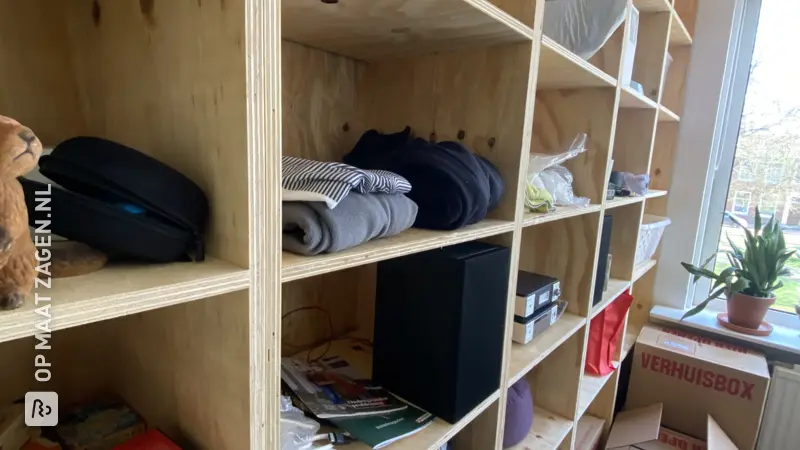
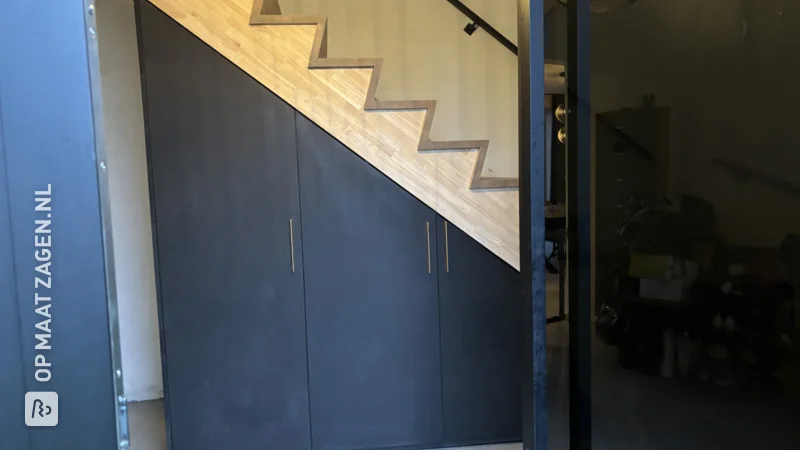
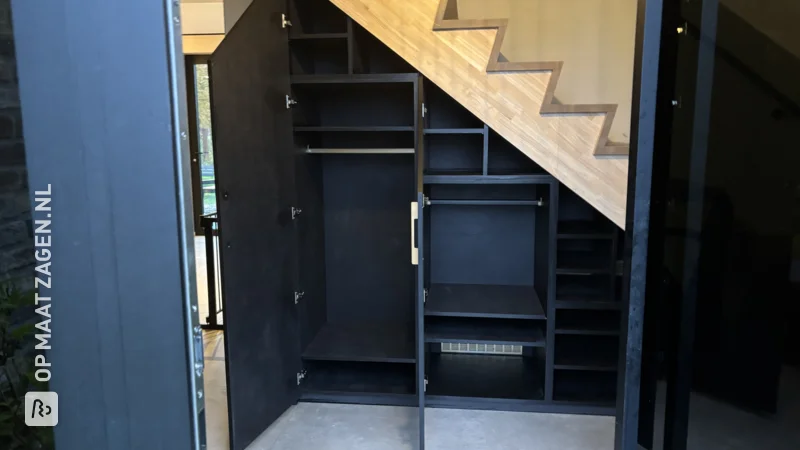
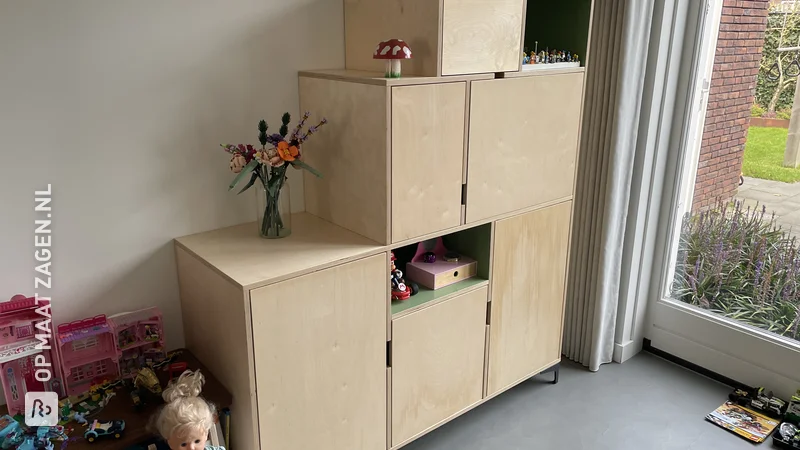
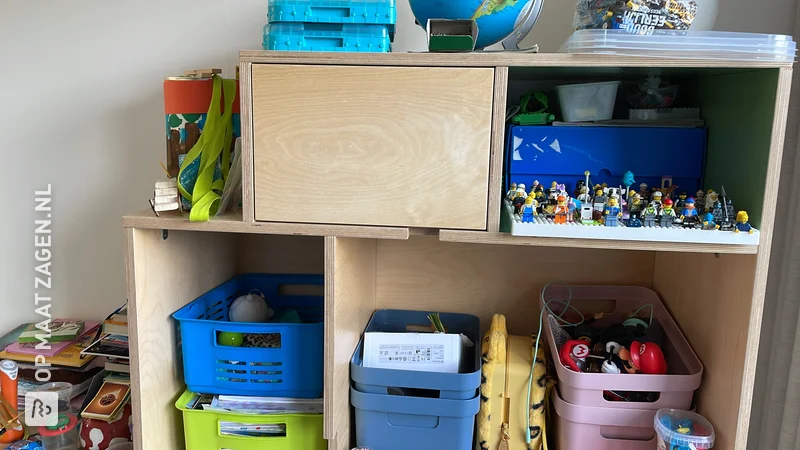
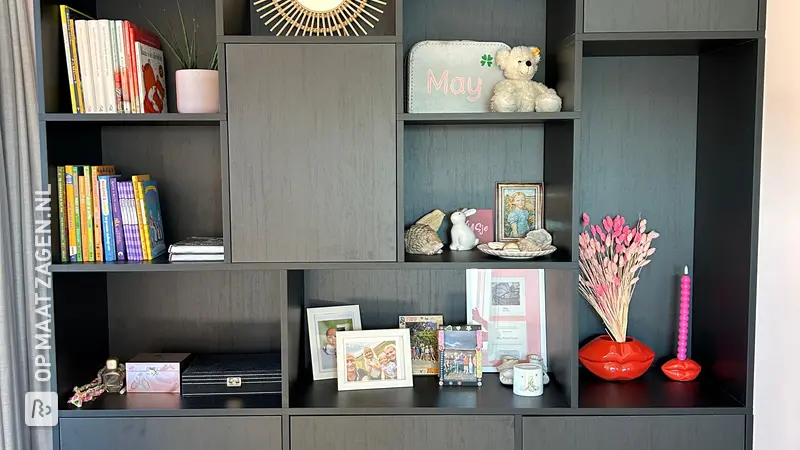
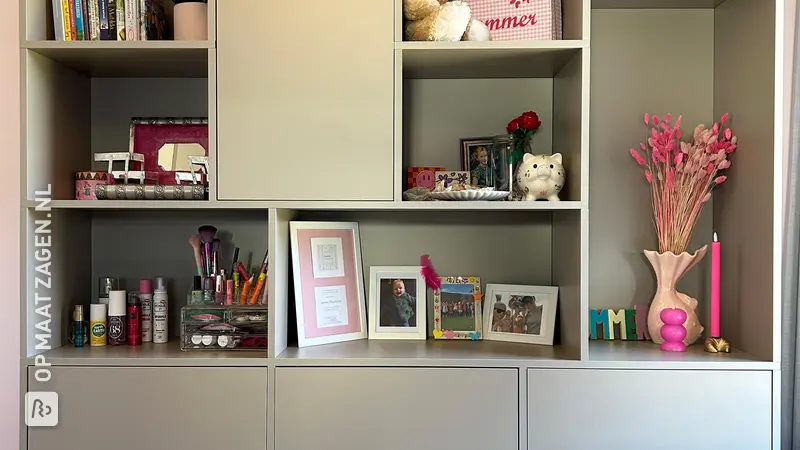
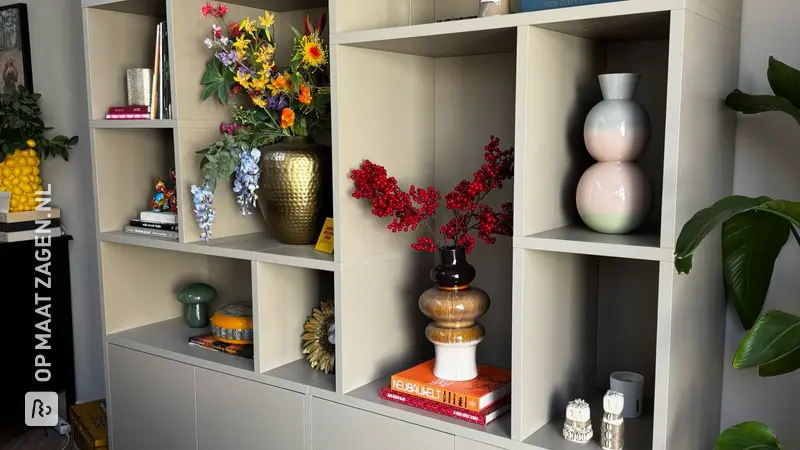
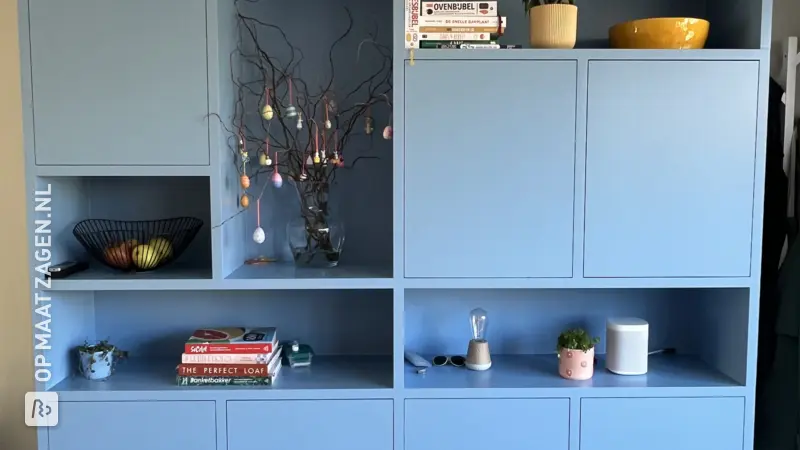
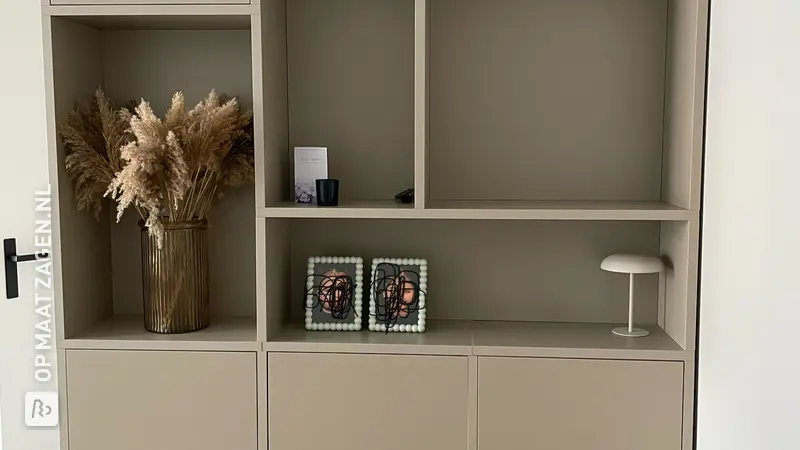
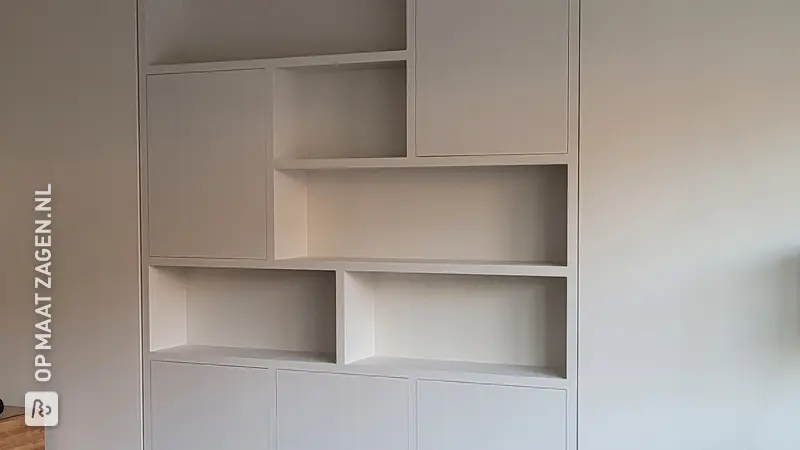
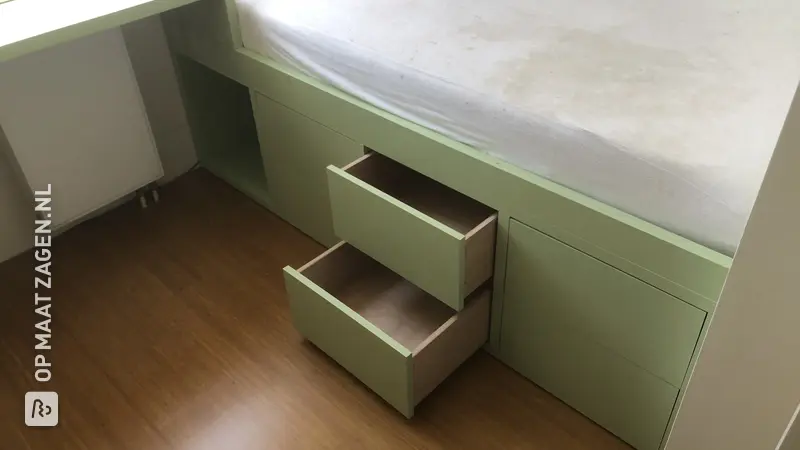
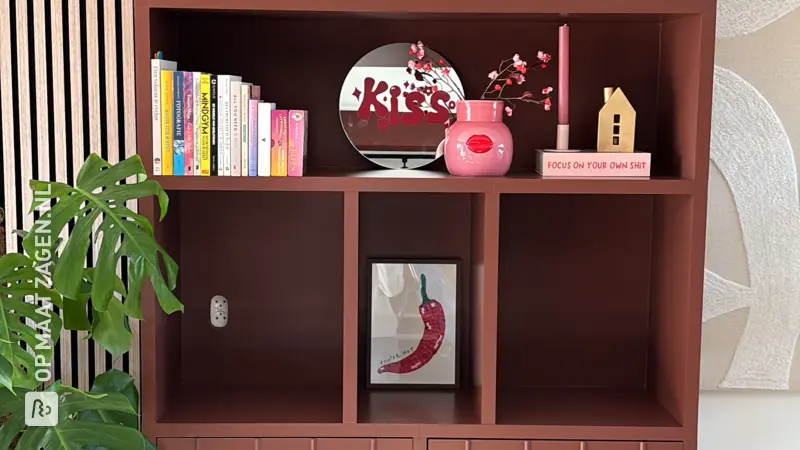
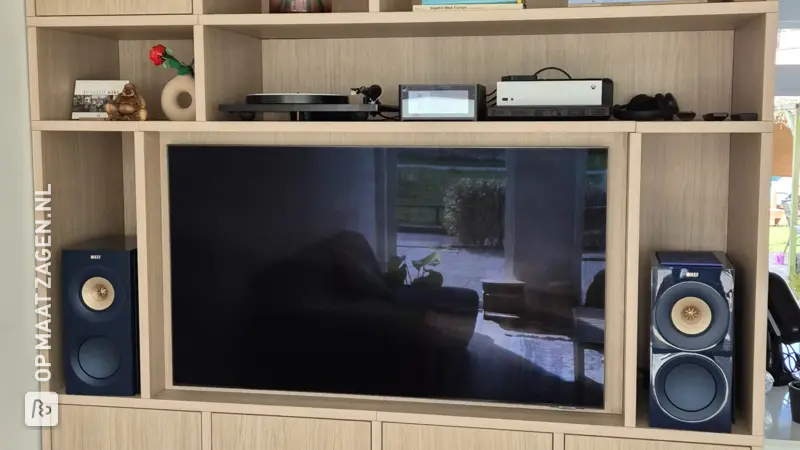
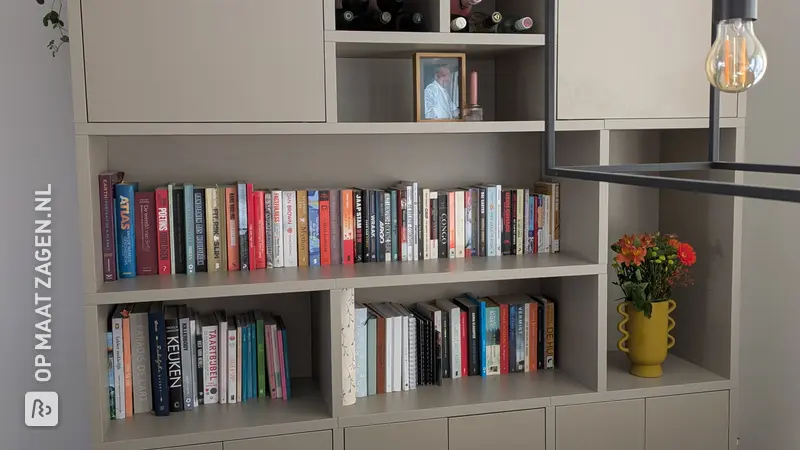
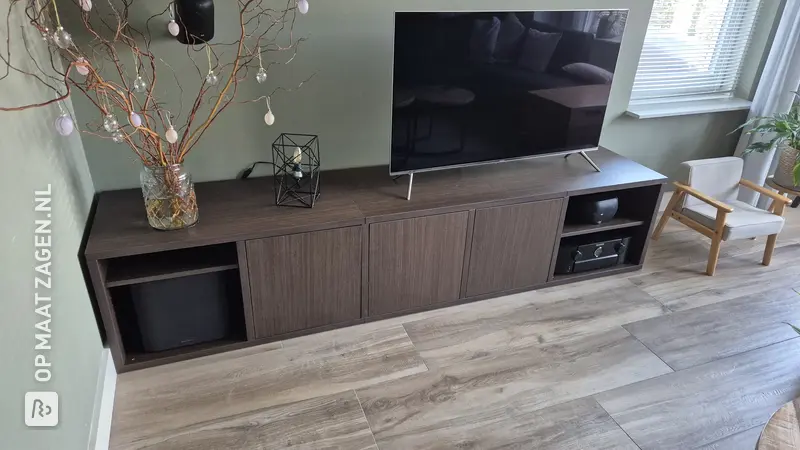
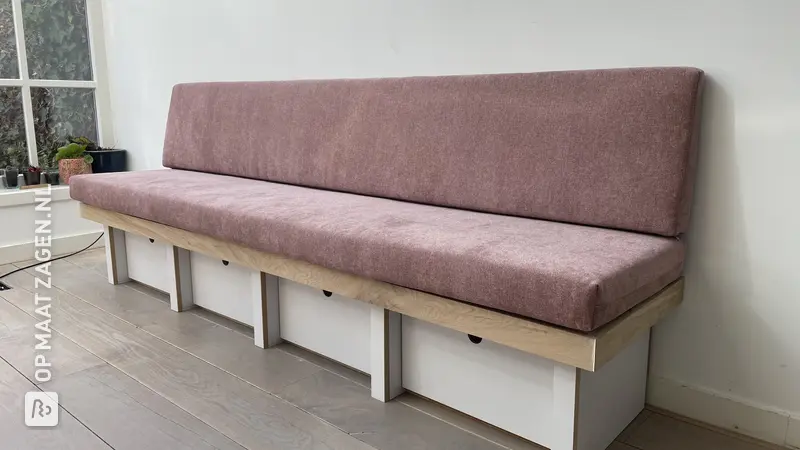
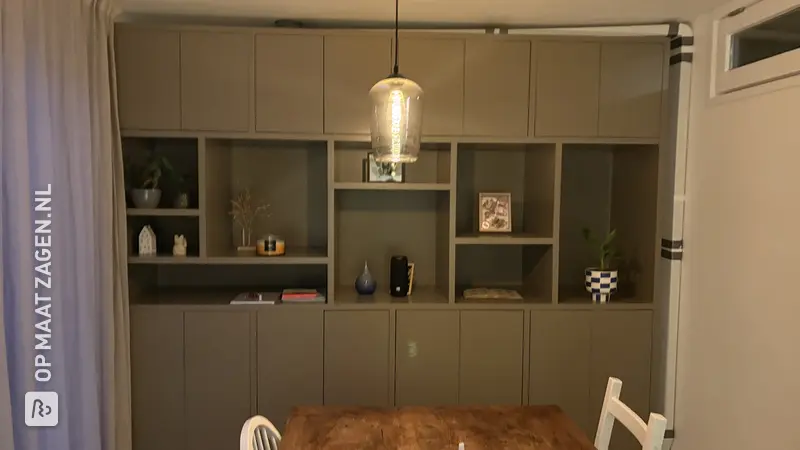
At first glance, the cabinet seems to be a seamless whole, but if you look closer, you will discover a carefully thought-out layout. The cabinet has multiple sections where all your household appliances such as washing machine, dryer, freezer and microwave fit perfectly. At the bottom there are spacious drawers that are ideal for storing shoes or other loose items.
Unique Features
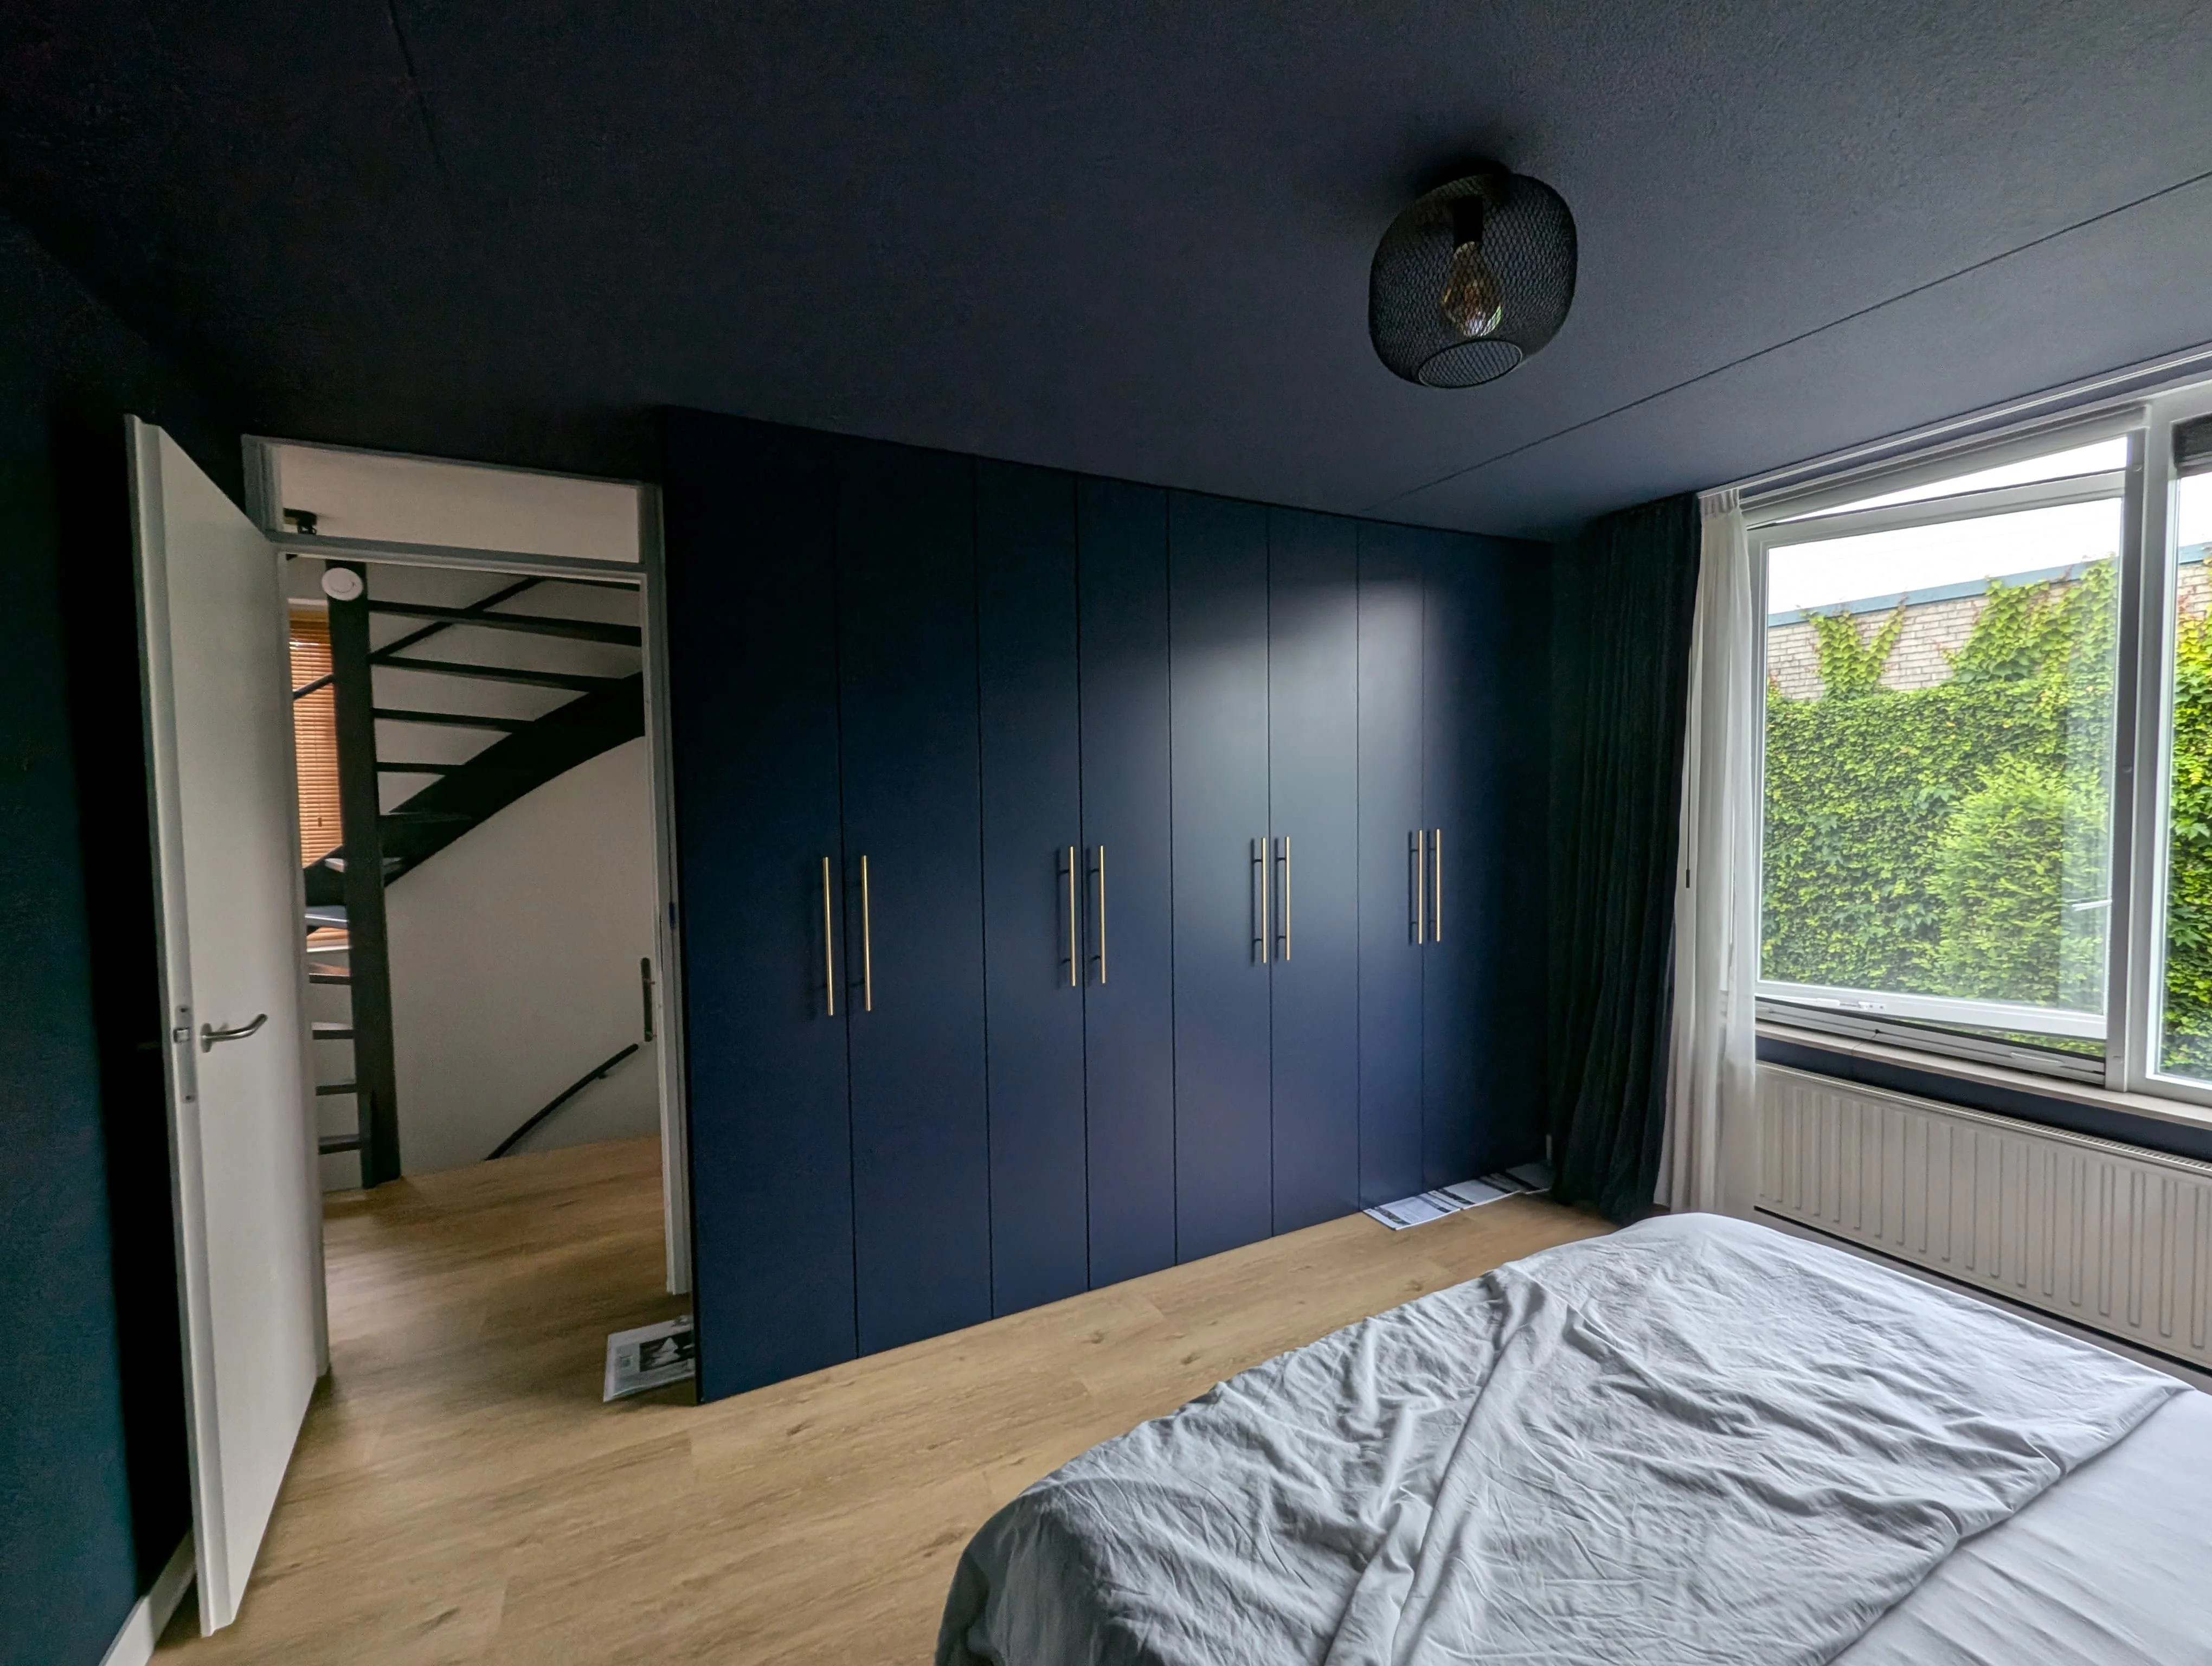
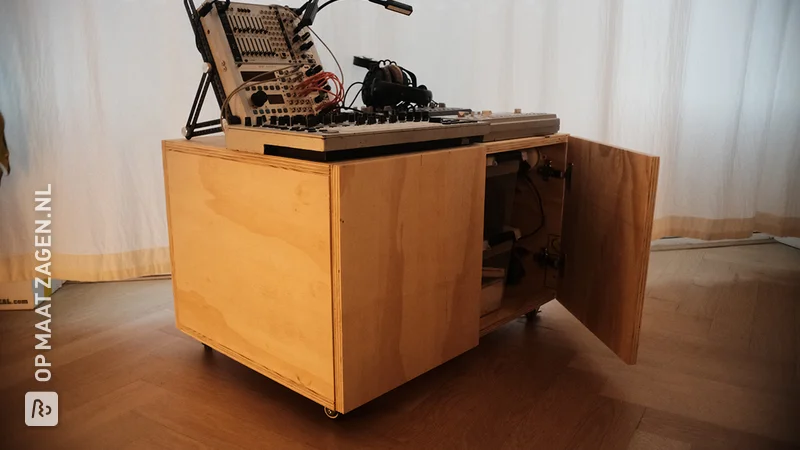
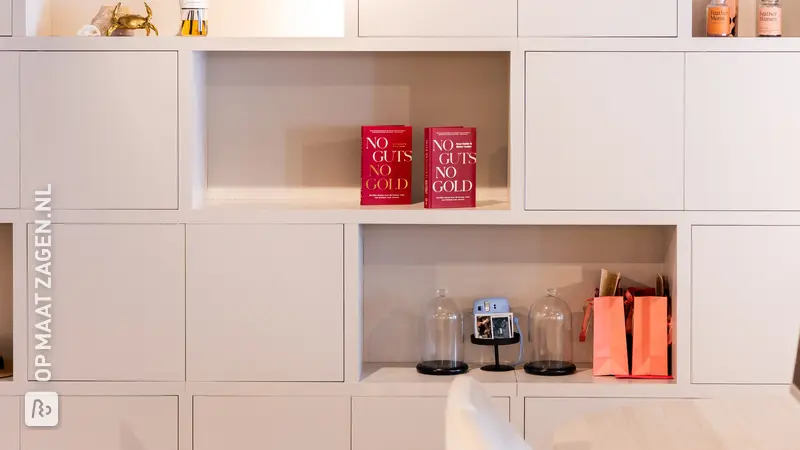
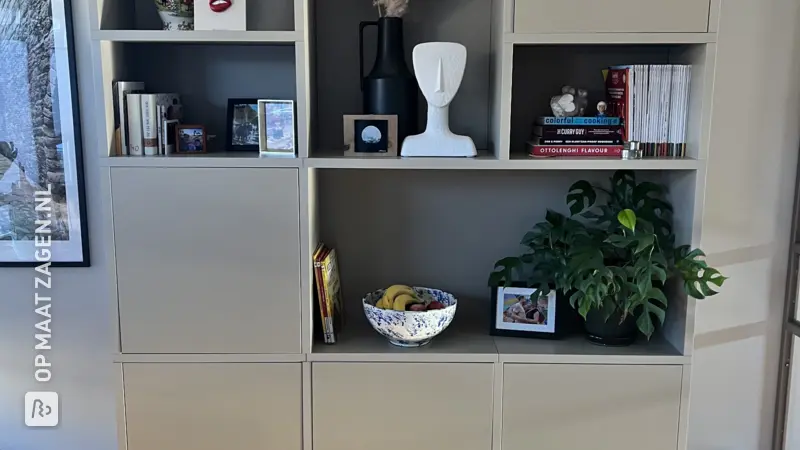
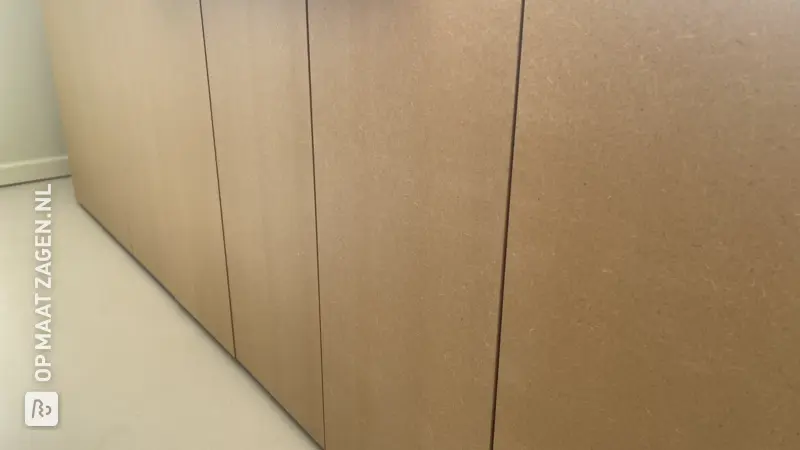
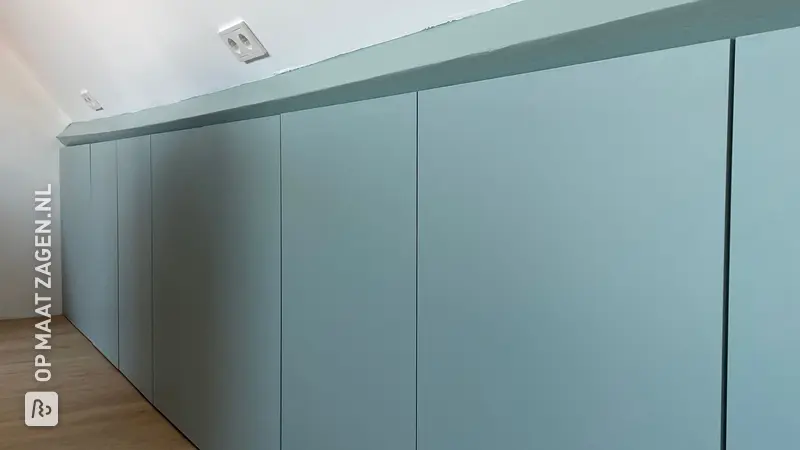
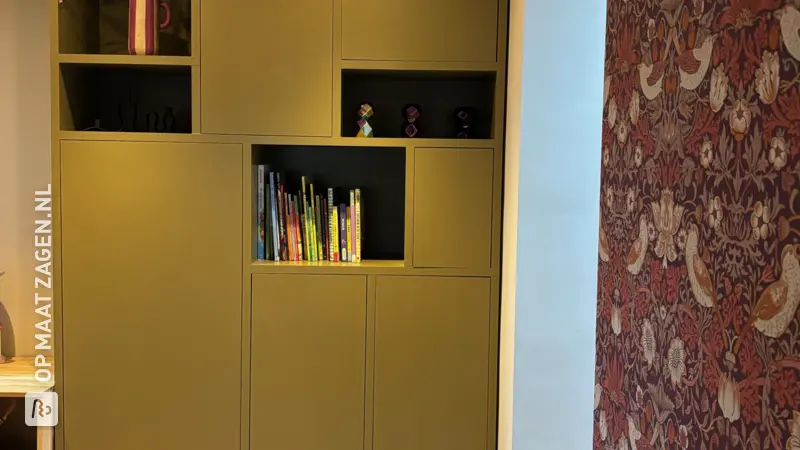
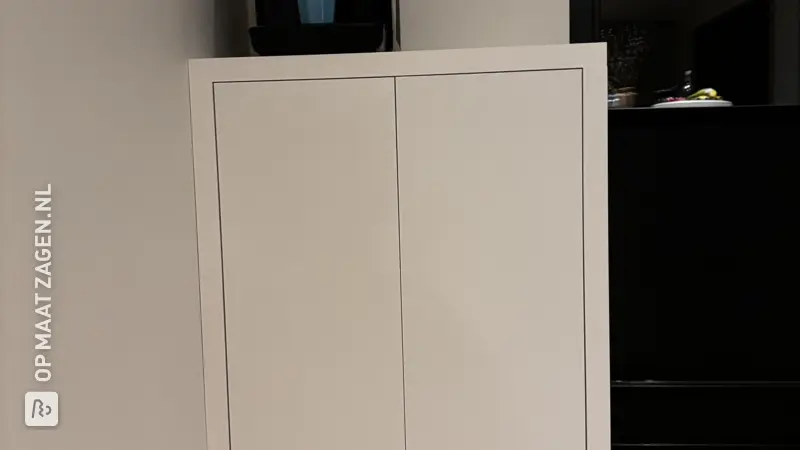
A special detail is the use of turn-sliding systems, which gives the cabinet doors a minimalist look without visible handles. This contributes to the sleek, modern look. The natural wood colour and the fine drawing of the Underlayment Radiata Pine give the room a warm appearance.
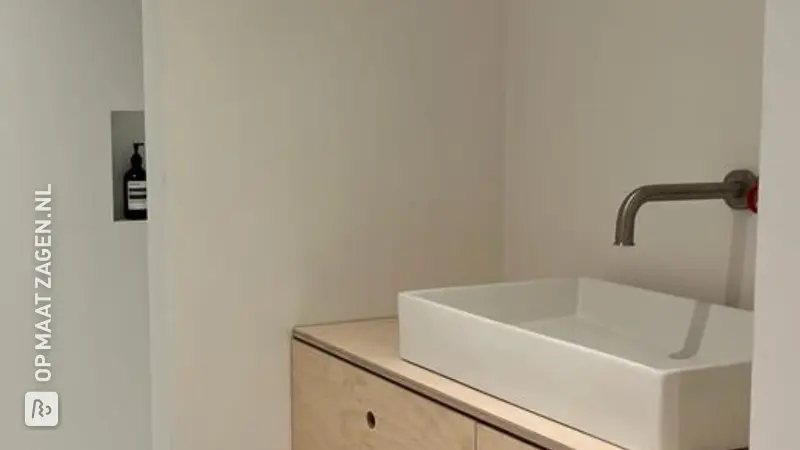
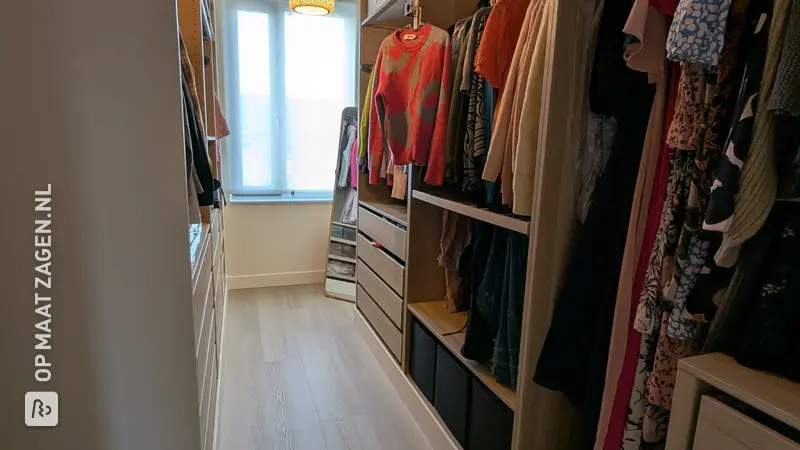
Fits in the Utility Room
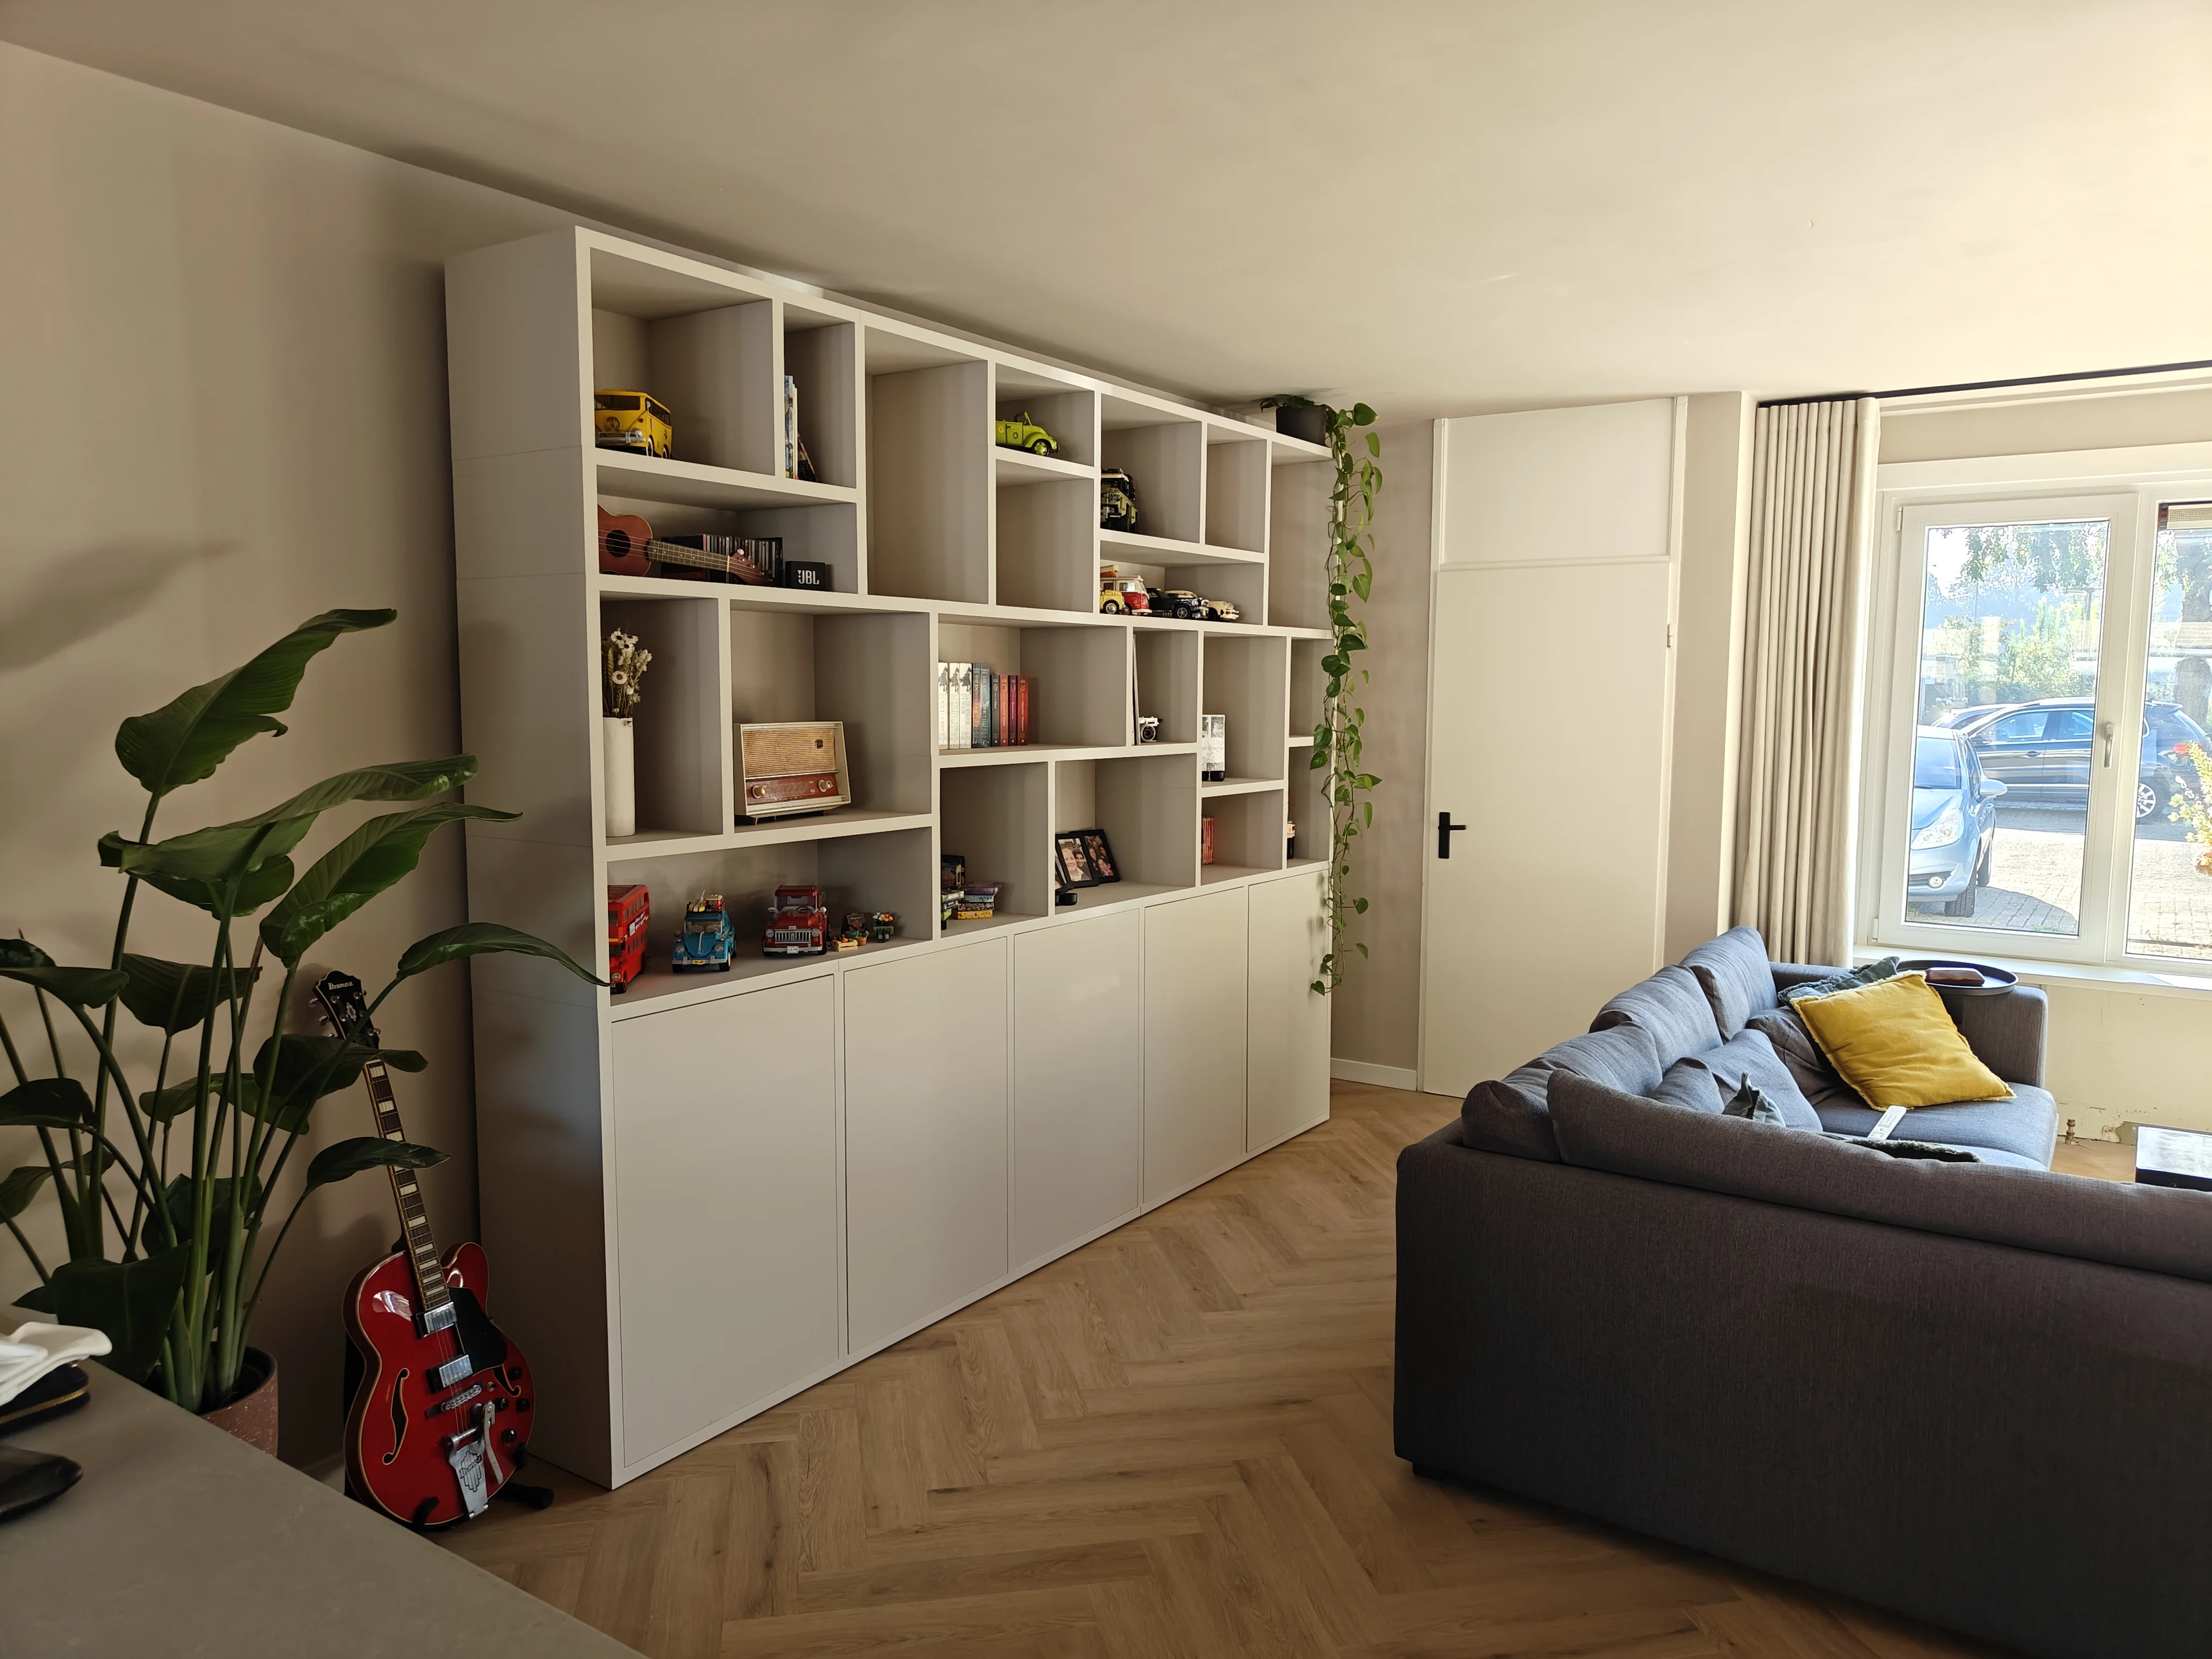
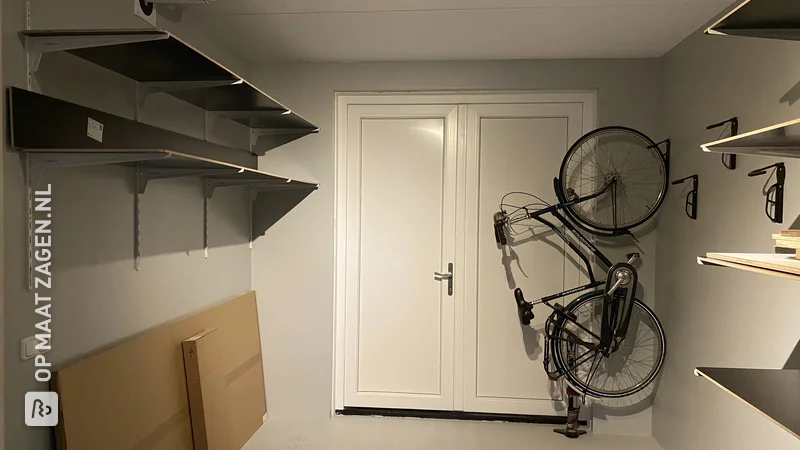
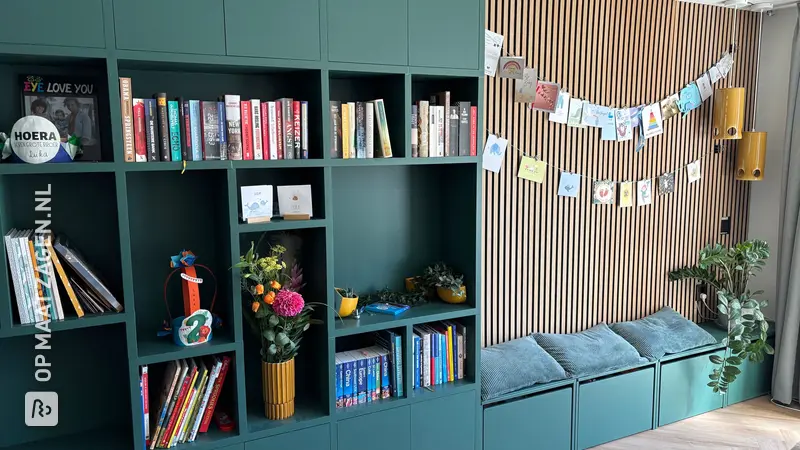
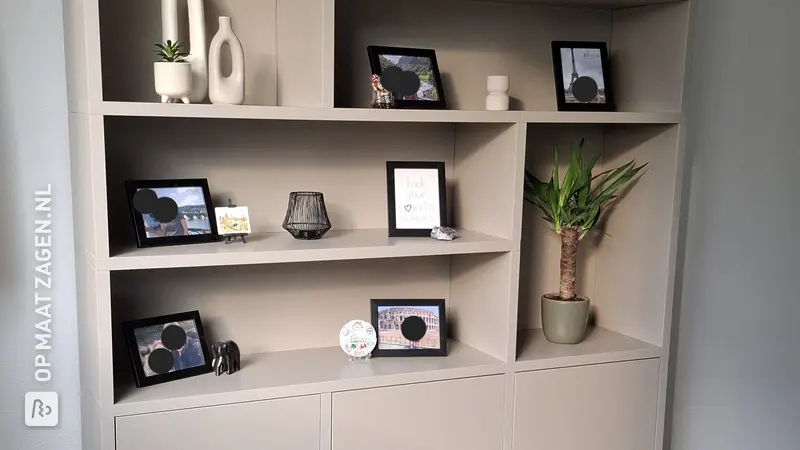
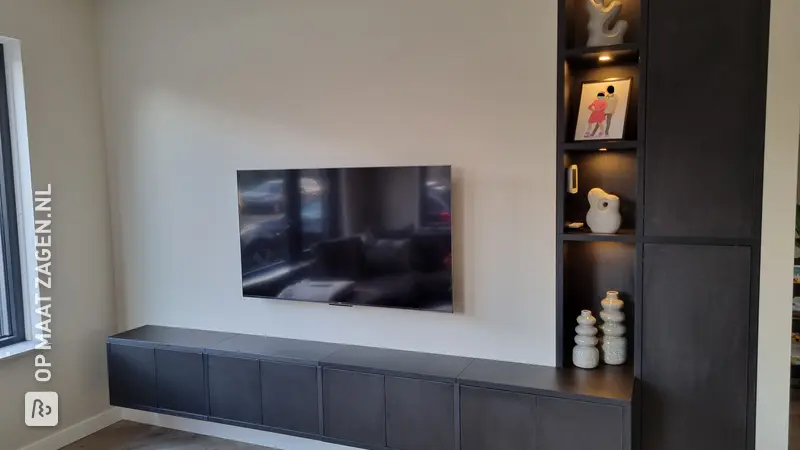
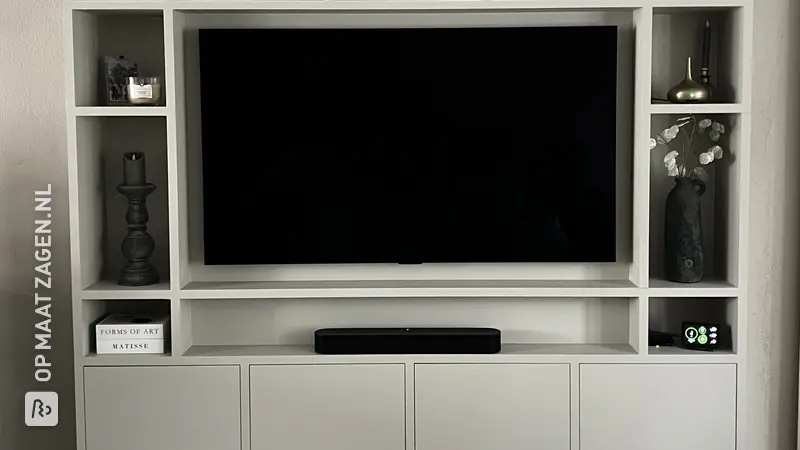
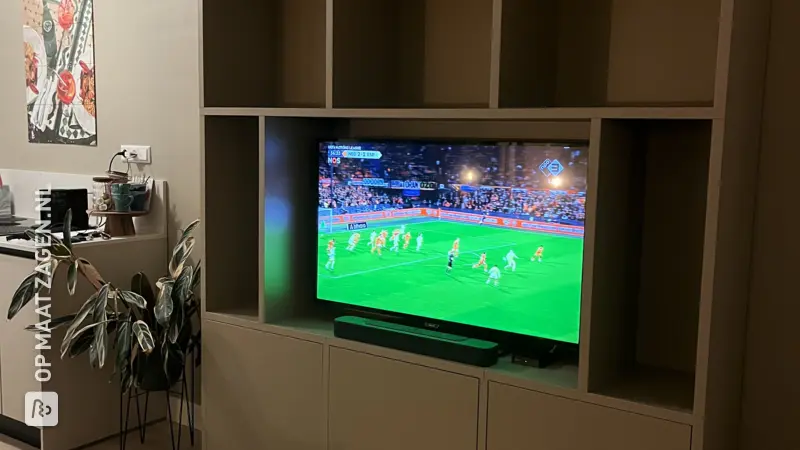
This wall unit fits perfectly in a utility room. Not only does it offer a huge amount of storage space, but it also makes the room feel more spacious thanks to its clever layout. Thanks to the custom-cut shelves by OPMAATZAGEN.nl , Ben uses the full height of the room. This makes optimum use of the available space, which can be ideal, especially in smaller homes.
Benefits of Making Your Own
Making such a project yourself offers many advantages. You have complete control over the dimensions, which means the cabinet fits seamlessly into the space. In addition, you can choose sustainable options when choosing materials, such as using Underlayment Radiata Pine. This gives you the freedom to add a personal touch to your interior.
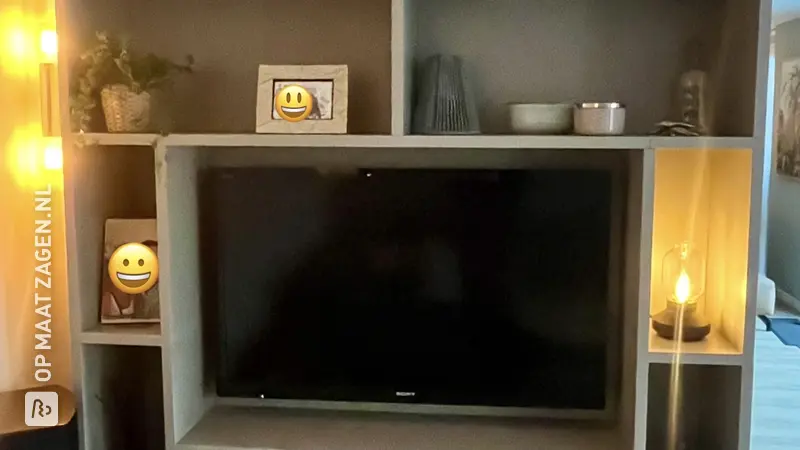
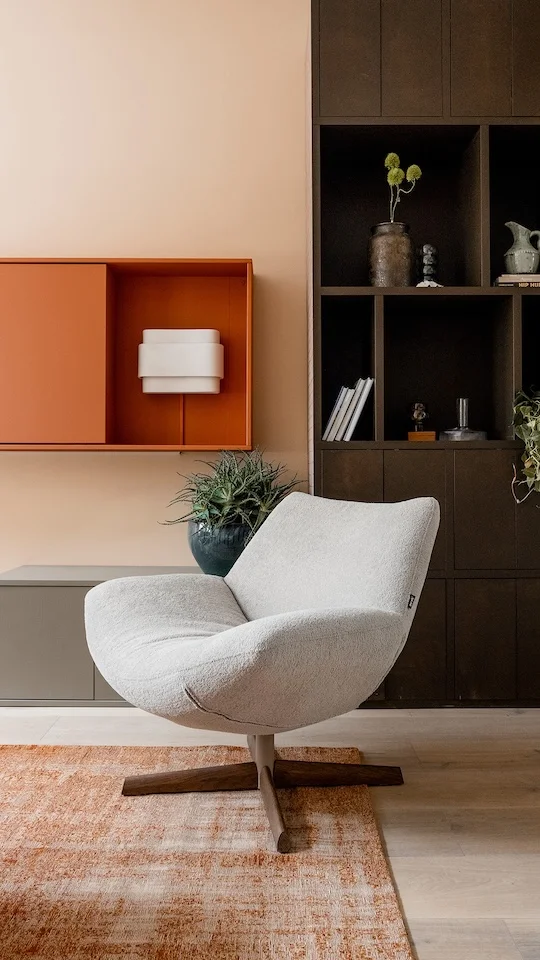
The Style: Modern and Functional
The project is not only functional but also offers a modern look. The combination of natural wood tones and modern technology in the form of rotating sliding systems makes this utility room a real eye-catcher. The subtle wood grain patterns of the underlaid wood provide a timeless beauty.
Benefits of Underlayment Radiata Pine B/C
The chosen Underlayment Radiata Pine B/C has several advantages. The material is lightweight but offers sufficient strength for cabinets and shelves. In addition, the natural look gives a unique touch to any space, without having to compromise on functionality and durability. The wood, cut to size by OPMAATZAGEN.nl , ensures that each panel fits perfectly into the design.
Tip! Also check out our handy DIY tips!
Step by step guide
Preparation
I wanted the cabinet to be completely custom made. So I measured the available width and height and the desired depth for devices. I drew five different ways in SketchUp and prepared it very well. I also looked in advance at which drawer guides and the special Hettich revolving sliding door. I used cheap furniture fittings for the other doors and drawers (push-to-open). I ordered all the fittings from meubelbeslagonline. I wanted to stay under 700 euros, so to save costs I only had the fronts sawn at OPMAATZAGEN.nl and the insides made with OSB3. I ordered push-to-open doors in China.
Montage
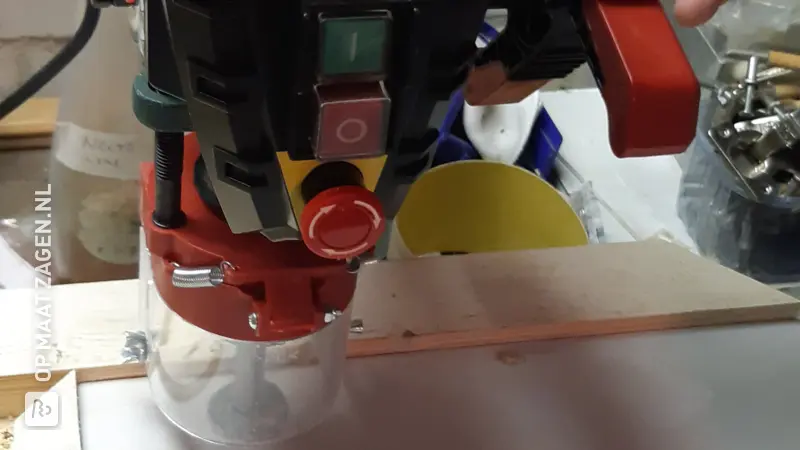
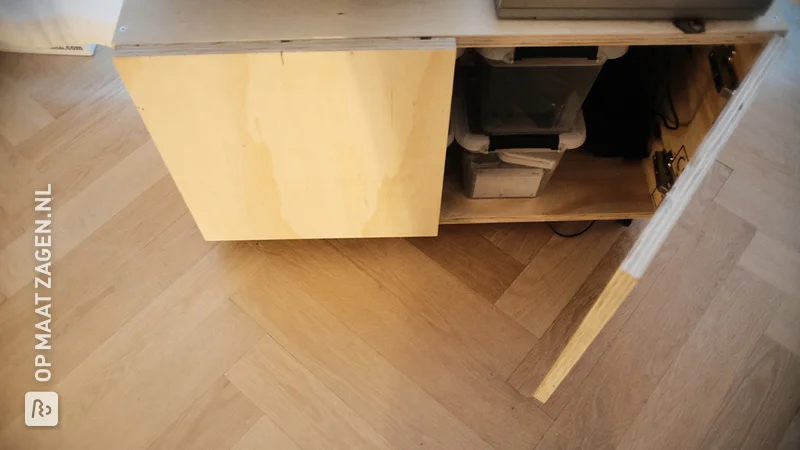
- Started by first placing the vertical shelves correctly and making them exactly straight. Because I had calculated everything down to the millimeter in SketchUp there were no surprises. The drawer fronts required some creativity... made a shelf that fits behind the front inside the drawer. Drilled two large 35mm holes in it. By now attaching a screw with a large ring to the front I could align it exactly and then fasten it.
Finish
- We are going to finish the drawers with a transparent varnish. We notice that we often open the ones for shoes with our feet.
What now?
Want to make this DIY project? Check out Ben's saw list and complete your order easily.
€ 280,40
All materials used
View all sheet materials
My experience with OPMAATZAGEN.nl
Order
Delivery
General experience