- OPMAATZAGEN.nl
- Do it yourself
- DIY Projects
Make your own dream shelving unit: From design to finish – a step-by-step DIY adventure, by Mariëlle (@thuizop5)


Make this furniture yourself using OPMAATZAGEN.nl
Marielle
Easy
3 minutes
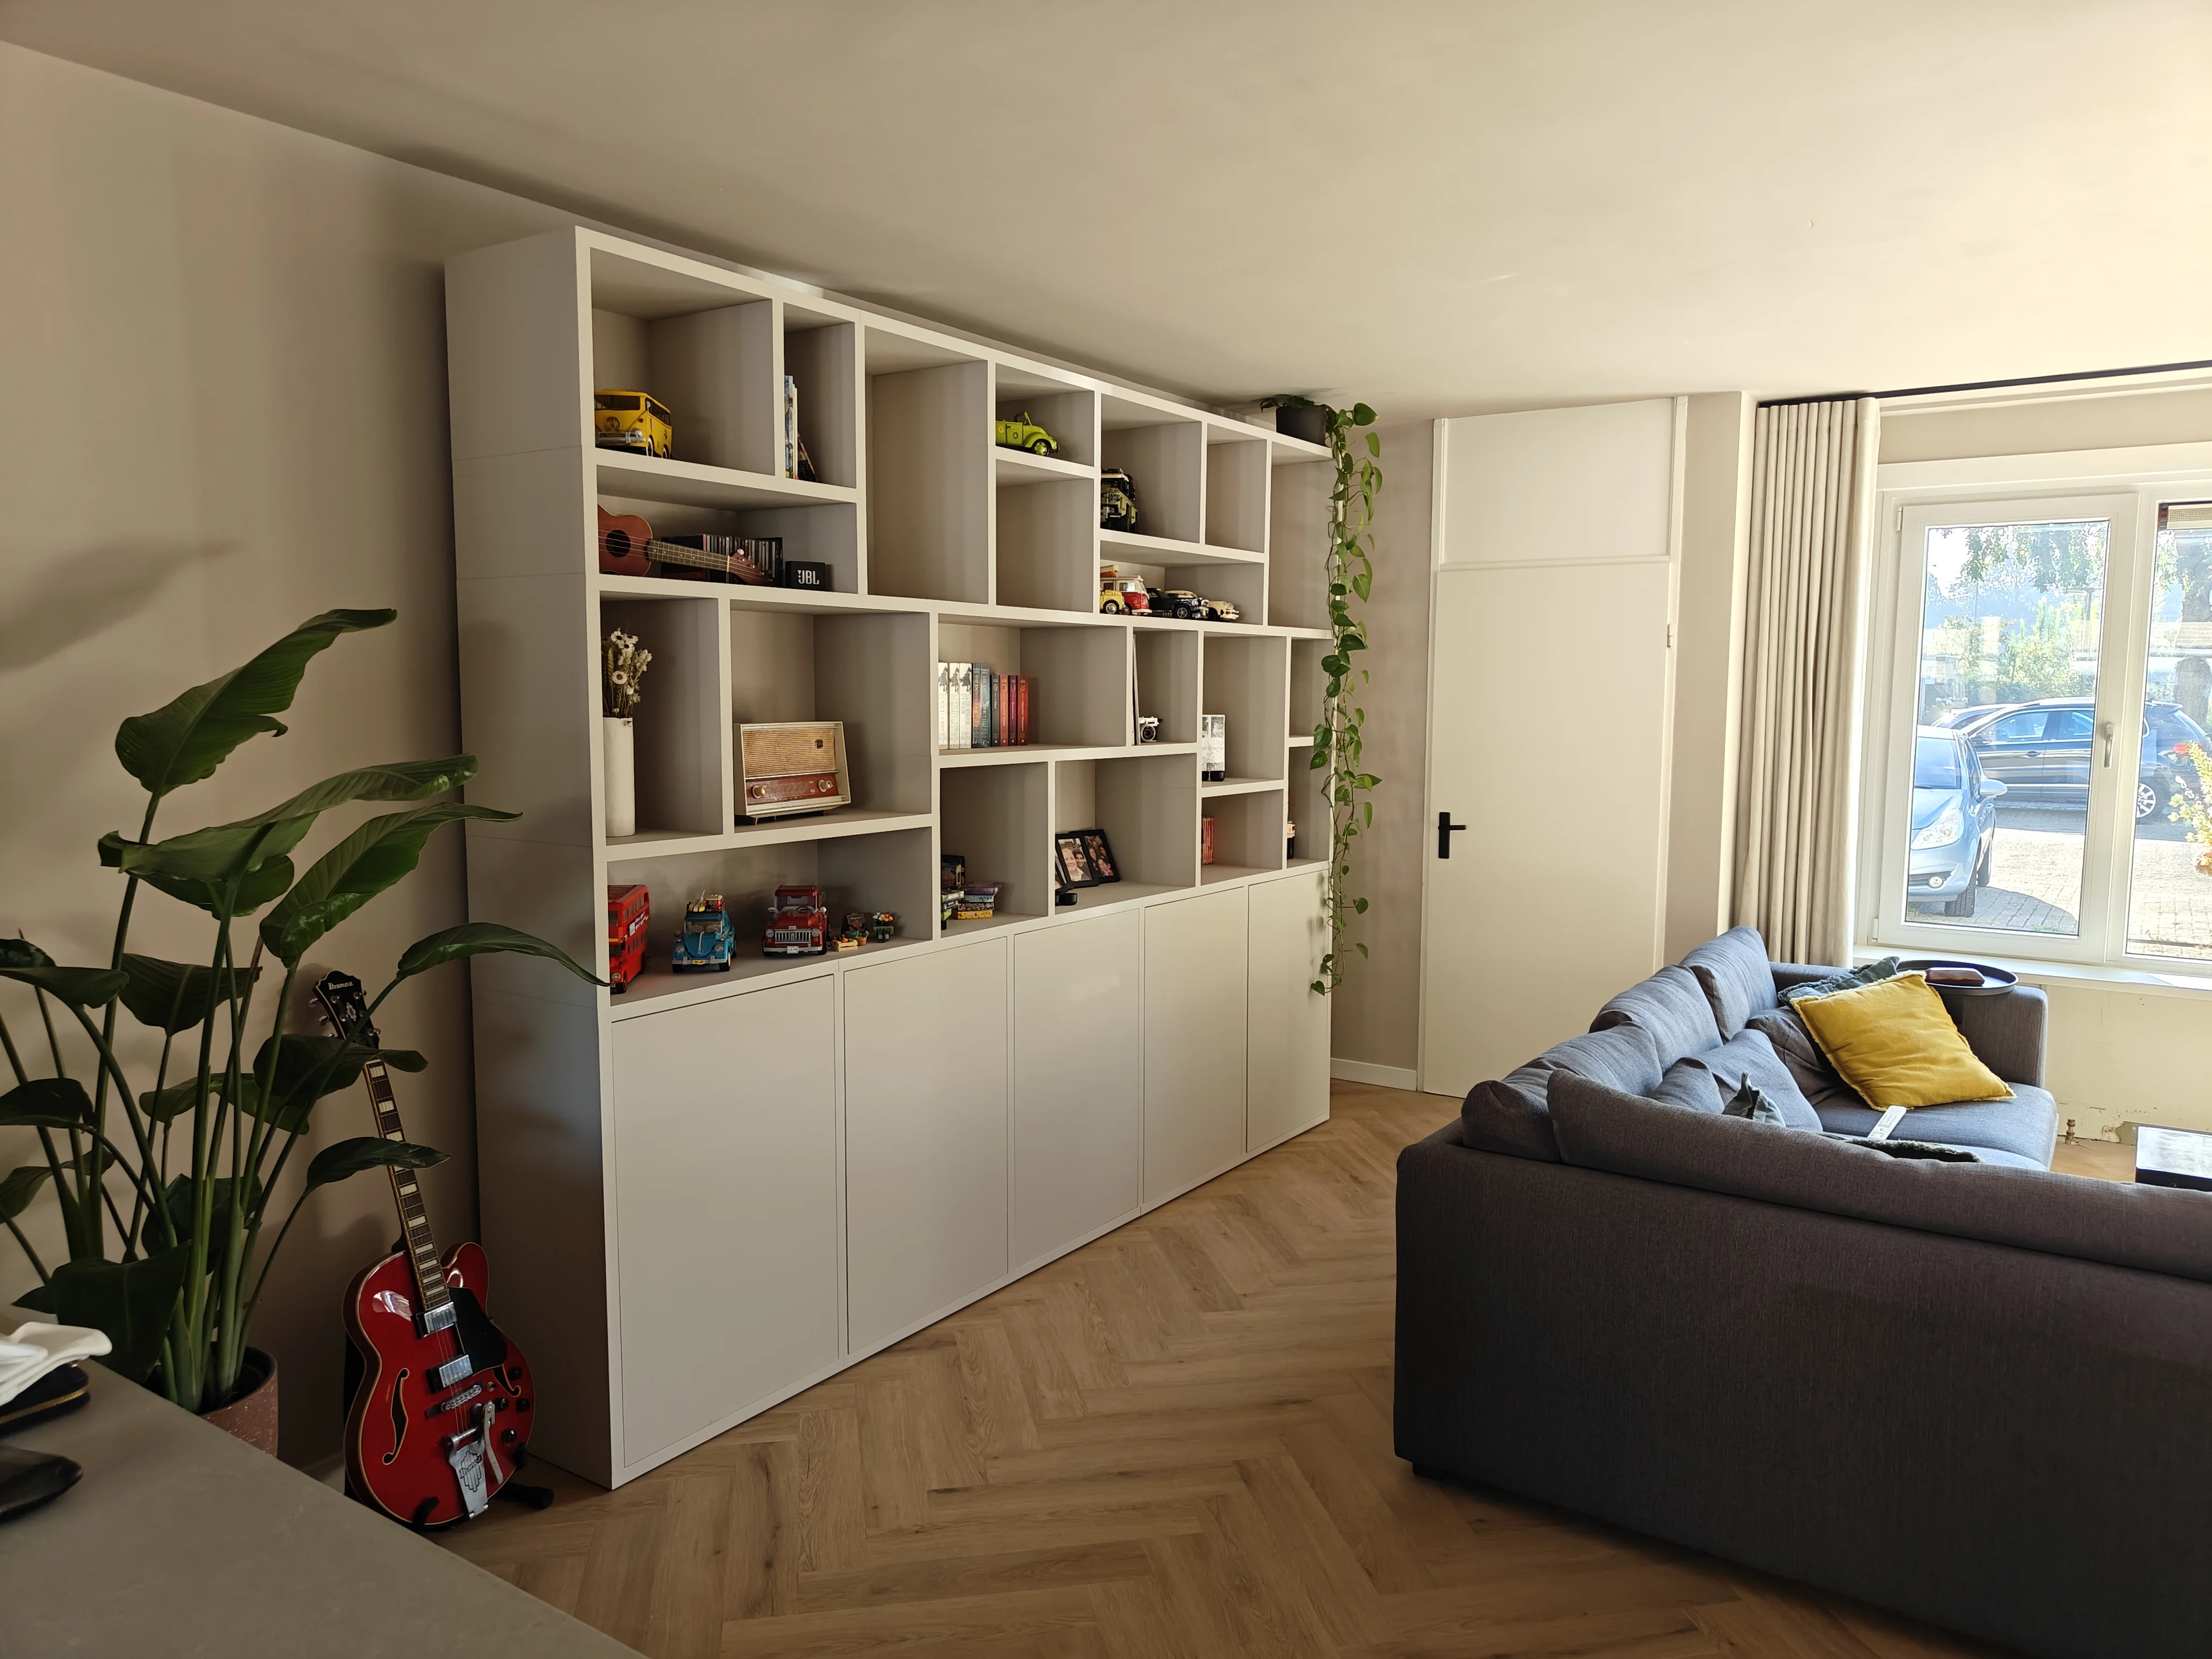
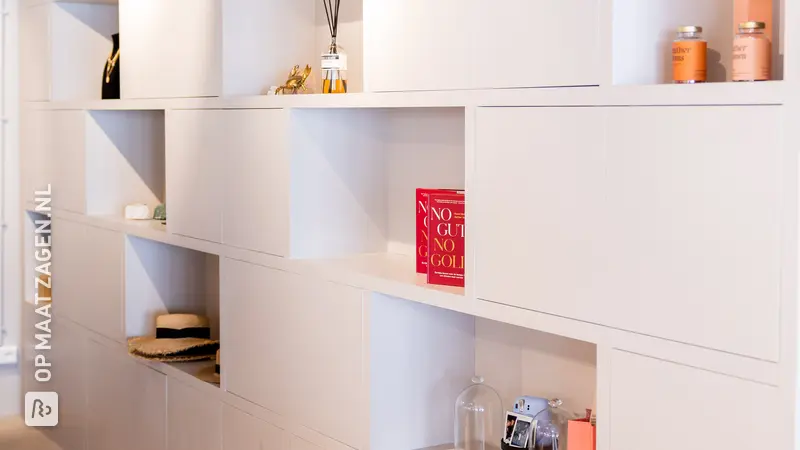
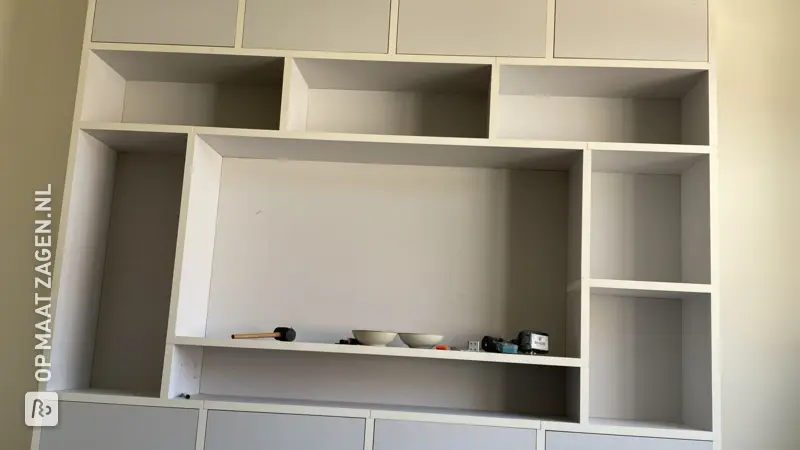
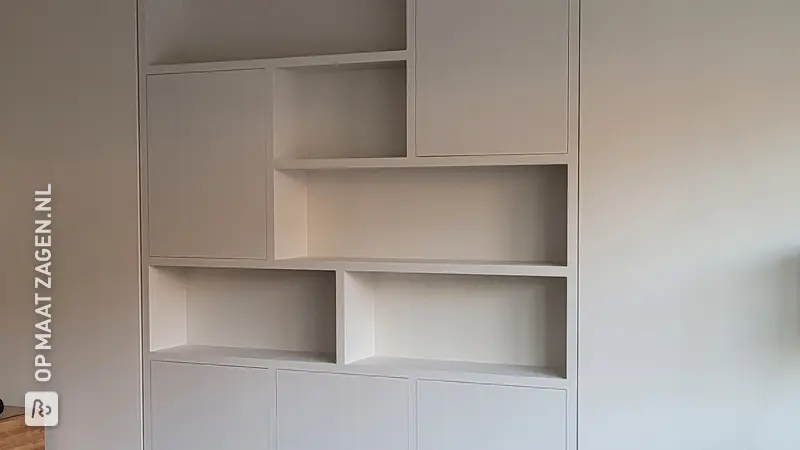
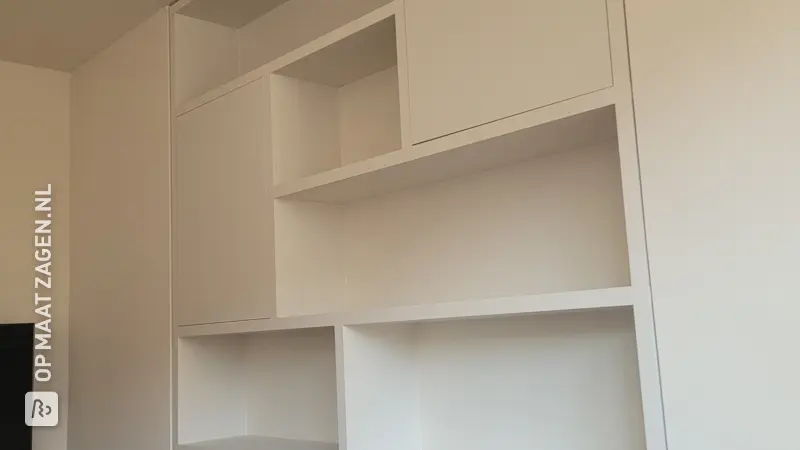
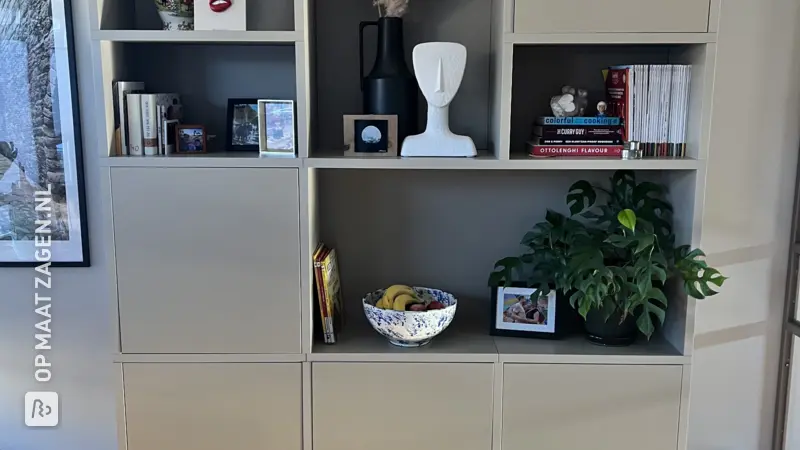
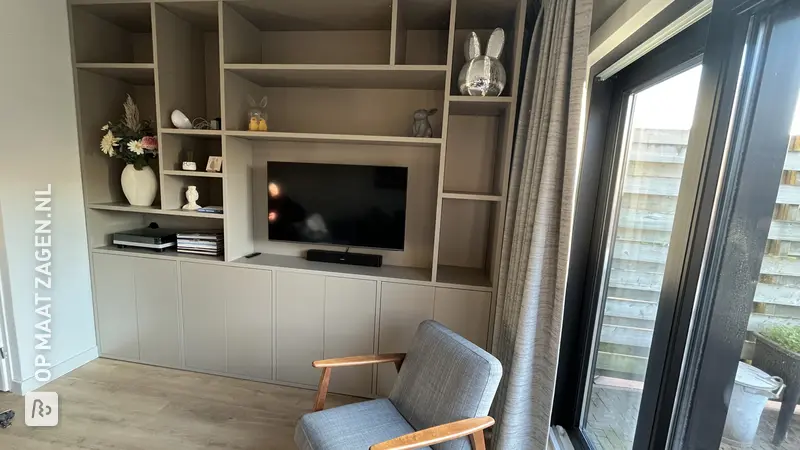
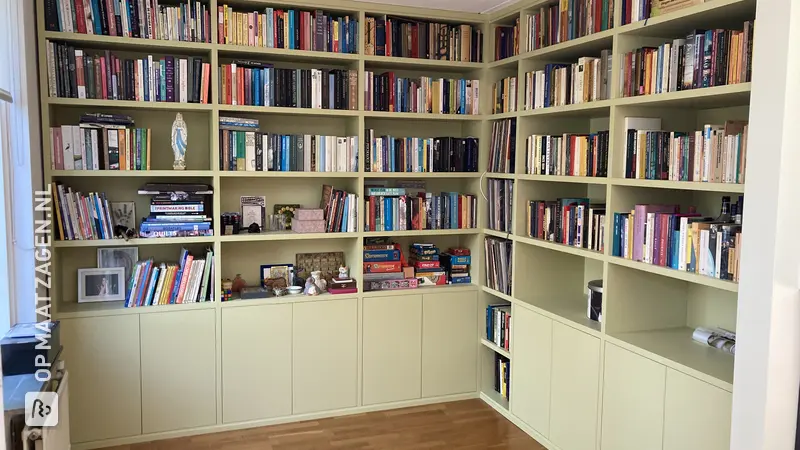
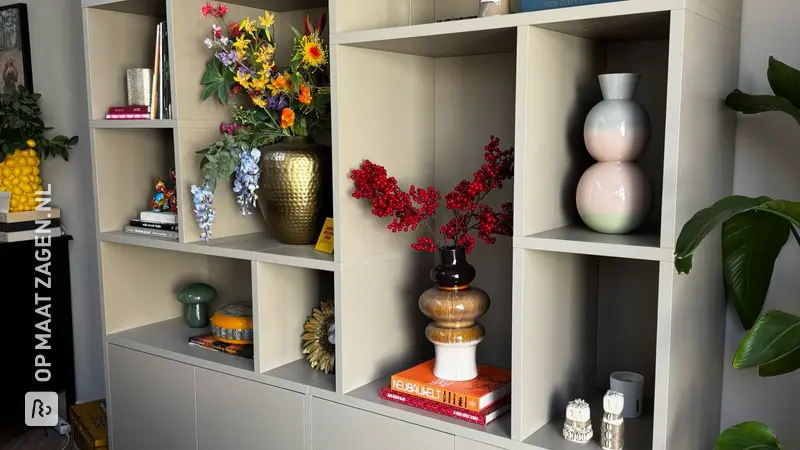
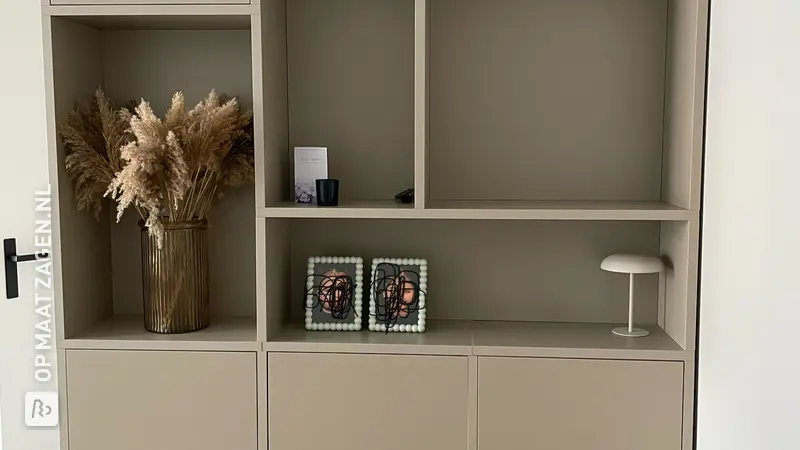
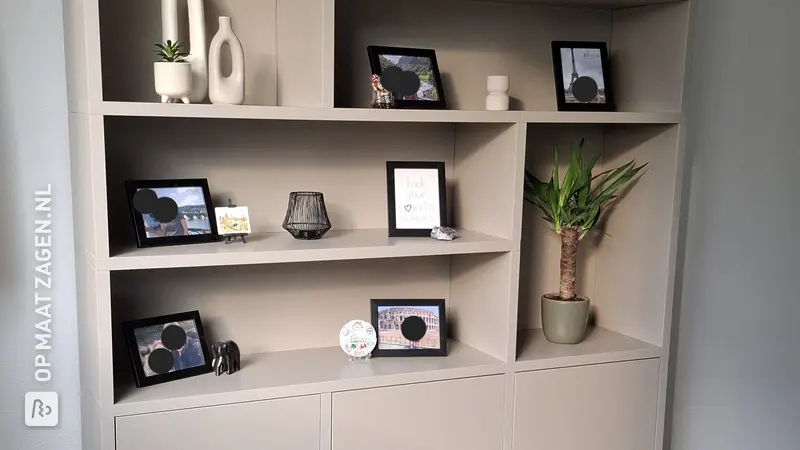
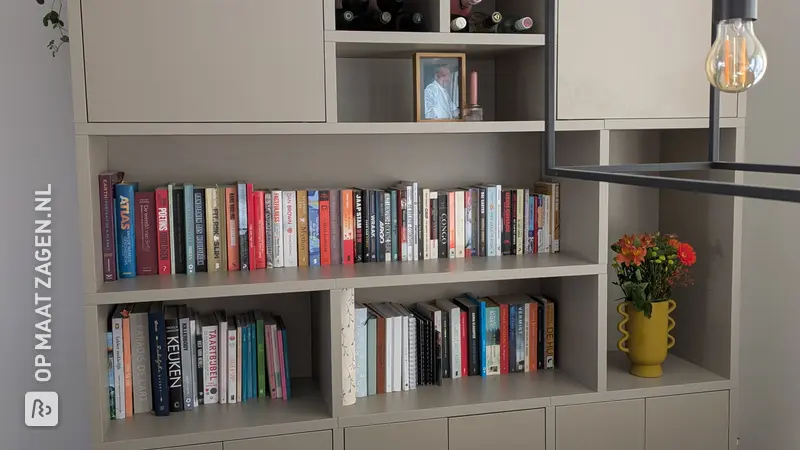
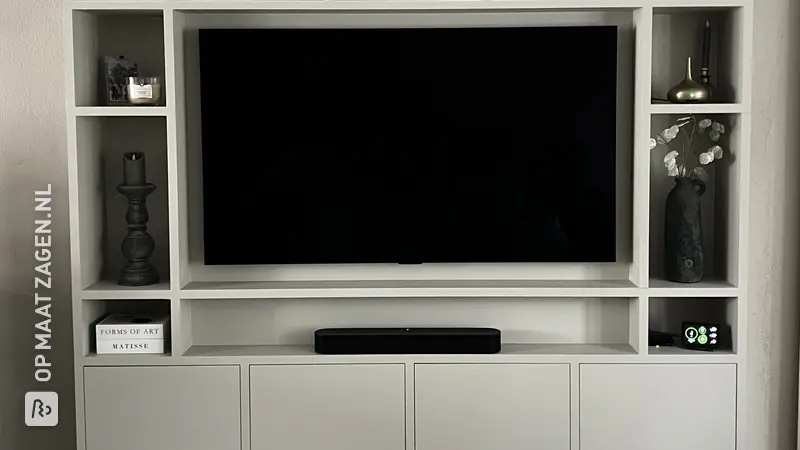
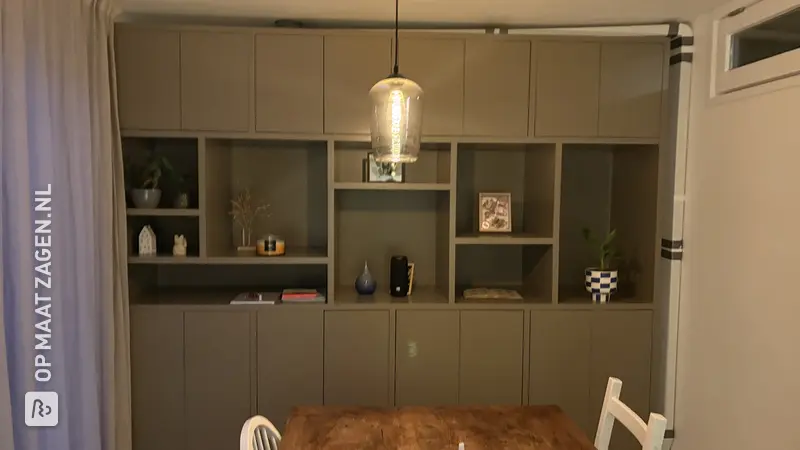
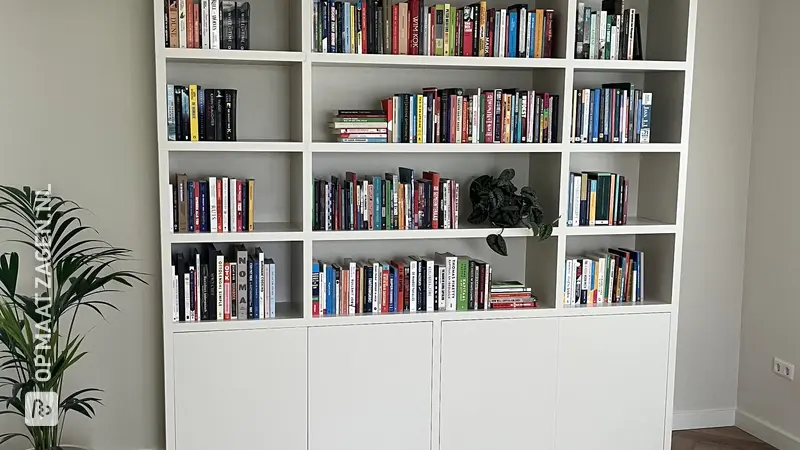
We really wanted to fill our dining room with a beautiful shelving unit. Because we have a high ceiling, a standard size cabinet was not the solution. That is why I ended up at OPMAATZAGEN.nl. Here we could put together our cabinet completely ourselves. I got to work on the website and after some creative thinking and moving, this beauty appeared. You can view your design in 3D and the dimensions are also included. You can continuously adjust and save these. Super handy!
The cabinet is delivered as a DIY kit with numbers on each shelf. The description states exactly which number you should start with. This makes it very easy to assemble your cabinet. And don't forget the handy videos about assembly , so you can get started well prepared!
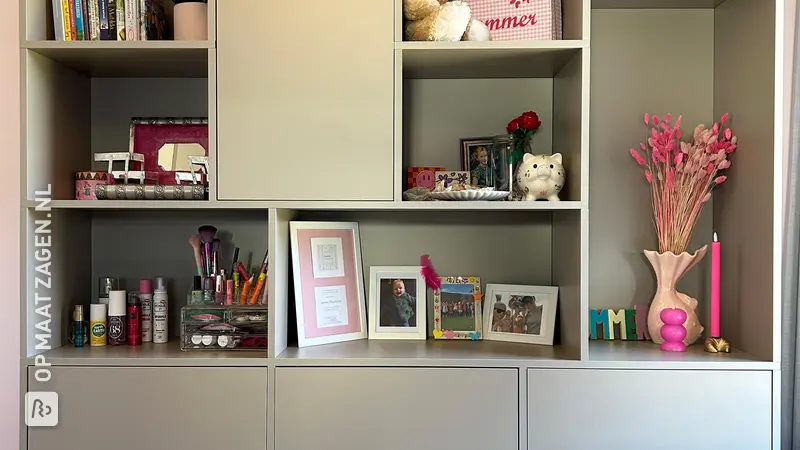
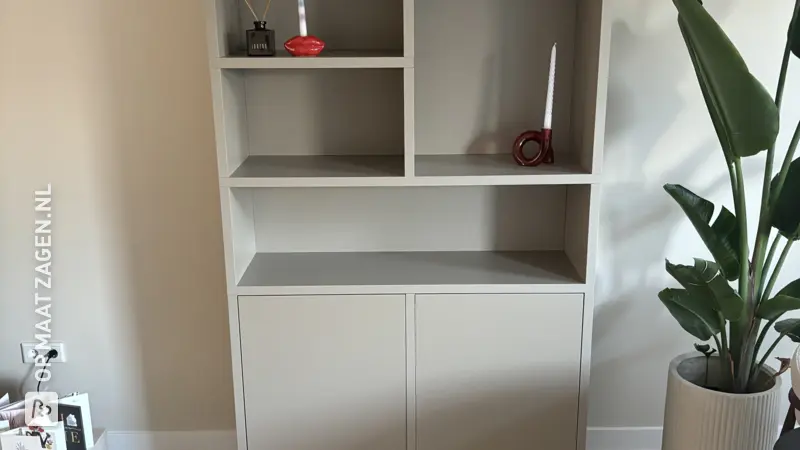
When the cabinet was standing, we sealed the seams. This was because we personally found it less attractive that you might still see gaps. After the sealant was dry, we wiped the cabinet with st. Marc and we could start painting. We had the cabinet delivered primed, and then gave it a colour ourselves. We chose the colour Wolkenwit from Perfection in semi-gloss. We painted the cabinet three times.
The furnishing
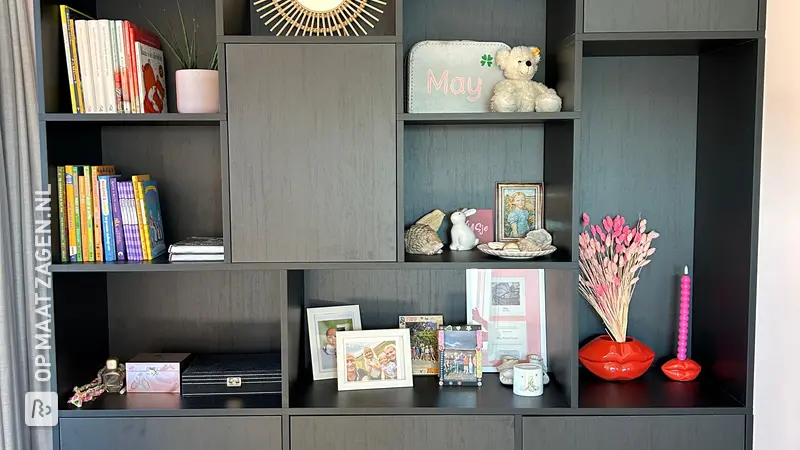
Then came the best part. The interior! We love a Scandinavian style with a chrome touch. The compartments allow you to slide around and rearrange the cabinet over and over again. I really wanted nice frames and a lamp in the cabinet. We made a hole in one shelf (just behind the lamp) where the cord runs, via the cabinet with door and to the side of the cabinet, to the socket.
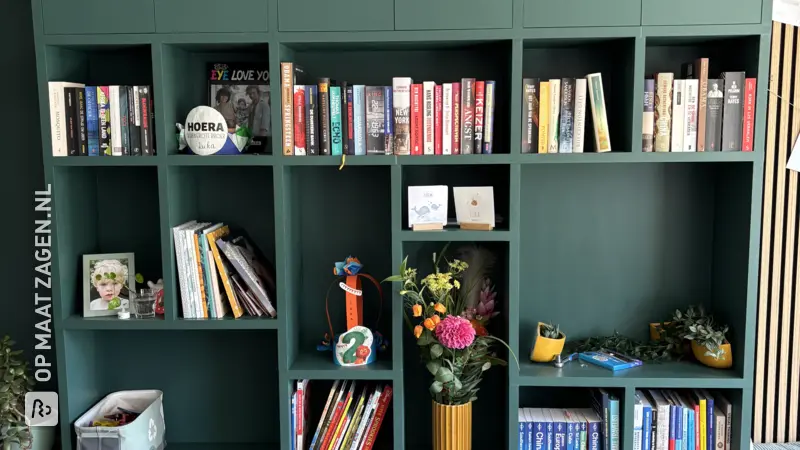
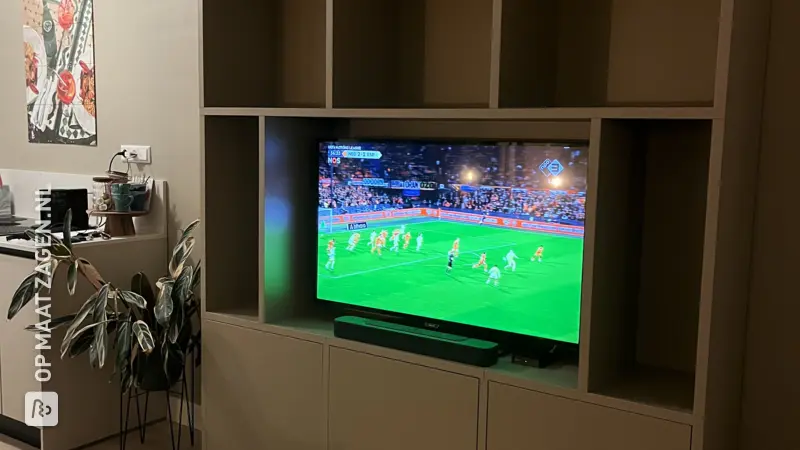
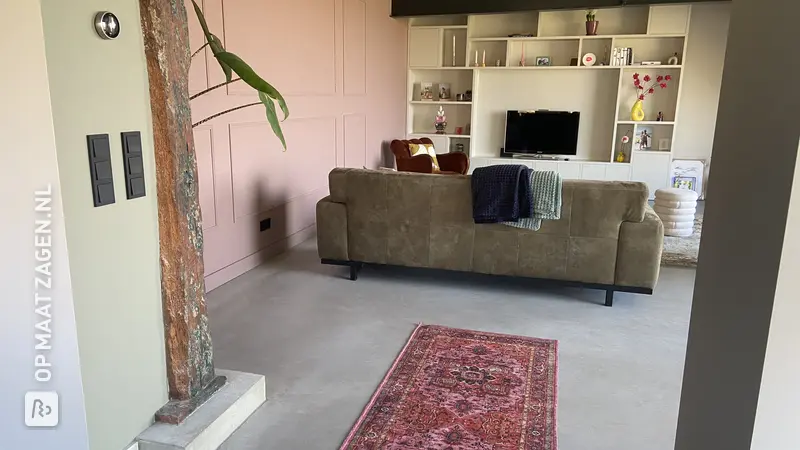
It is a beautiful large cabinet where you can store a lot of stuff. The clutter can be behind the doors and the showpieces can be seen. Love it! More inspiration? Check out my instagram account @thuizop5 .
Specifications
- Dimensions: 200 X 259 cm
- Depth: 40 cm
- Thickness: 38 mm
- Material: MDF Primed
Installation box including:
- Glue
- Wooden dowels
- Hinges
- Screws
- Reinforcement angles
- Customised manual
Supplies:
- Battery screw drill
- Hammer (rubber)
- St. Mark
- Cleaning cloth
- Kit
- Frog tape
- Paint
- Brush and roller
Tip! Also check out our handy DIY tips!
Furniture from Marielle is finished in the color
Wolkenwit zijdeglans van Perfection
What now?
Do you want to create this DIY project? This piece of furniture is part of our TOSIZE Furniture collection. Design your personalized, custom-made furniture using our 3D configurator! Want more information? Learn more about available colors, assembly, or browse all frequently asked questions. You’ll receive a TOSIZE Furniture package, including an installation kit.
€ 1.790,44
All materials used
View all furniture
085 888 29 55
