- OPMAATZAGEN.nl
- DIY tips
Making your own to size conversion
Making your own to size conversion
Want to make your own to size conversion for your fridge, radiator, wine cabinet, cat box, bin or anything else? Read in this article how best to go about making an conversion and get inspired by projects from our handymen.
In this article:
- How to make your own to size conversion
- What items do you need to make a to size conversion
- What type of wood to use for a to size conversion
- How to make a sketch or drawing for your conversion
- What does a to size conversion cost
- To size conversion projects by our handymen
- Getting started to make your own custom-made conversion
How to make your own to size conversion
Making your own to size conversion: it may seem more complicated than it is. However, it is useful to know in advance what to look out for. Good preparation is therefore very important.
We will tell you in this article exactly how to make a made-to-measure cabinet. Many handymen find the most difficult aspect of a DIY project is cutting the board material to size. Let that be exactly what we at OPMAATZAGEN.nl take care of for you!
What items do you need to make a to size conversion
Whether you want to make a conversion for your fridge, your bins or your litter tray: you will need certain DIY materials no matter what. Consider the following items:
- Checkered paper, pencil, eraser, ruler: for a rough sketch of your design
- Cordless drill: to easily pre-drill holes and drive screws into your material
- Wood glue: may be needed to glue various parts of your conversion firmly together
- Primer and lacquer: if you choose sheet material that still has to be finished - prime first, then varnish
- Sandpaper: always handy to have on hand, with a coarse or small grain
- Tape measure or folding rule: you need to measure the dimensions and mark out your wood
What type of wood to use for a made-to-measure surround
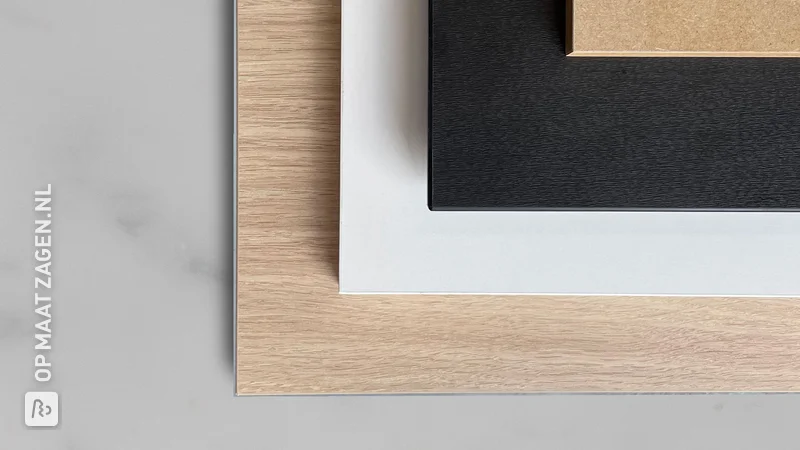
You can use different types of wood for your own custom-made conversion. At OPMAATZAGEN.nl, you can choose from an extensive Assortment of, for example, MDF, plywood, plywood, OSB, concrete plywood, furniture panels and joinery panels. That's a lot of materials, each with their own typical properties.
In the conversions made by our handymen, we often see the use of MDF and furniture and carpentry panels. These are easily workable materials that you can edit afterwards if necessary.
MDF
MDF is one of the most versatile types of board material. It is easy to work with and does not splinter. We have many varieties of MDF in stock for you. For example, you can choose from blank MDF, but also MDF with lacquer backing, primed MDF or black MDF.
Furniture and timber panels
Timber and furniture boards is widely used in furniture and interior design. Furniture panel is plasticised chipboard finished with a manufactured top layer. Carpentry panels and solid board consist of solid (glued) elements.
Perfect material for an conversion!
We supply these panels in many varieties. Think beech, oak, maple or mahogany. Or perhaps black melamine-faced furniture panel is the panel material for your cabinet.
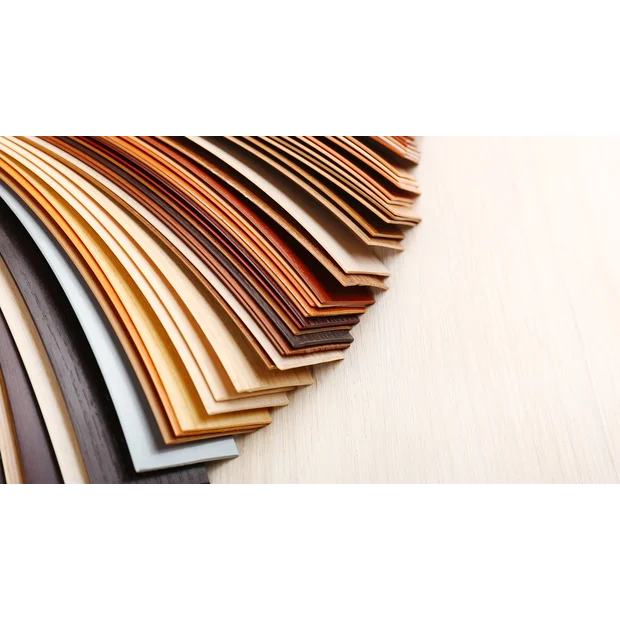
Of course, you can also choose finished materials. For example, we can deliver certain materials for your carcase to your home with a veneer layer, lacquer carrier film or phenol-coated plywood (concrete plywood).
How to make a sketch or drawing for your conversion
Before you start ordering materials, it is smart to make a sketch or drawing. Start with a sketch: take a pencil and graph paper and roughly draw what you plan to build. Make sure the proportions are roughly right, you don't need to accurately measure the measurements here yet.
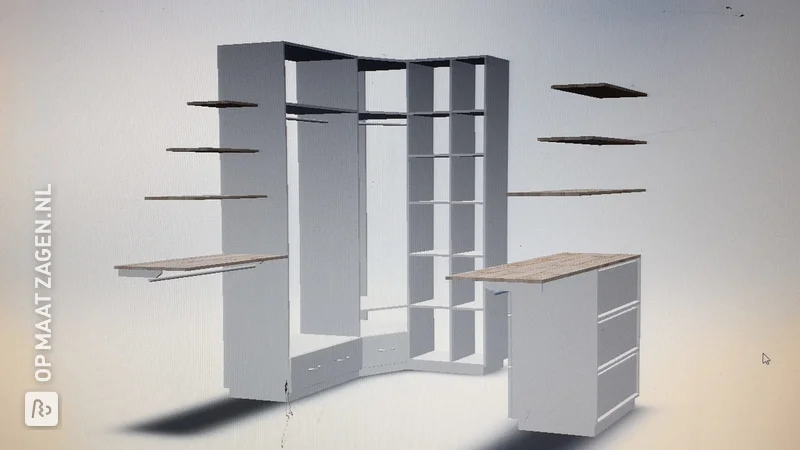
Of course, if you are handy with a 3D drawing program, such as SketchUp, you can also use that just fine.
At this stage, it can also be helpful to use tape to mark the outer dimensions of your conversion on the wall. This will give you a nice visual of how much space your conversion will soon take up in your living room, hallway, kitchen or any other room.
While you make a sketch, you will notice that you think carefully about how your homemade surround should be put together. Will it have doors? And if so, what hinges will you use for them?
Joining the corners of your conversion
Another important question in the sketching phase is: how will you connect the different sheet materials? Will you glue and screw or use corner anchors? And do you want to work with right angles or mitred angles? Mitre cuts, for example, make for nicer, hidden joints. You can't have that done at the hardware store, but at OPMAATZAGEN.nl you can. Also check out our various finishing options.
The choice of your joints will ultimately affect the exact dimensions of your materials.
Make sure your drawing is complete, including the exact measurements of all materials. With that list you can use our web shop to order exactly what you need for your homemade conversion. Tip: mark each board with a label of your choice. That way you know exactly which shelf belongs where and you don't have to puzzle.
Are you building your conversion around a cupboard, as Thomas did? Then keep in mind that the outside size of your current cabinet will become the inside size of your conversion.
Tip: need help with your sketch? Some of our handymen's DIY projects include the sketch of the job in question, like this sketch of a wine fridge conversion. That way you can get a little sneak preview!
What does a customised conversion cost
Of course, you can also have a custom-made conversion made entirely by someone else. That will cost you considerably more money than if you do it yourself. If you do it yourself, you only pay the material costs. That means that for a litter tray conversion like this, you can be done for over 100 euros. If you want to have it done, the craftsman's hourly wage is added. You save that if you do it yourself.
Furthermore, the cost of a to size conversion depends very much on the type of material you use. A solid wood type is more expensive than MDF, for example.
Projects by our handymen
Good example follows: our handymen show you how to make a custom-made conversion. Be inspired by these projects. Turn them into something special or just look at how others do it. Why make it difficult when it can be easy?
Homemade fridge conversion
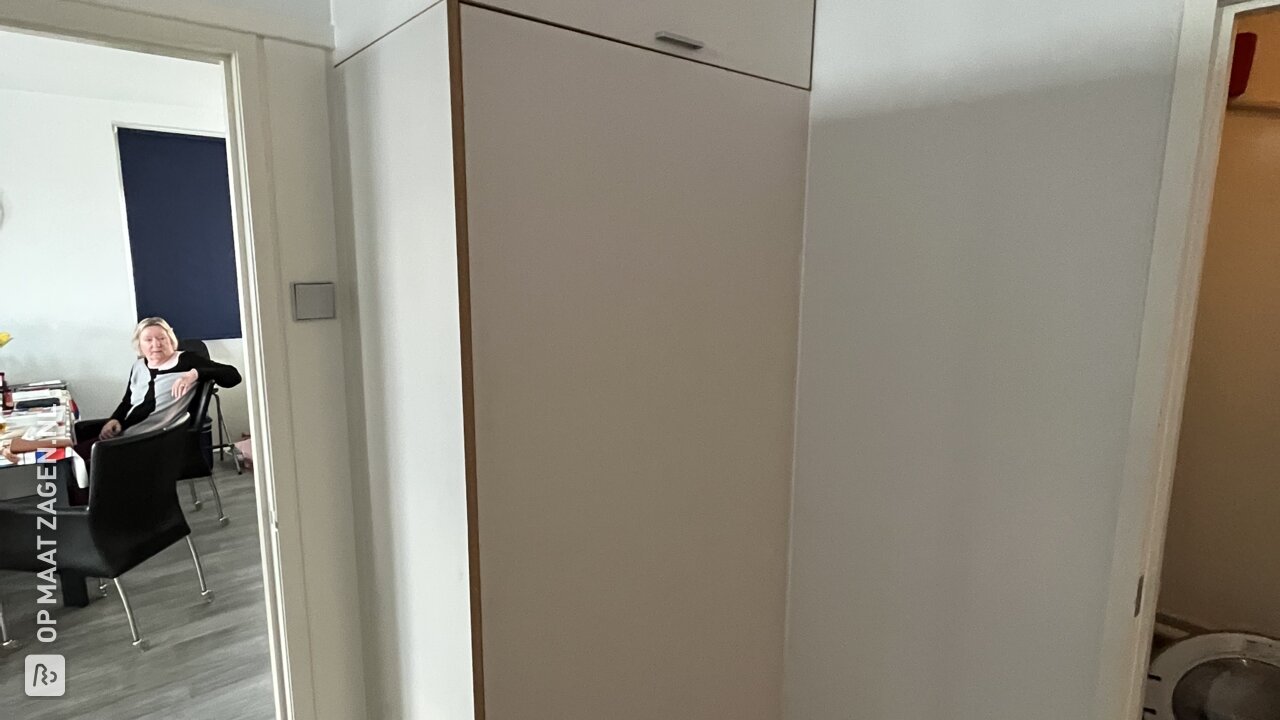
This MDF fridge conversion ensures that Jelmer does not have to look at the ugly back of his fridge. He screwed all the plates on from the back so that he had to put as little filler as possible. Clever!
Homemade cat litter box conversion
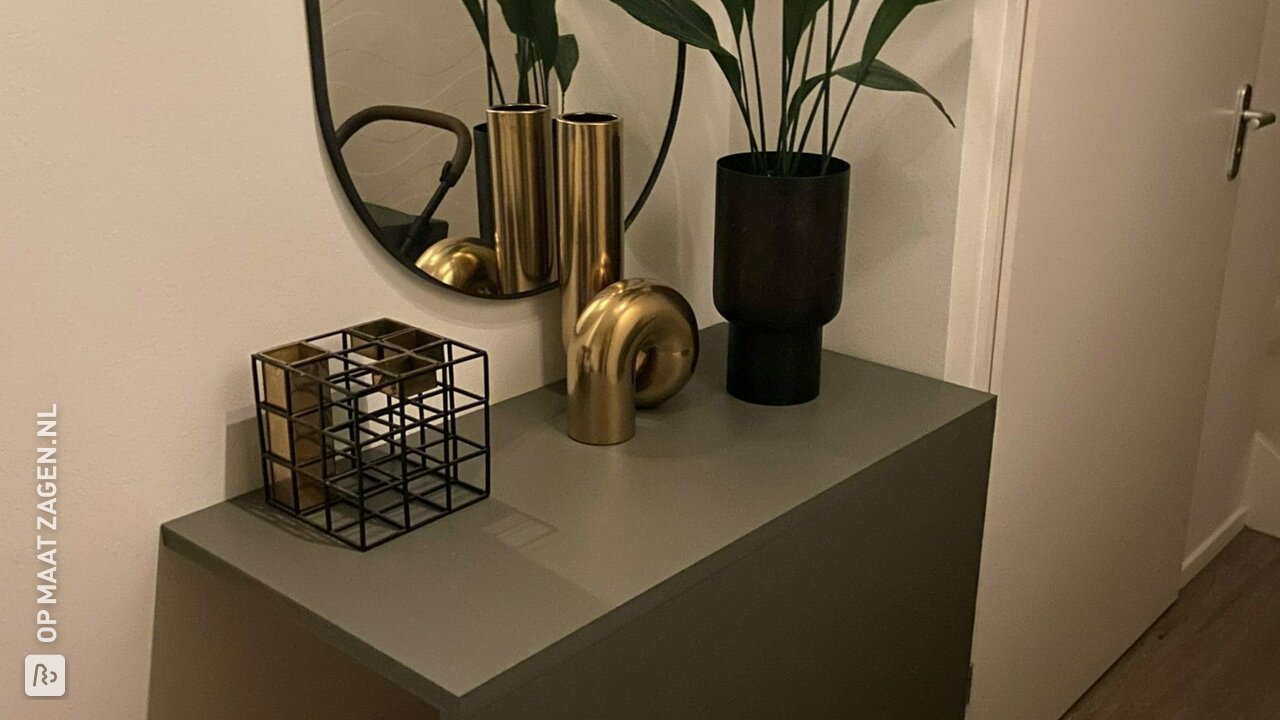
Stylishly conceal your litter box with a few simple MDF boards? It can be done, Michiel proves. He chose to attach the conversion to the wall with a magnet, so you can easily remove it. Handily done. Michiel chose to neatly prime and paint his blank MDF boards himself.
Homemade IKEA cabinet conversion
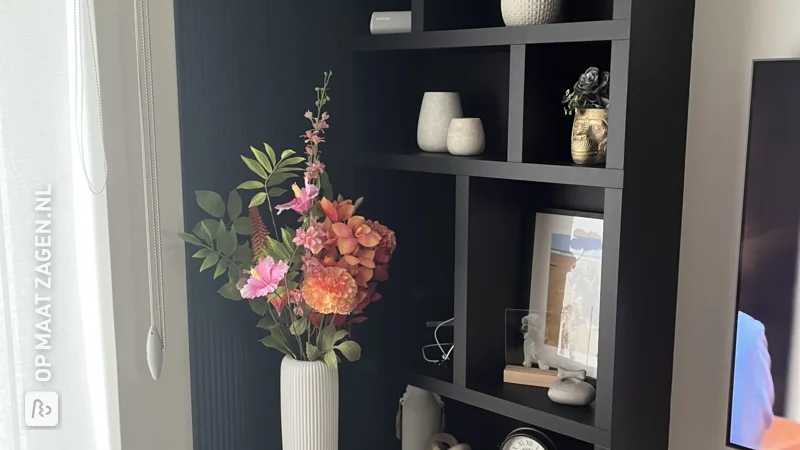
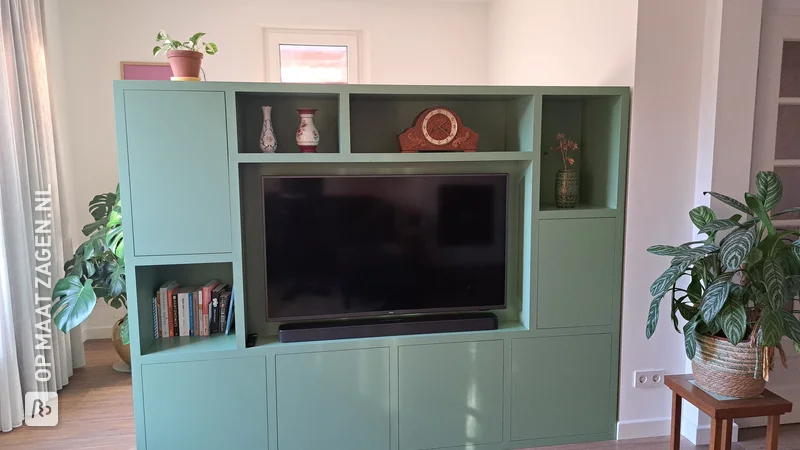
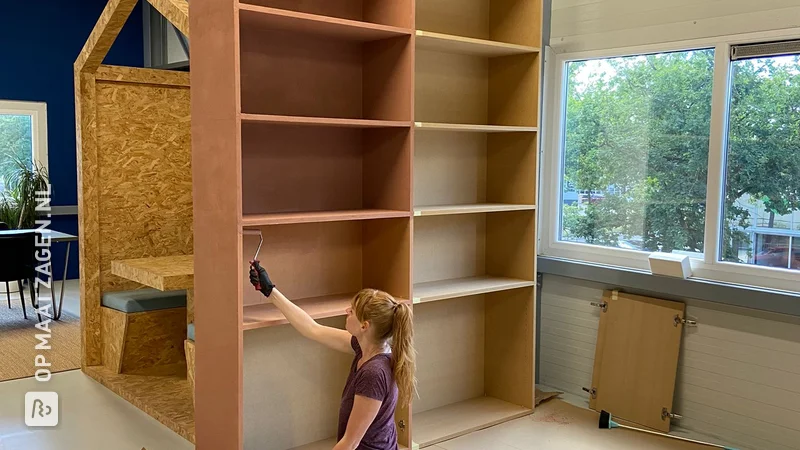
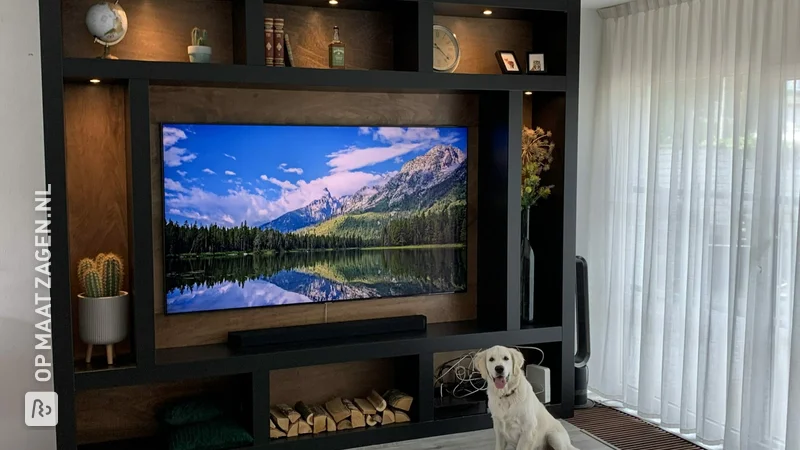
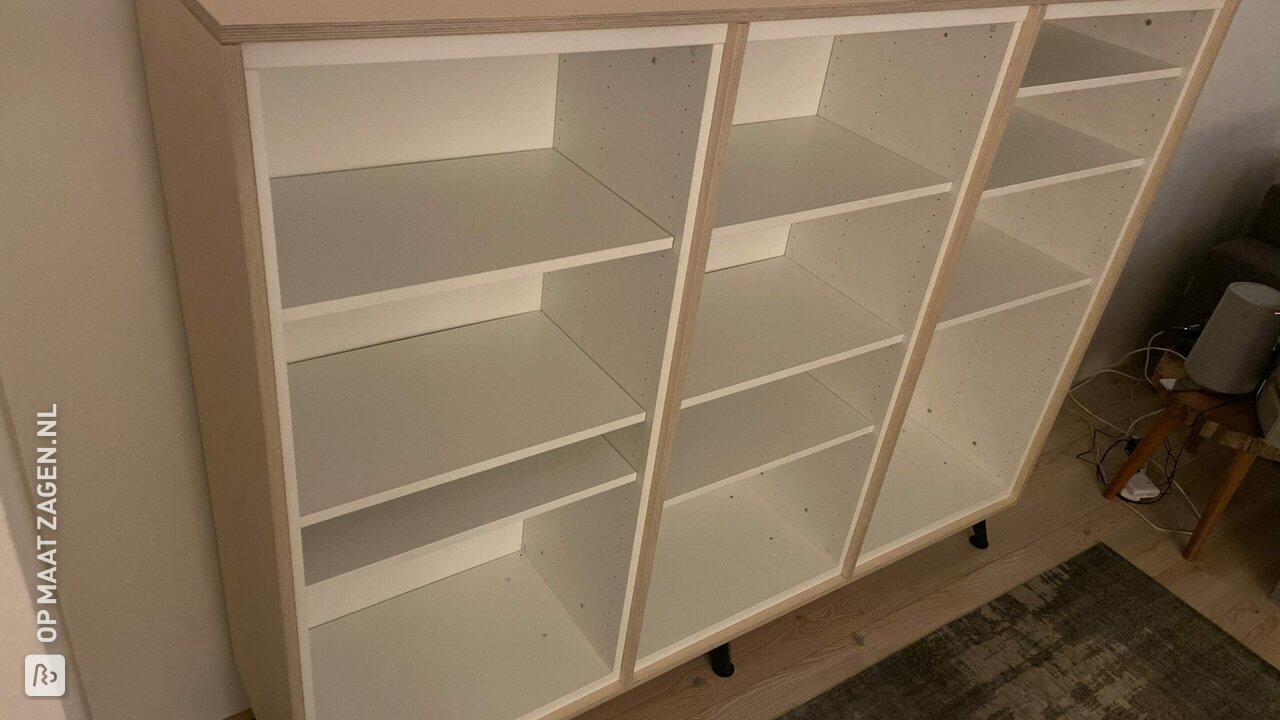
The IKEA Besta cabinet is a bit boring. At least, that's what Thomas thinks. That's why he made a frame around it. With six birch plywood shelves, he was done. He explains exactly how he did it. A nice upgrade from a simple IKEA cupboardf
Homemade waste bin conversion
Very creative is this wastebasket conversion with planter and plants Mark has used different types of MDF and carpentry panels for this. It has actually become a planter with space for a wastebasket. Neat!
Homemade IKEA shoe cabinet conversion
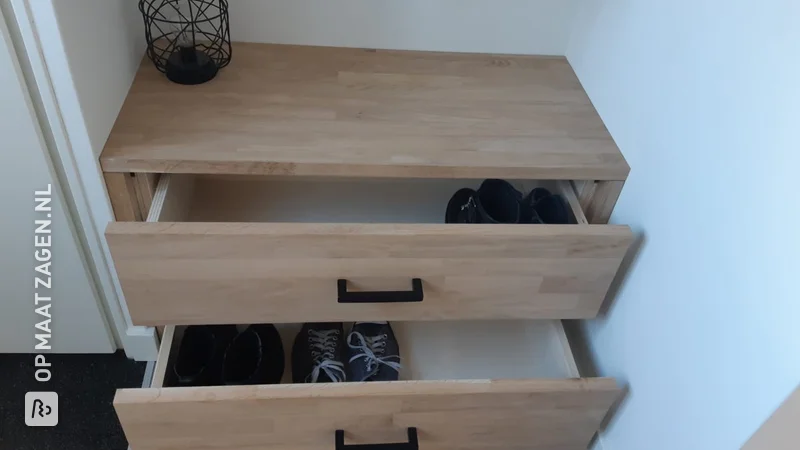
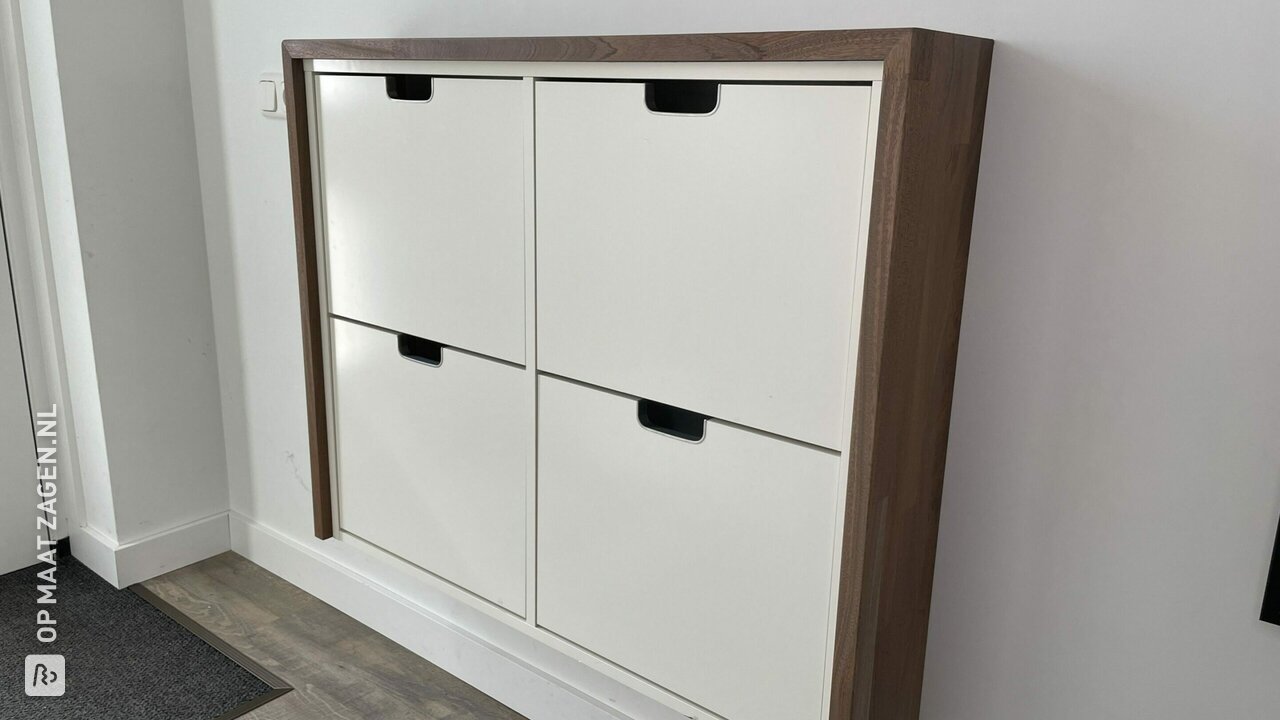
The IKEA Ställ shoe cabinet looks a bit simple. Reason enough for Pascal to use some three mahogany carpentry panels to make a special shoe cabinet conversion for it. He glued the panels together and screwed them from the inside. To finish it off, he treated the lumber panels with a wax oil to protect it from scratches and discolouration.
Homemade conversion for wine refrigerator
Have a built-in wine fridge, but nothing to build it into? Then make your own conversion. At least, that's what Sjoerd must have thought when he made the conversion for a wine fridge.
Cutting the MDF panels to size seemed to him to be the trickiest part of this job. Hence, he engaged OPMAATZAGEN.nl to take that off his hands. The result is worth it!
Getting started to make your own to size conversion
Making your own custom-made conversion: with our tips in this article, you can get started. Hopefully, we have inspired you to make a nice job of it.
In any case, we are happy to help you with perfectly cut materials for your project. Make it easy for yourself by adding all materials, in the right size, to your shopping basket right away.
Have fun making your conversion!


