- OPMAATZAGEN.nl
- Do it yourself
- DIY Projects
A unique cat climbing wall with custom house, by Femke
A unique cat climbing wall with custom house, by Femke
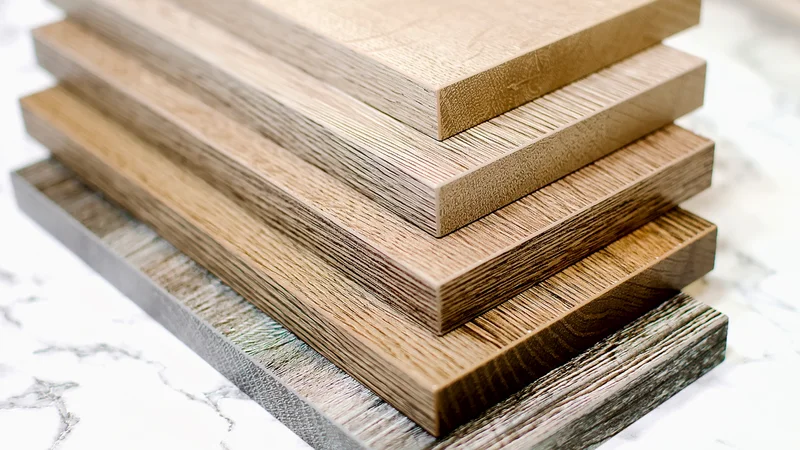
Create this project yourself with sheet material cut to size by OPMAATZAGEN.nl!
Bob
Very easy
2 minutes
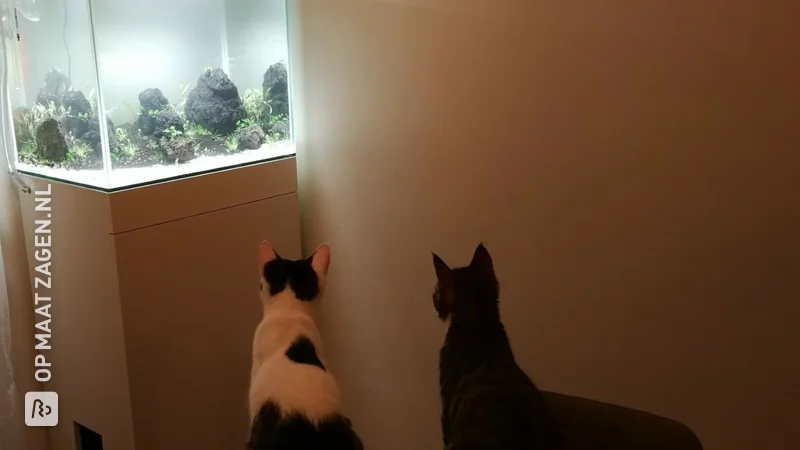
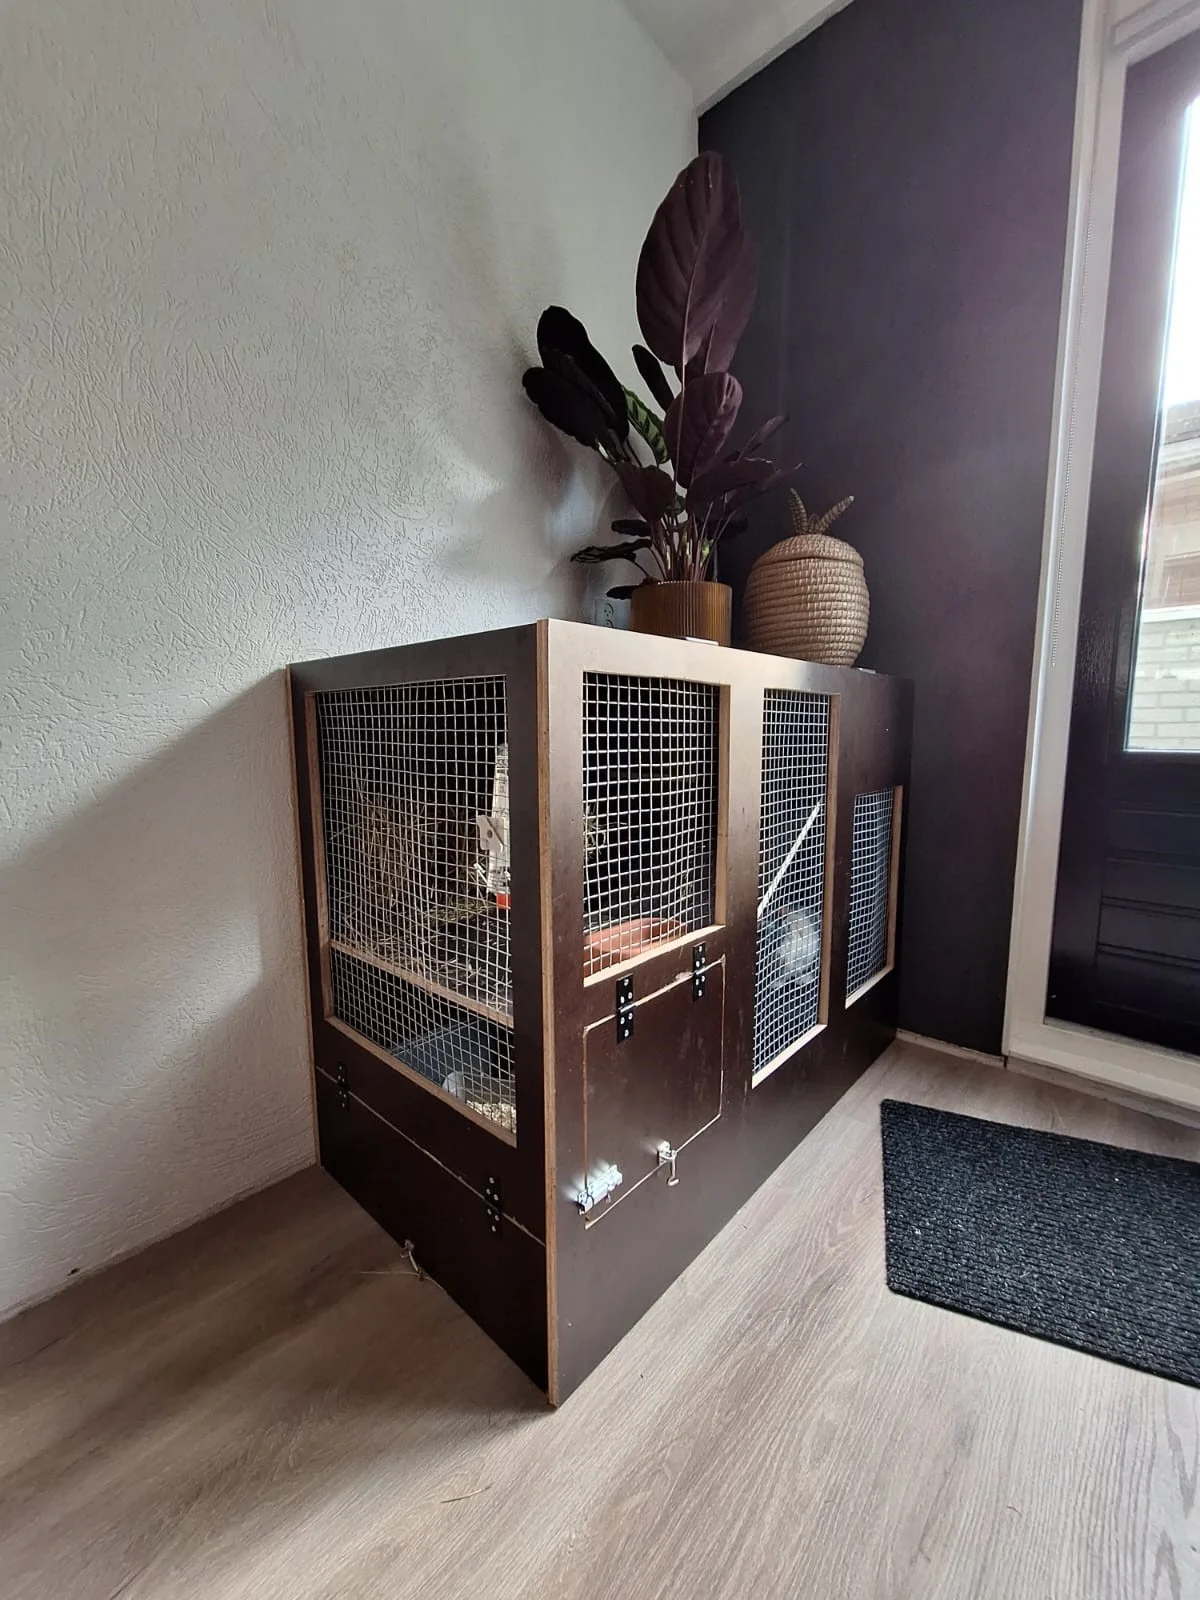
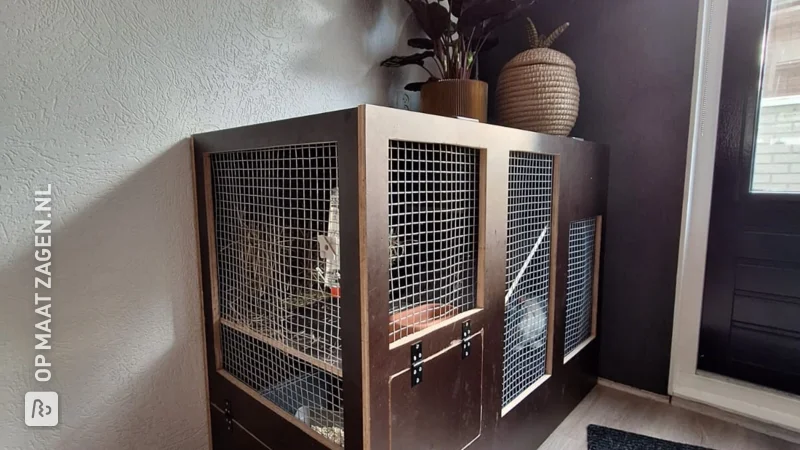
In this project, Femke shows how she has easily created a beautiful and unique cat wall using custom-sawn pine carpentry panels. By ordering your sawn material online, this is a fun project you can do yourself. The results are impressive! And most importantly; the cat is happy :)
Description of Femke
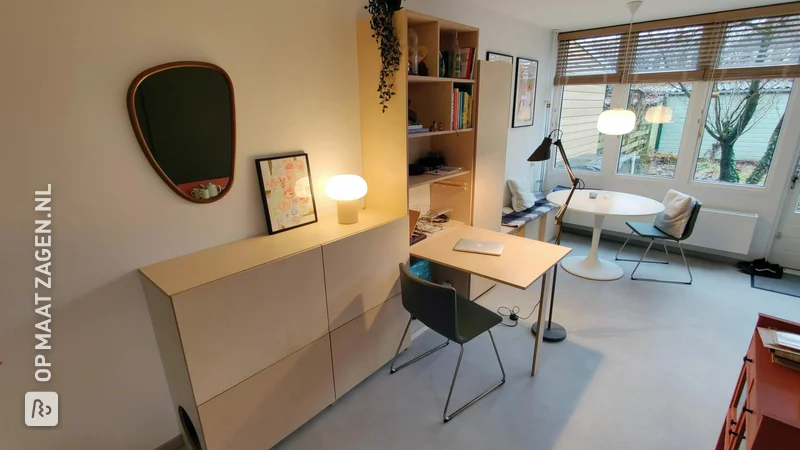
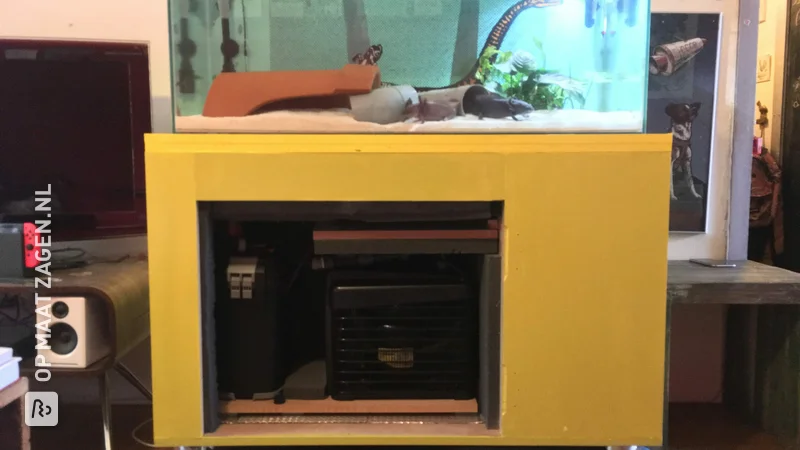
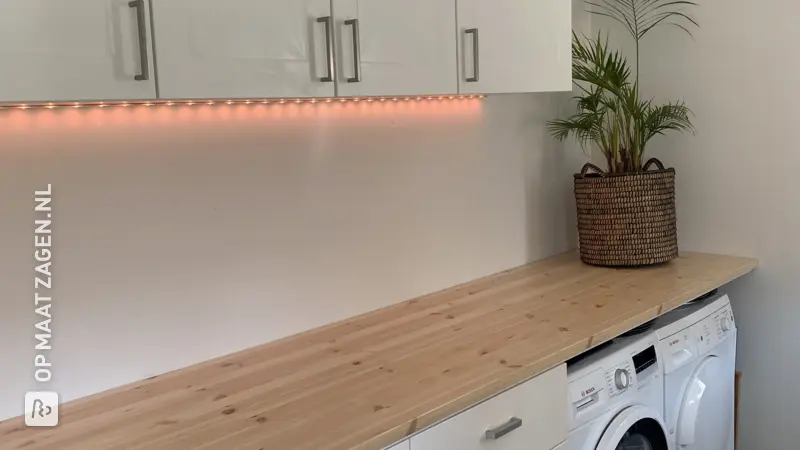
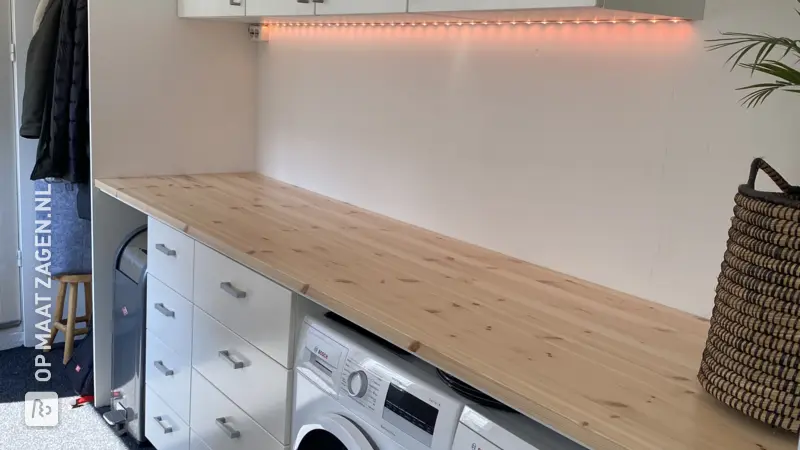
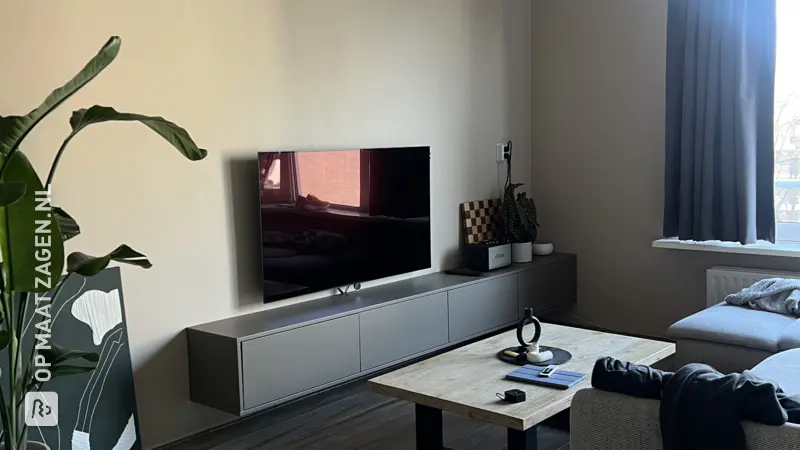
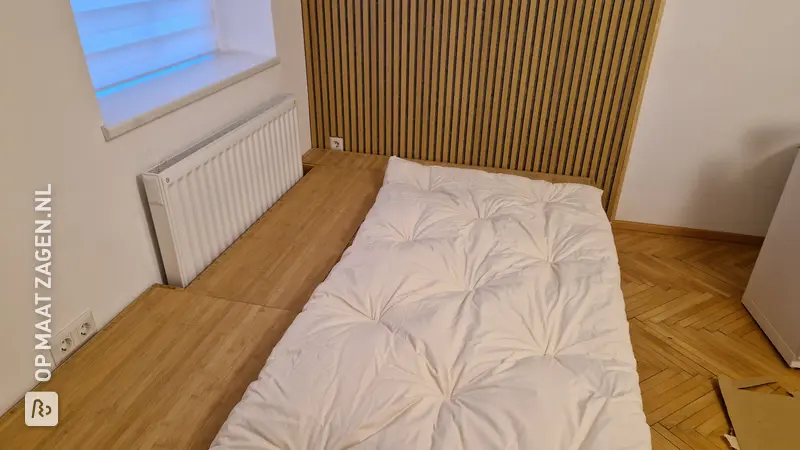
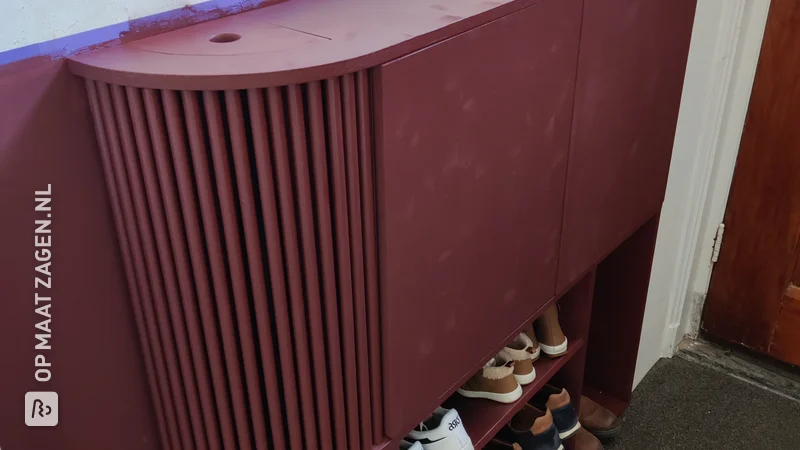
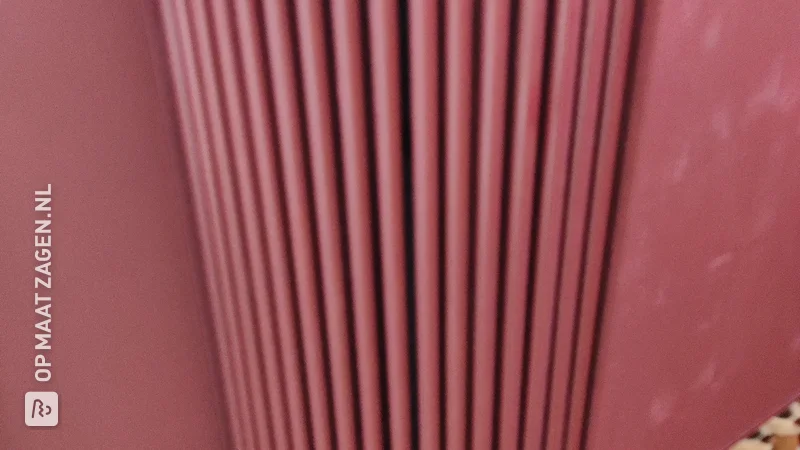
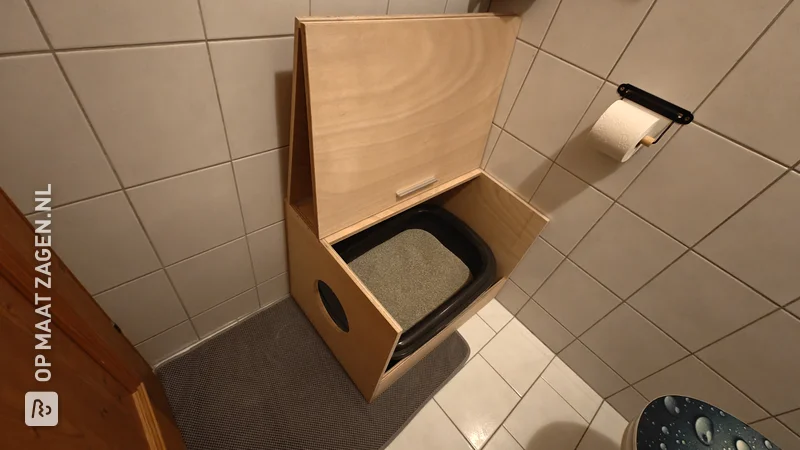
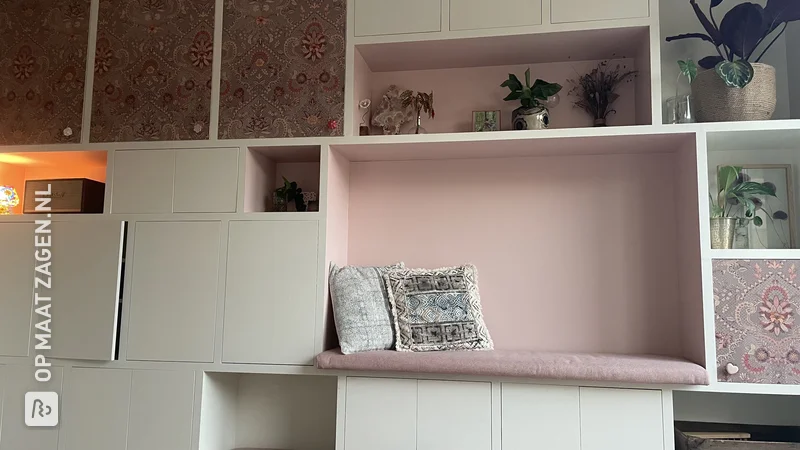
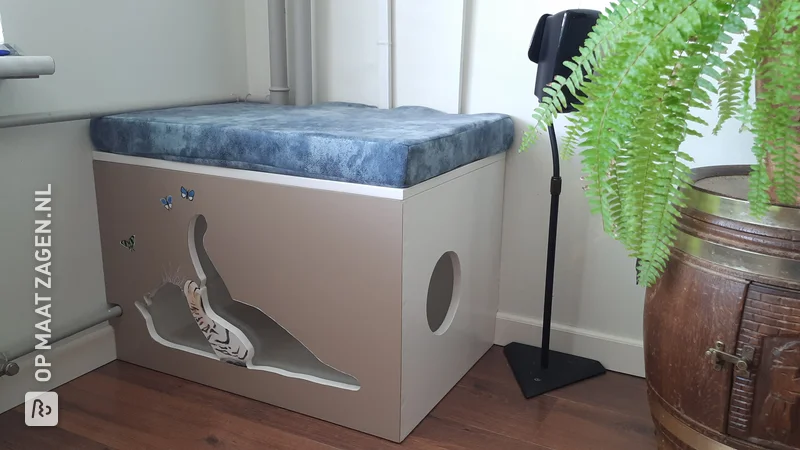
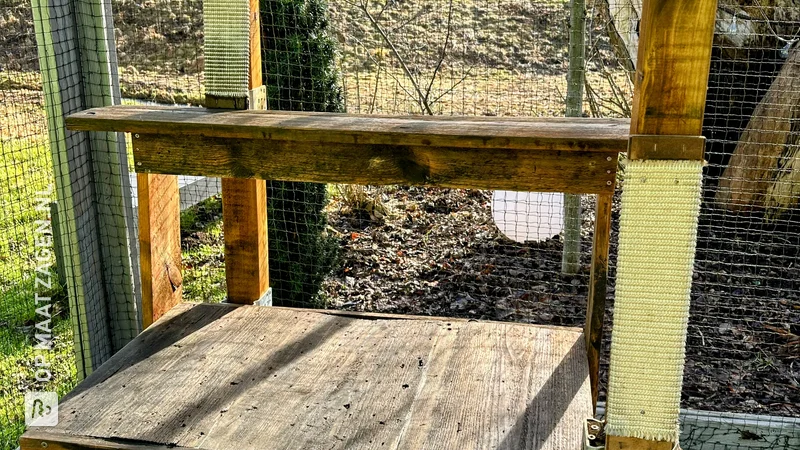
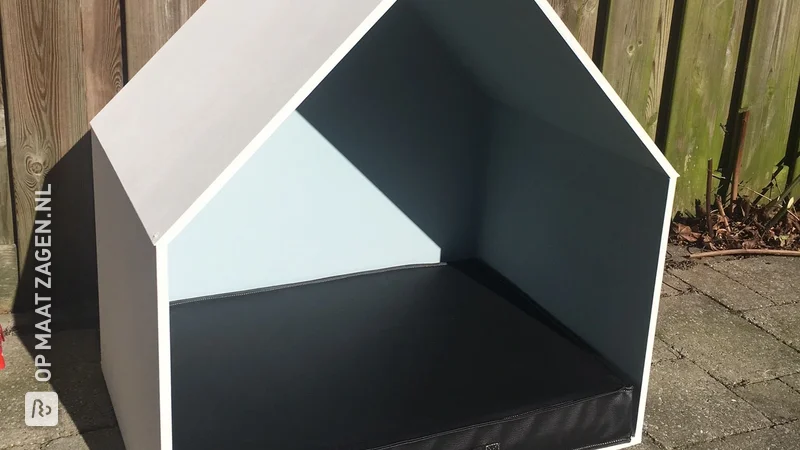
For our cat we made a climbing wall with various wall planks and a house at the top. We wanted to offer her a high and safe place, but in such a way that it would also look nice in our interior. By painting the elements in the color of the wall, they are less eye-catching. And with the rounded corners the whole thing looks friendlier and fits in nicely with the shapes of the piano.
How I made this project
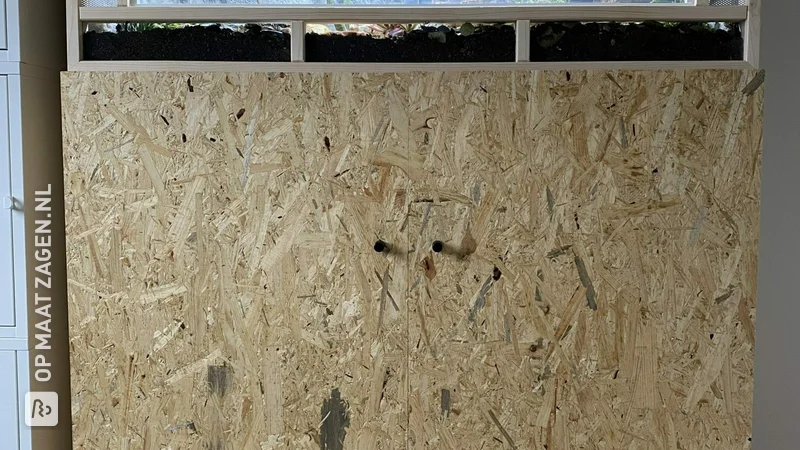
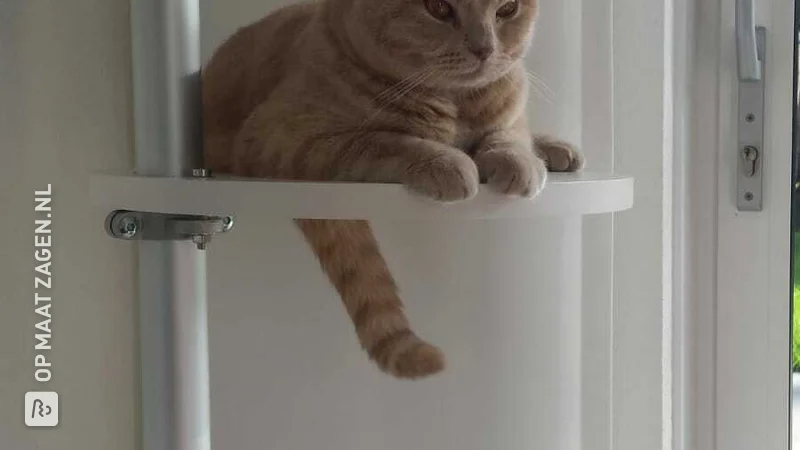
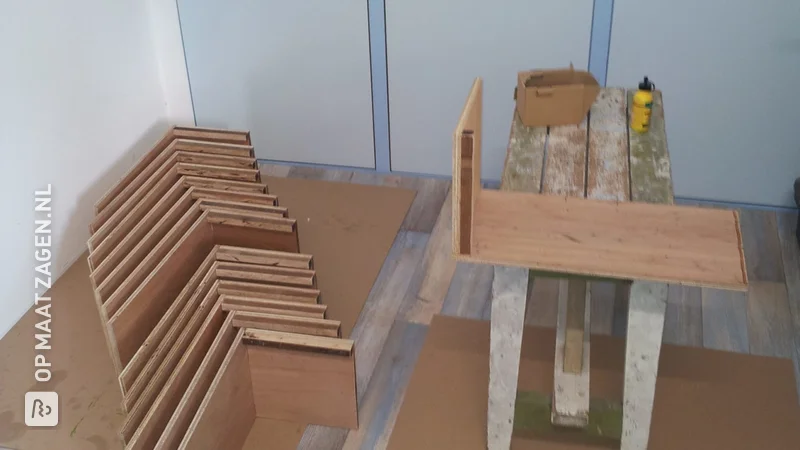
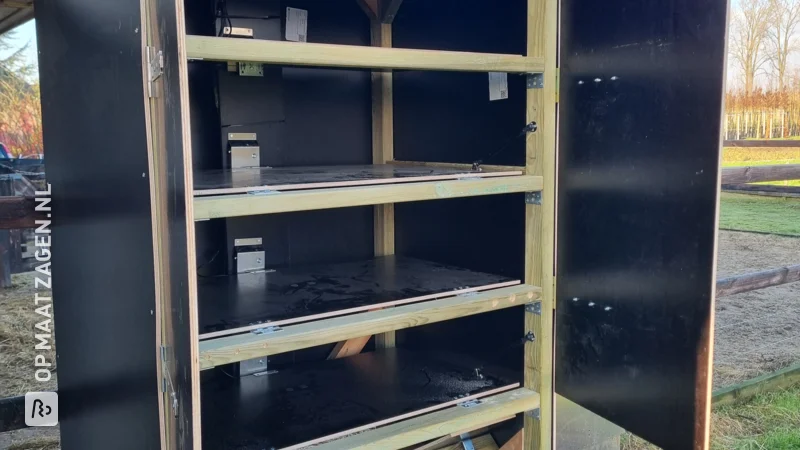
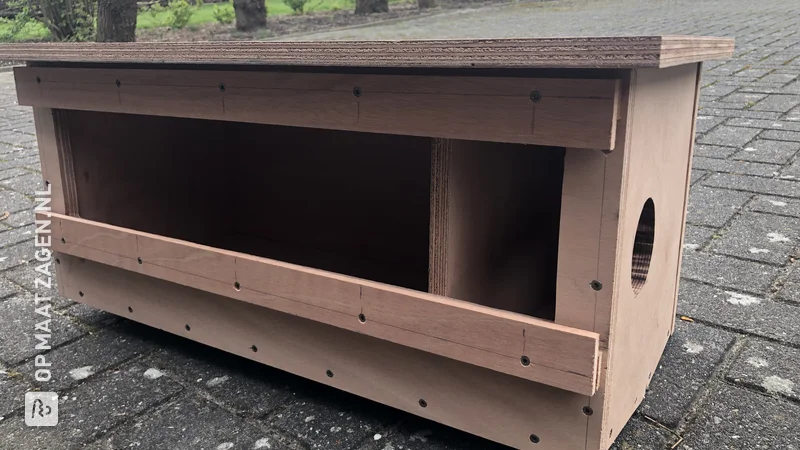
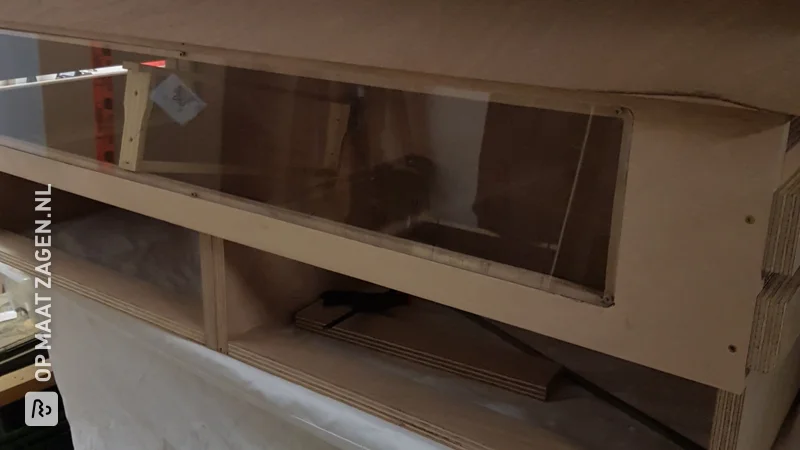
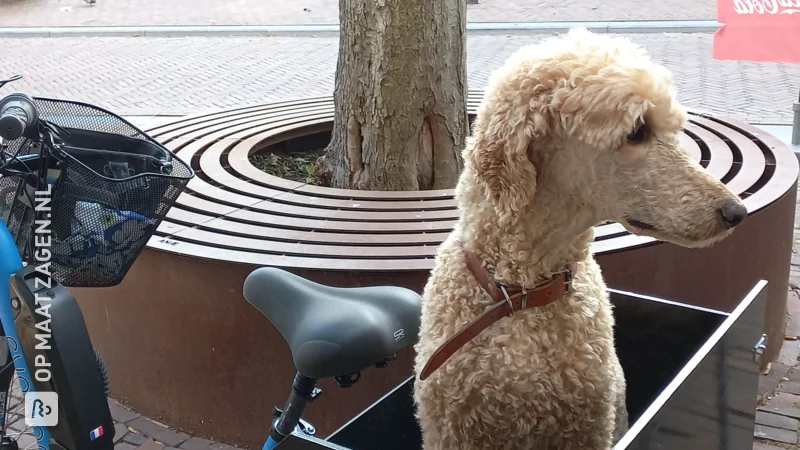
We first made a sketch beforehand. Because we found it difficult to estimate what this would look like in the room (and whether the cat could easily get up and down), we made a model. That turned out to be a smart move, because some distances still required some adjustment. We then ordered all the planks separately via the webshop. We rounded the corners ourselves with a jigsaw. This could have been done at an additional cost. Each wall shelf consists of a part that is screwed to the wall and a top shelf that is screwed onto it from above. By countersinking the screws, we could put them away nicely later. Once everything was put together, it was a matter of painting them nicely (2 layers of primer, filler, sealant seams and 2 layers of topcoat). And then the hanging could begin. Thanks to the pre-made sketch, we no longer had to do much thinking about this. Just check whether everything is level and start drilling! Finally, the final check: cat was satisfied :-)
Dimensions of my DIY project
140.0 x 165.0 cm
Tip! Also check out our handy DIY tips!
What now?
Want to make this DIY project? Check out Bob's saw list and complete your order easily.
€ 129,66
All materials used
View all sheet materials


.webp)