- OPMAATZAGEN.nl
- Do it yourself
- DIY Projects
Custom made rustic pine wood windowsill, By Erwin
Custom made rustic pine wood windowsill, By Erwin
Create this project yourself with sheet material cut to size by OPMAATZAGEN.nl!
Erwin
Easy
2 minutes
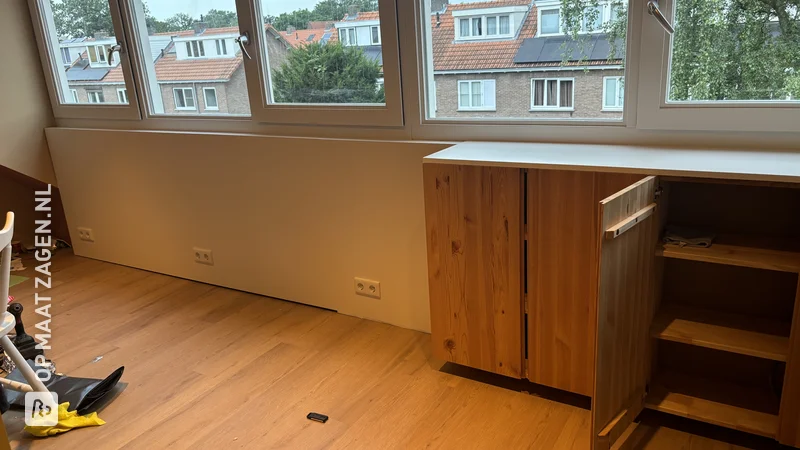
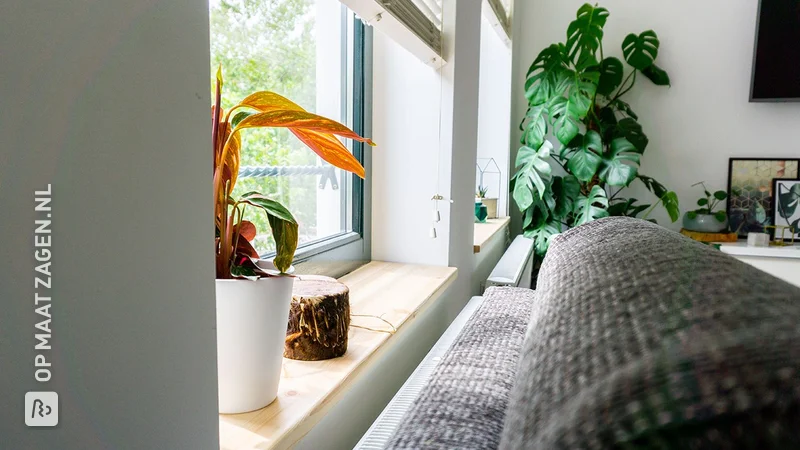
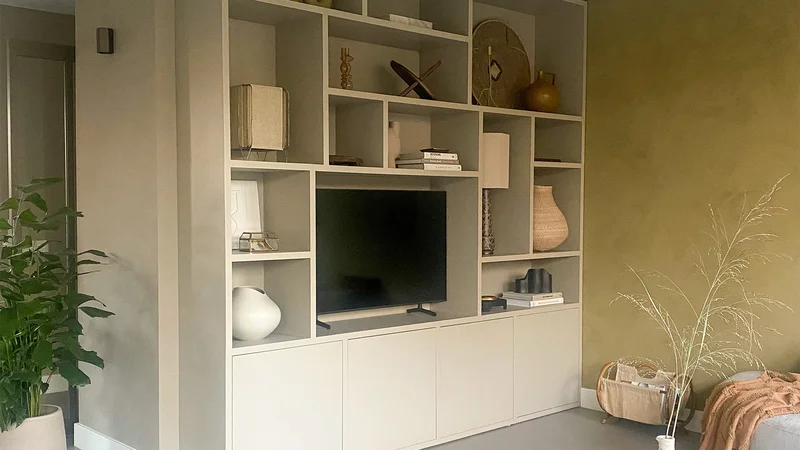
A Rural Oasis in the Attic
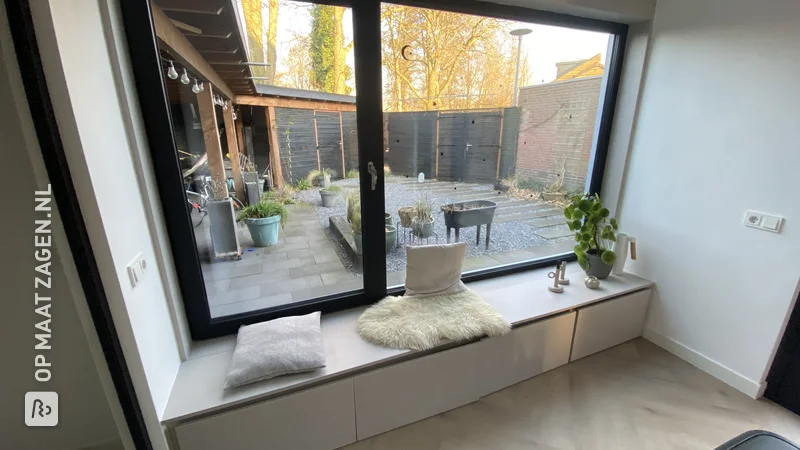
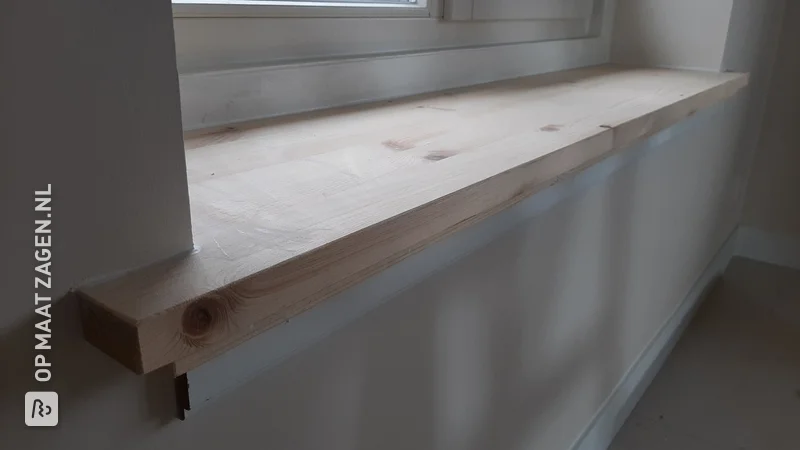
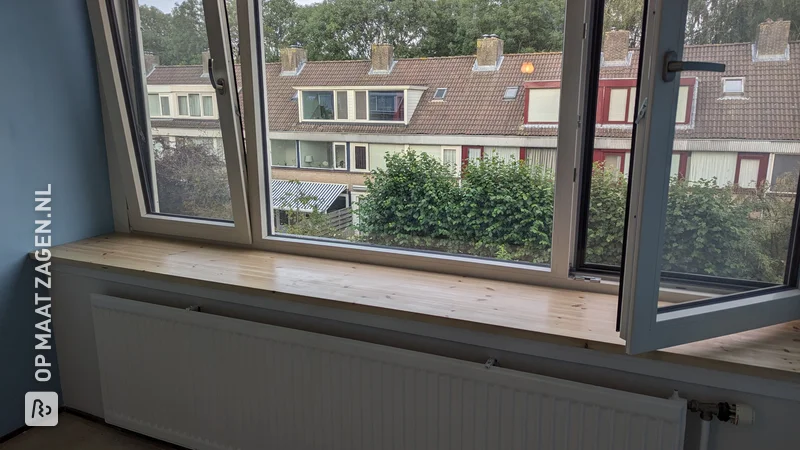
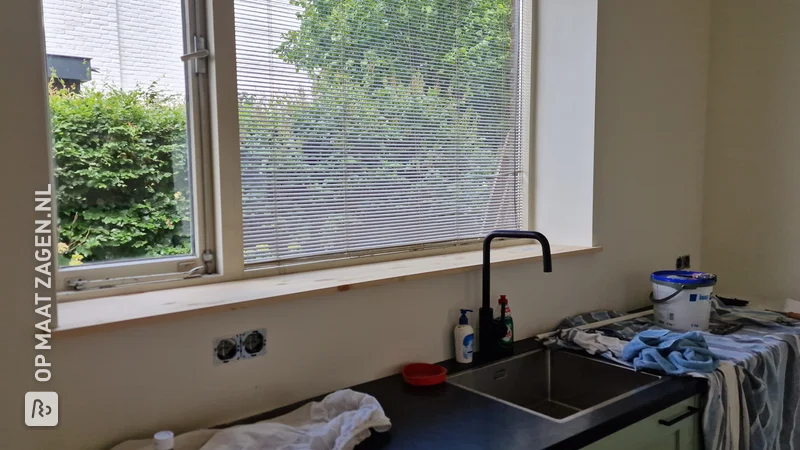
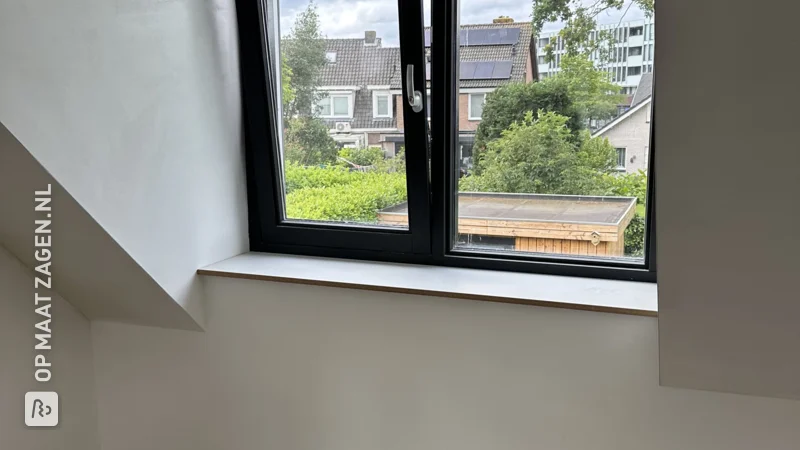
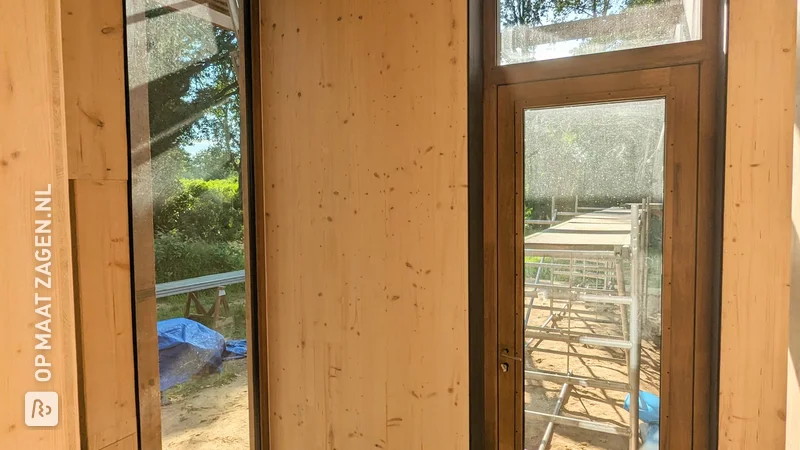
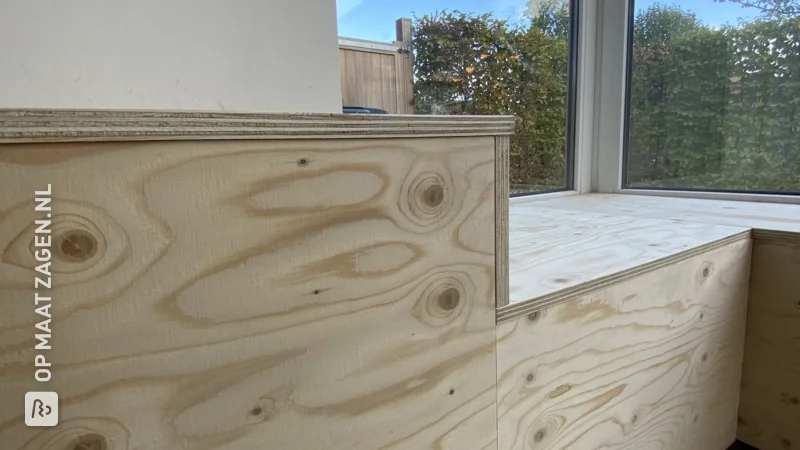
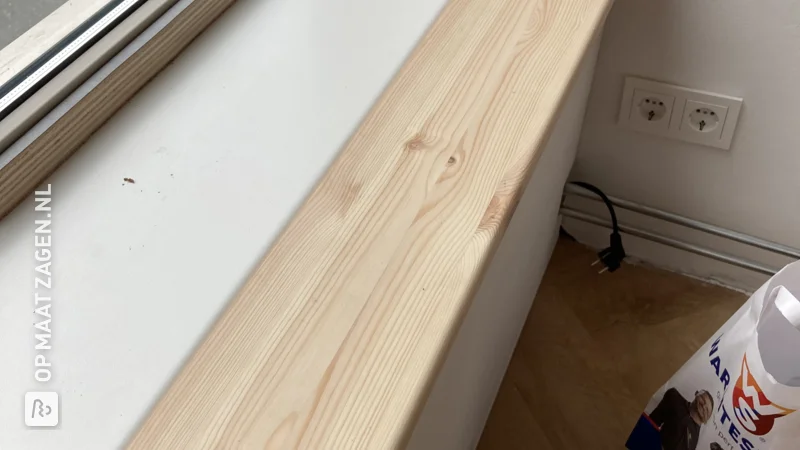
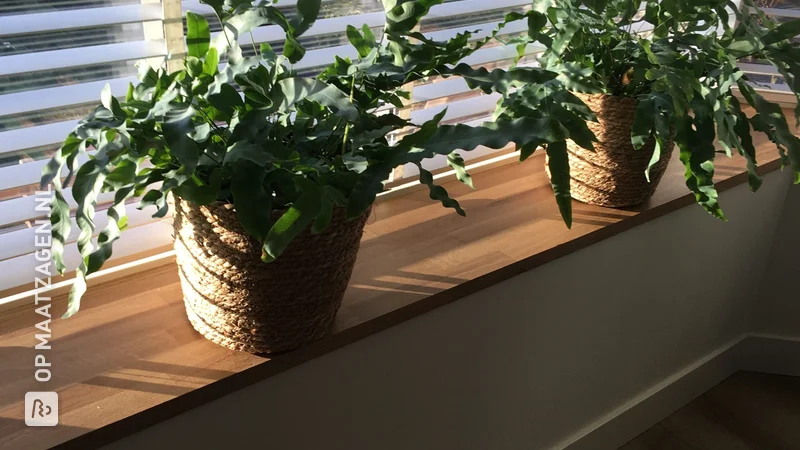
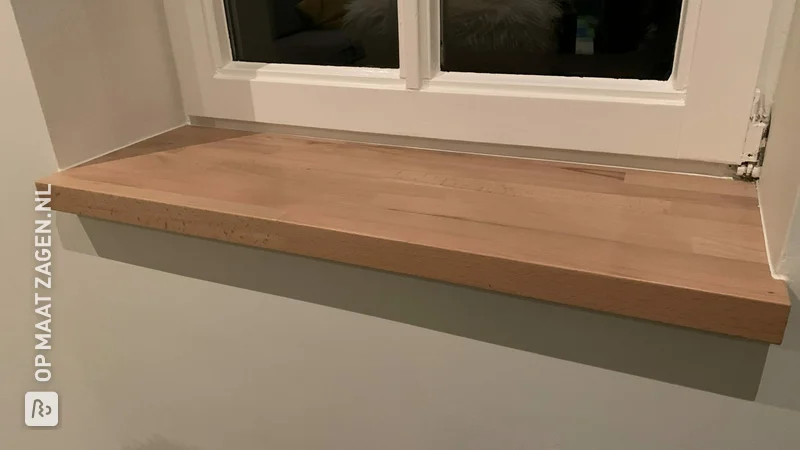
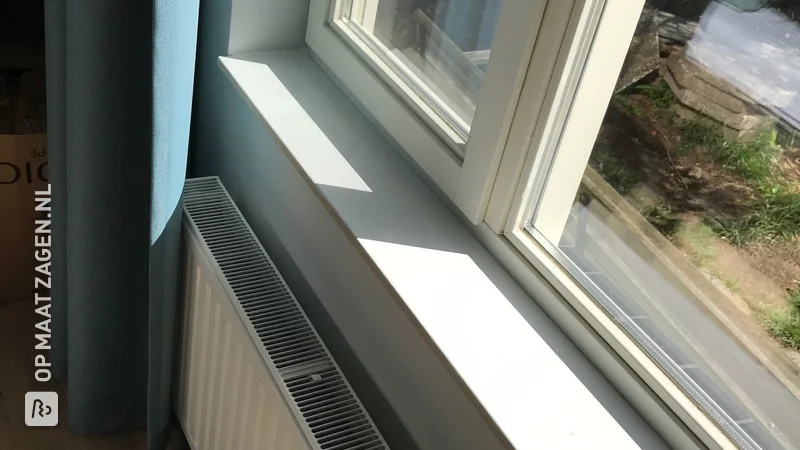
Erwin has mastered the art of creating an atmospheric windowsill with his recent DIY project in the attic. By using 18 mm thick Pine Carpentry Panel, he has managed to achieve a natural and warm look that fits in beautifully with the country style. This project is an inspiration for anyone who wants to transform their attic into a cozy corner.
Beautiful Details and Finish
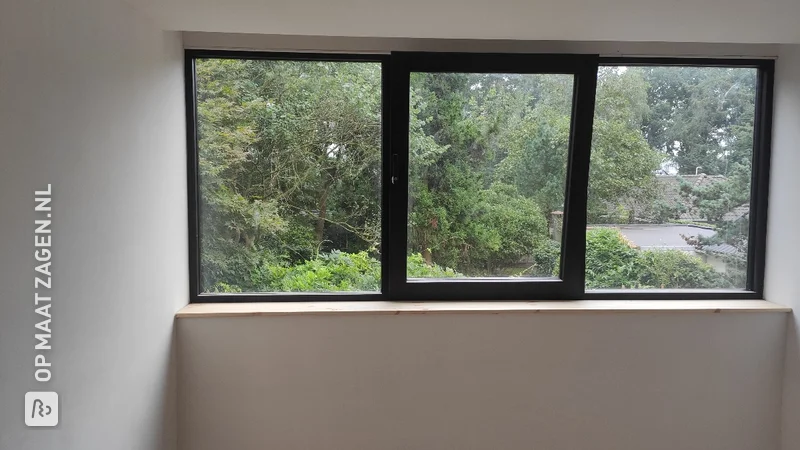
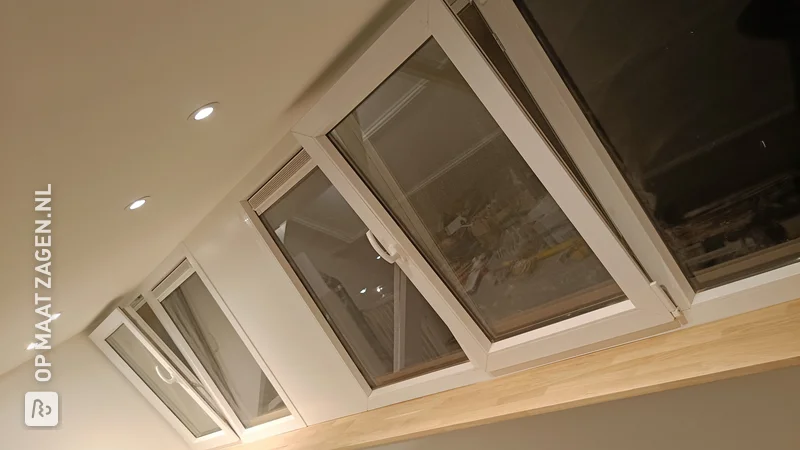
The windowsill is precision-fitted against the large skylight, allowing an abundance of daylight to enter and accentuating the softness of the pine wood. The distinctive grain and light colour tones of the Pine Carpentry Panel add a rustic charm. These planks are also custom-cut by OPMAATZAGEN.nl, ensuring a perfect fit.
Why the Attic is a Perfect Fit
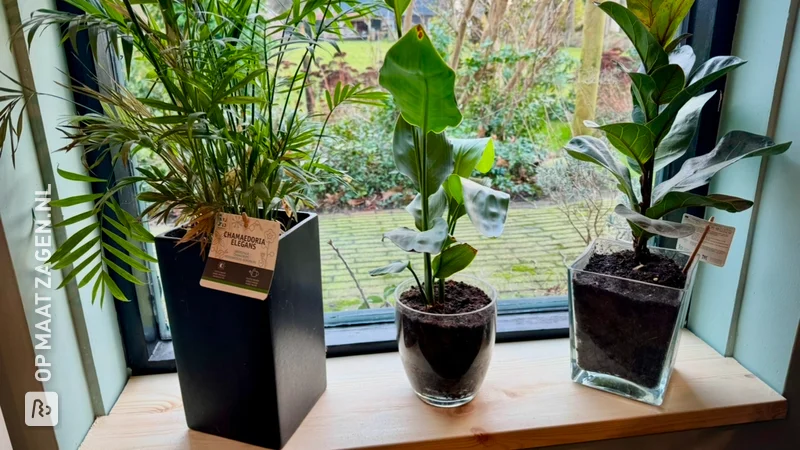
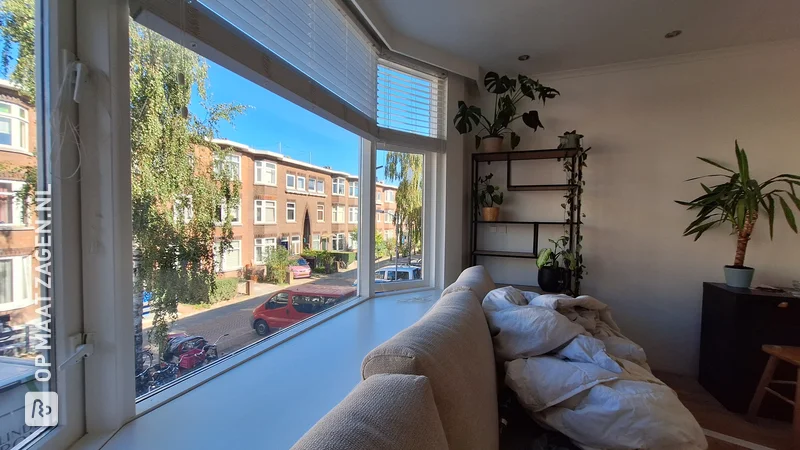
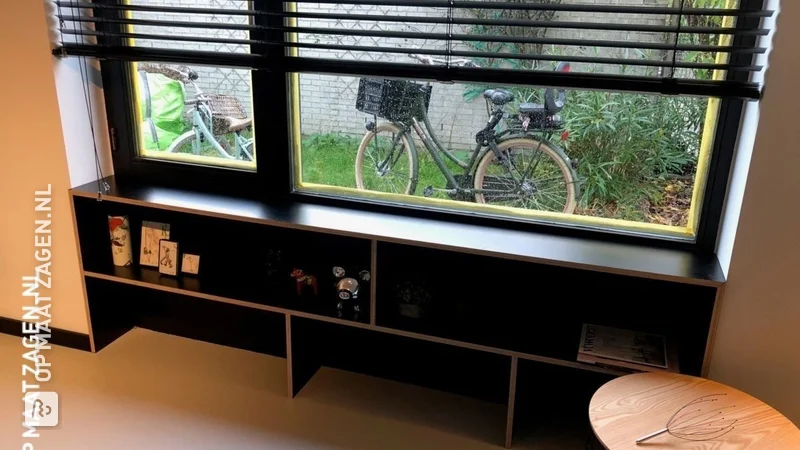
Choosing the attic as a location was a strategic move. This space, often underused, turns into a source of inspiration and relaxation. The rustic windowsill not only adds aesthetic value, but also serves as a practical place to enjoy a good book with a view of the green fields outside.
The Benefits of Making It Yourself
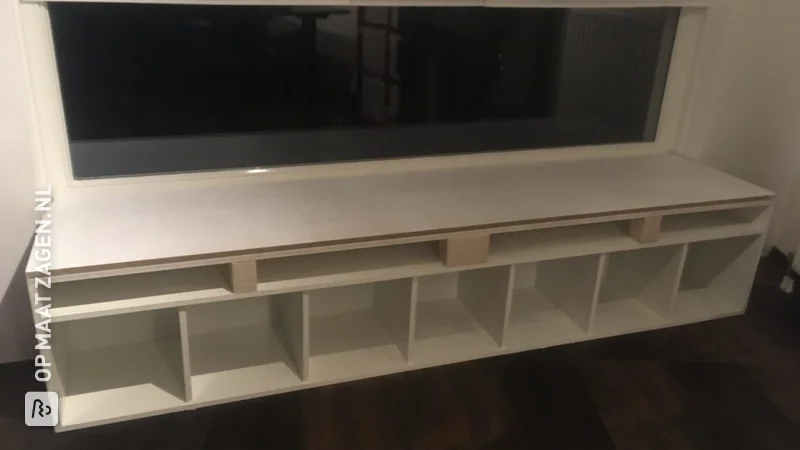
Erwin's project shows how many advantages there are to making a window sill yourself. The freedom to choose your own material and adjust the exact dimensions to your liking makes it a personal project. The use of Pine Carpentry Panel 18 mm not only gives a natural look, but also offers durability.
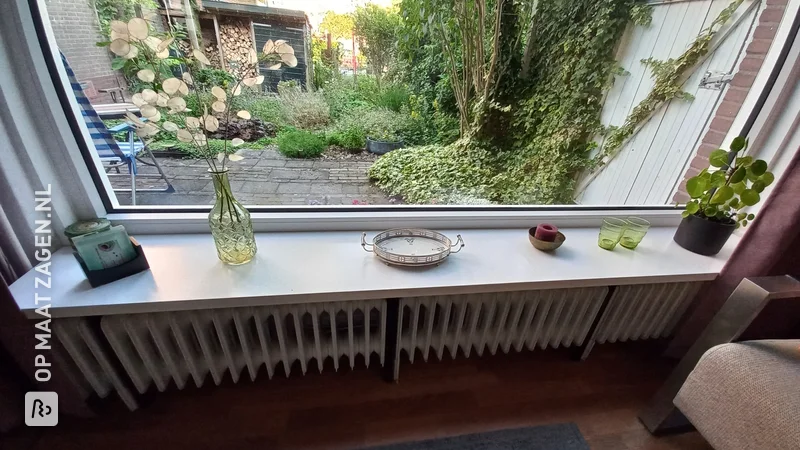
Stylish and Functional
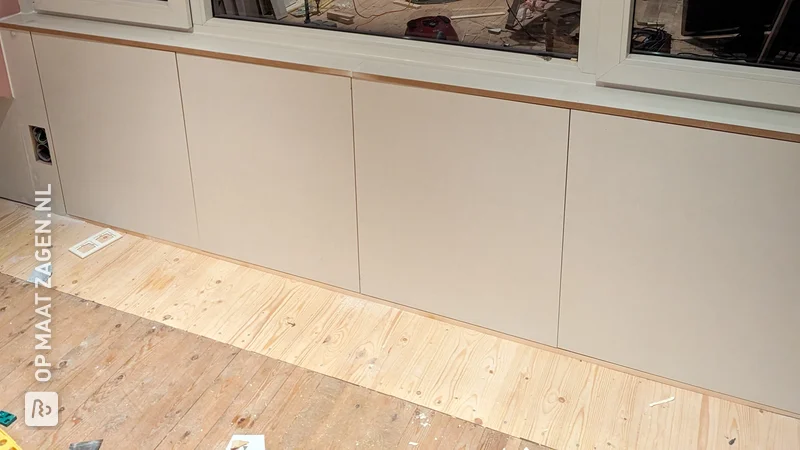
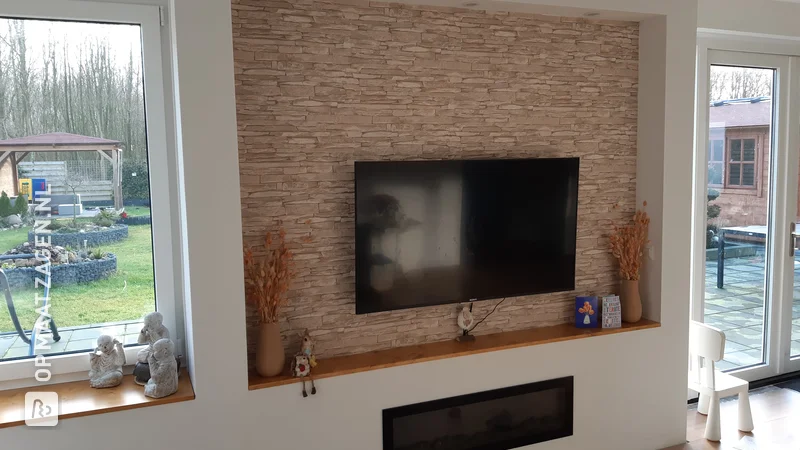
The project is completely finished and radiates a country style that not only fits the attic, but also in other parts of the house for a uniform look. The simplicity of the pine panels contrasts beautifully with modern elements such as the sleek framework and light walls.
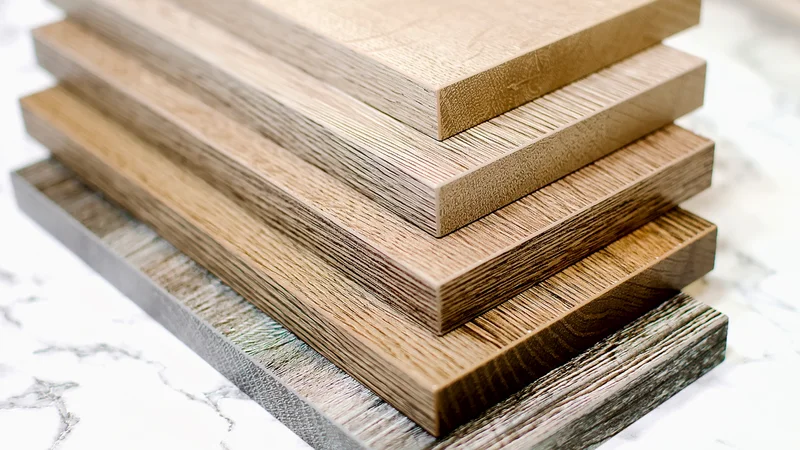
Pine Carpentry Panel 18 mm: The Advantages
Pine wood is a popular choice due to its beautiful grain and light colours that suit a wide range of styles. It is easy to work with and cut to size, making OPMAATZAGEN.nl a flexible option for all DIY projects. The 18mm Joinery Panel provides that extra bit of strength and a robust look.
Tip! Also check out our handy DIY tips!
Step by step guide
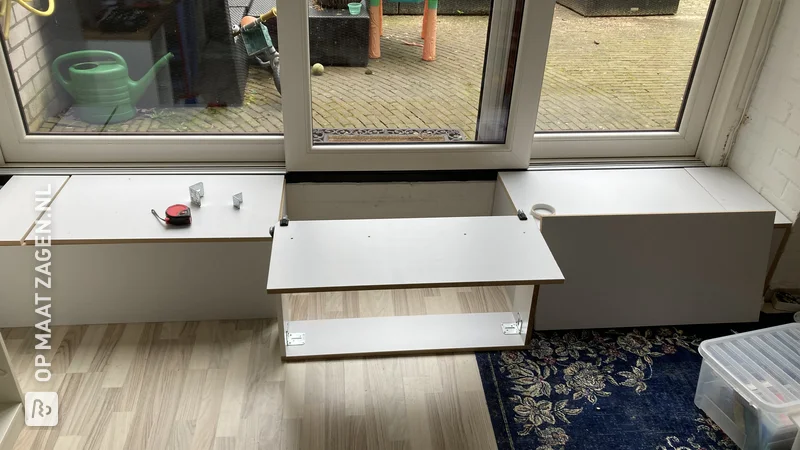
Preparation
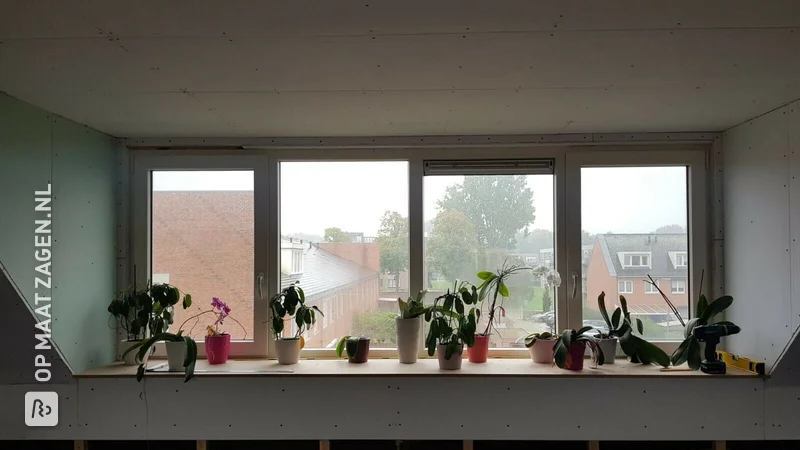
Measuring the depth and length of the windowsill.
Montage
Sawing the depth of the windowsill, saw the end sides at the very end.
Place a strip of wood, sawn exactly at right angles with the long side along the frame, against the side wall. Place a batten against the side wall and mark this on the sheet of plywood (for example, plywood from the store). Take over the angle of the long side and the line drawn with pencil and saw both end sides (separately) at the correct angle.
Finish
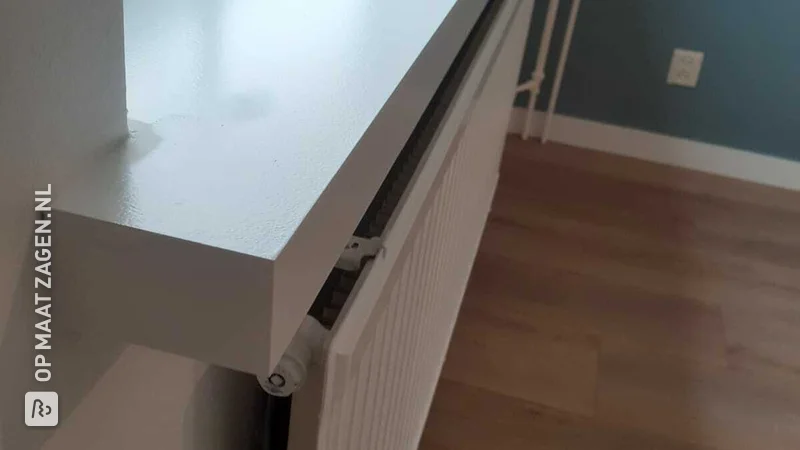
Place the window sill against the frame and with a few drops of glue it will not move. Put weight on the window sill so that it is glued neatly and tightly.
What now?
Want to make this DIY project? Check out Erwin's saw list and complete your order easily.
€ 188,91
All materials used
View all sheet materials
My experience with OPMAATZAGEN.nl
Order
Delivery
General experience
Fast delivery to the door. Neatly finished and completely straight.