- OPMAATZAGEN.nl
- Do it yourself
- DIY Projects
TOSIZE furniture wall cabinet with lighting, by Bennet
TOSIZE furniture wall cabinet with lighting, by Bennet
Make this furniture yourself using OPMAATZAGEN.nl
Bennet
Average
3 minutes
Description from Bennet
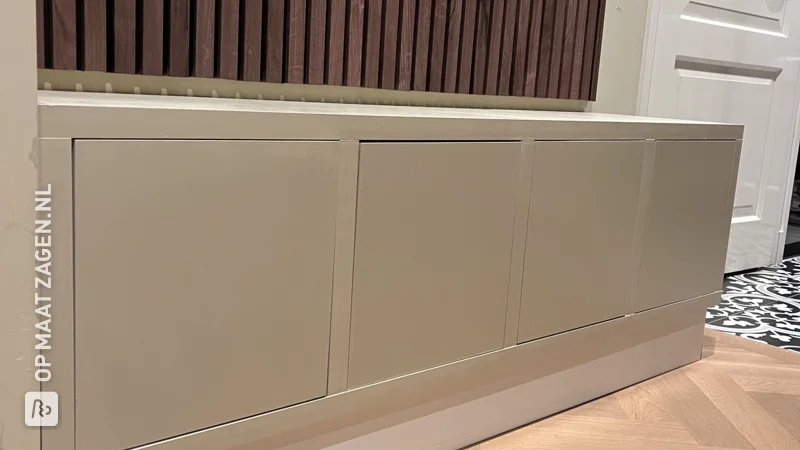
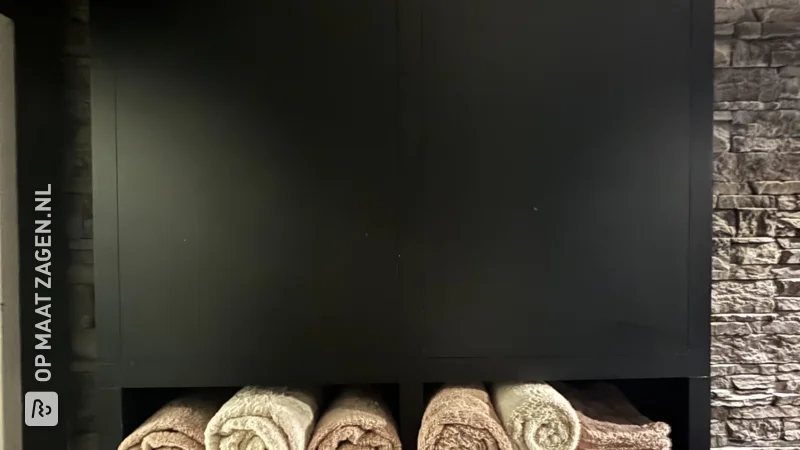
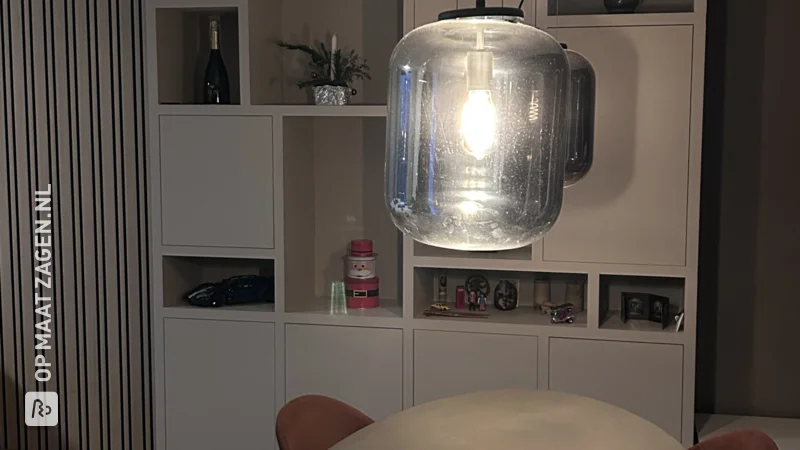
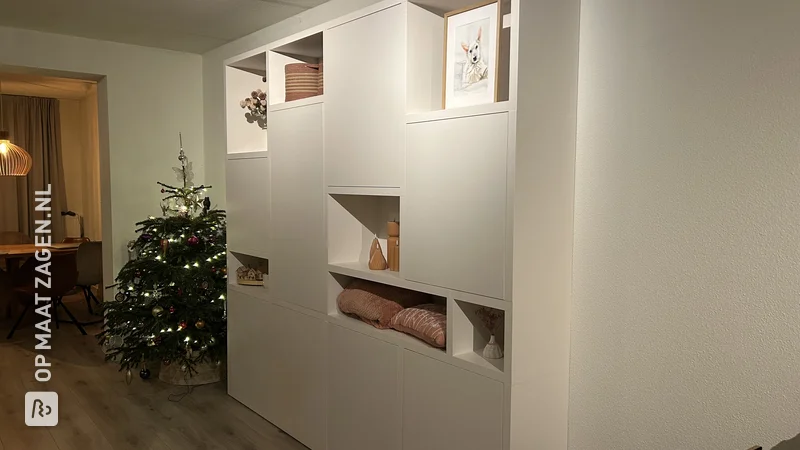
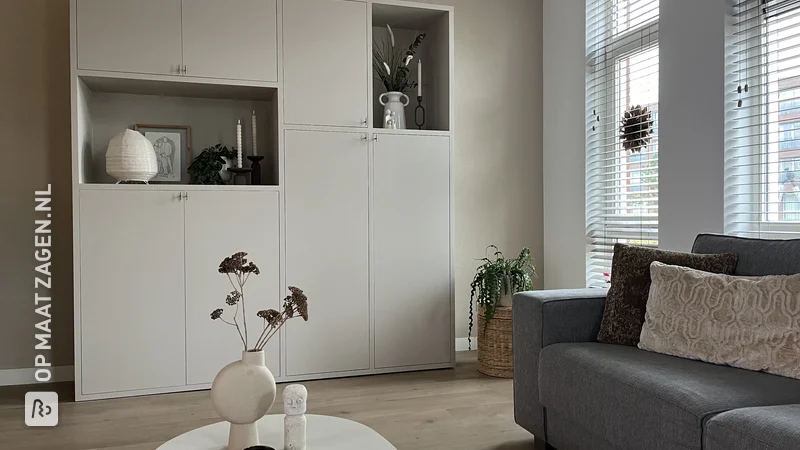
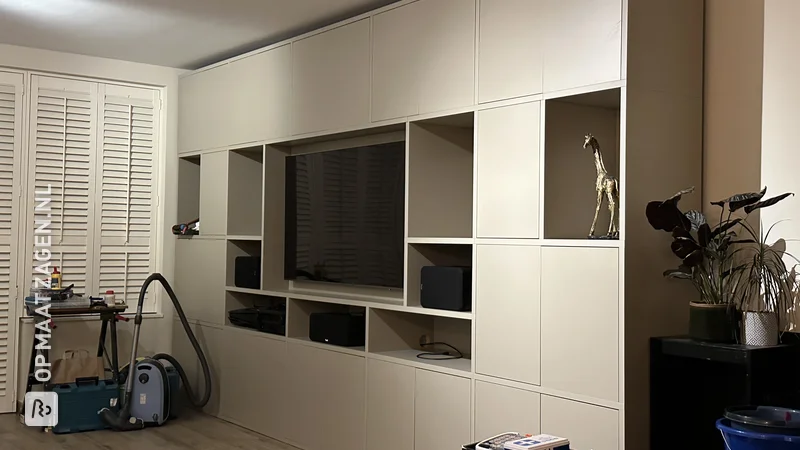
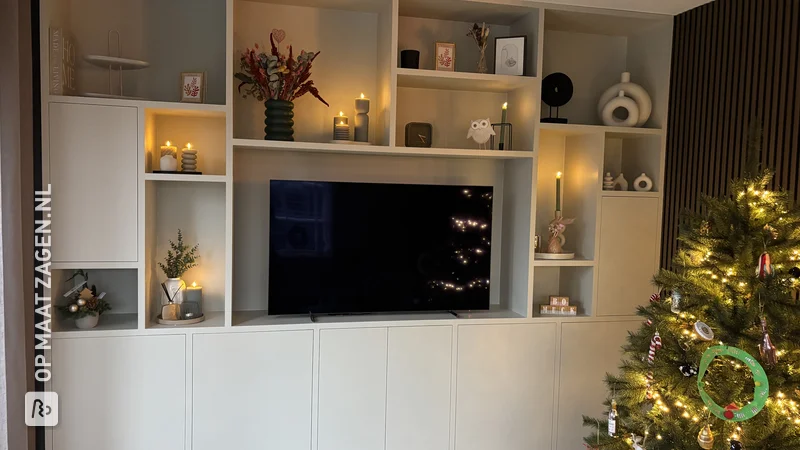
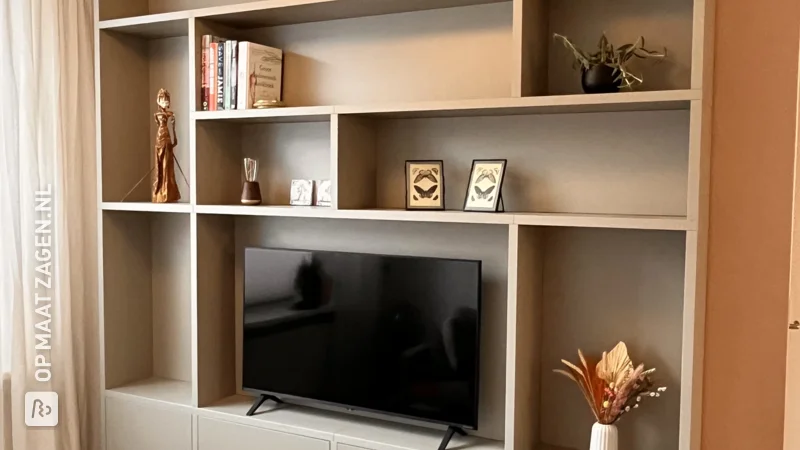
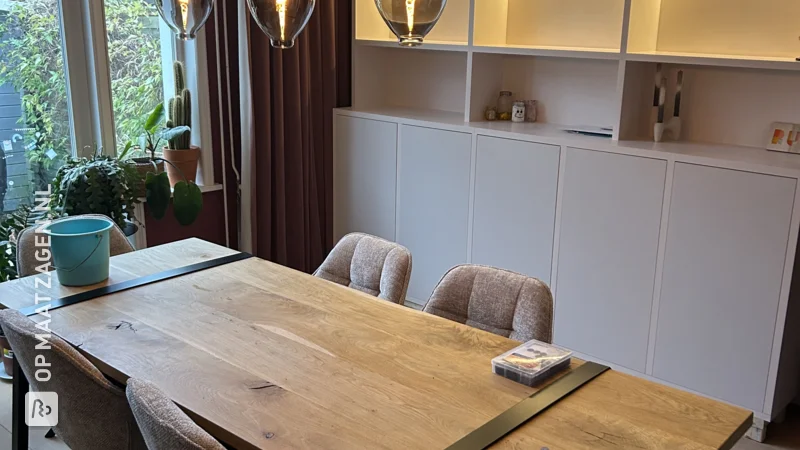
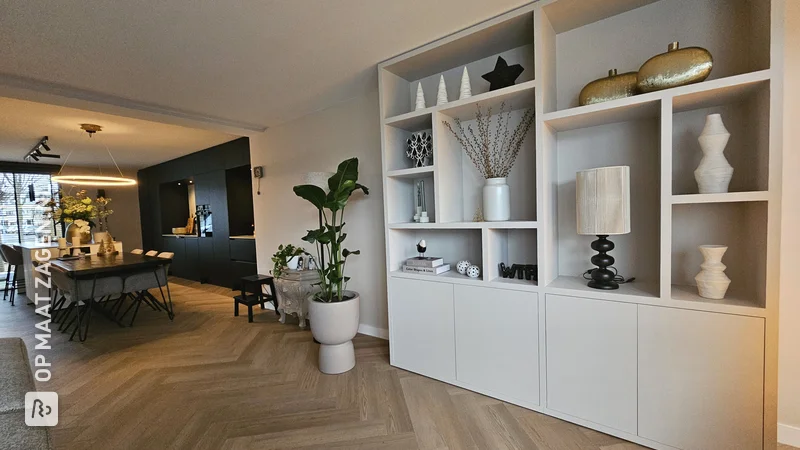
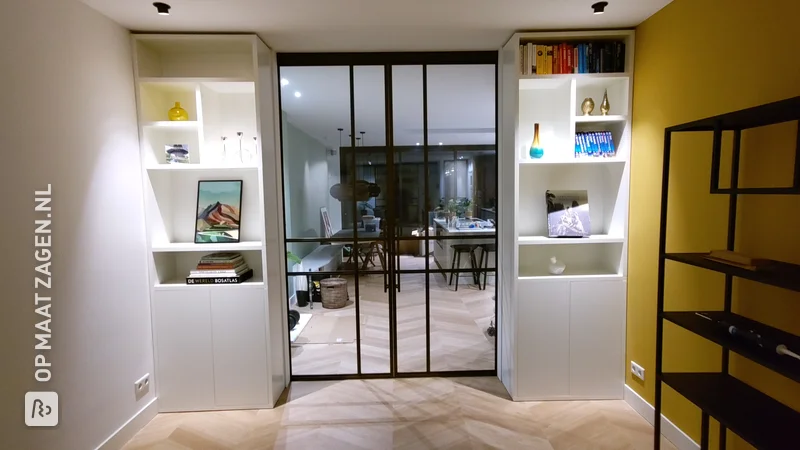
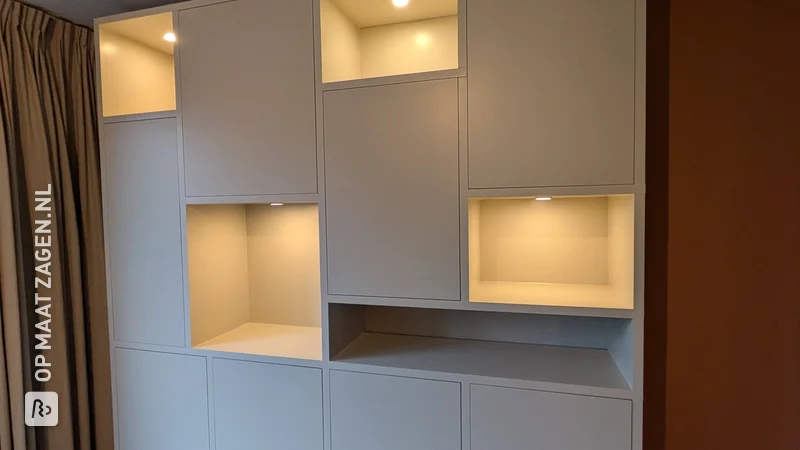
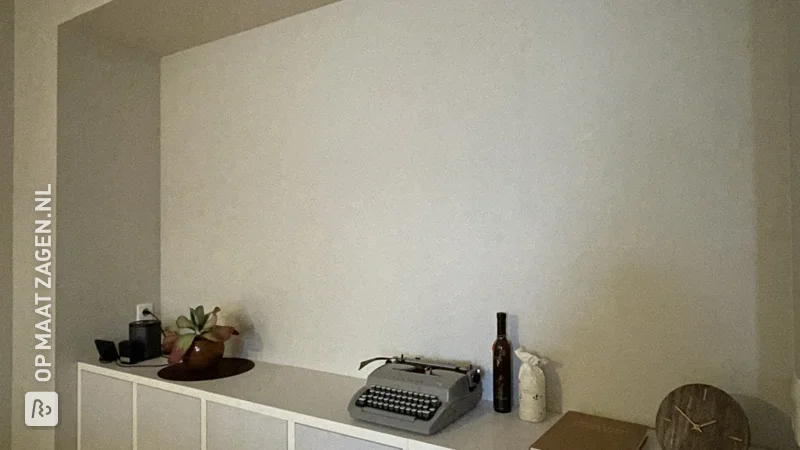
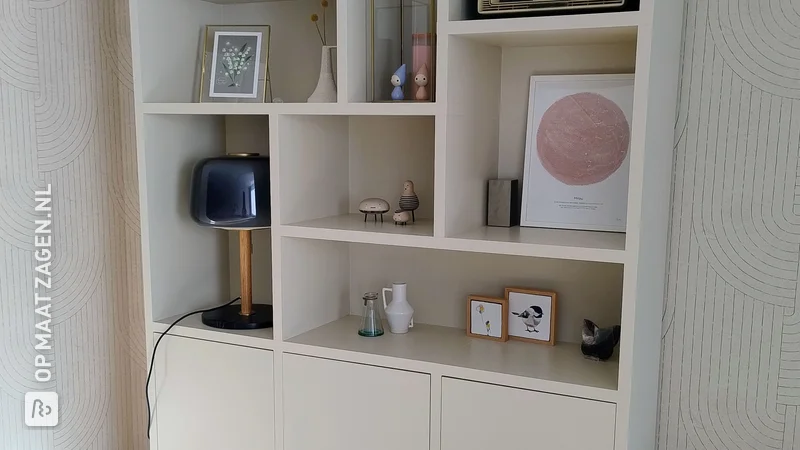
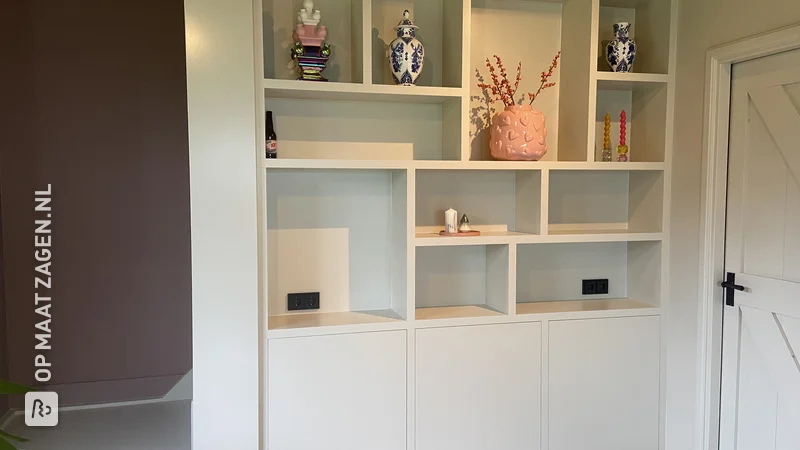
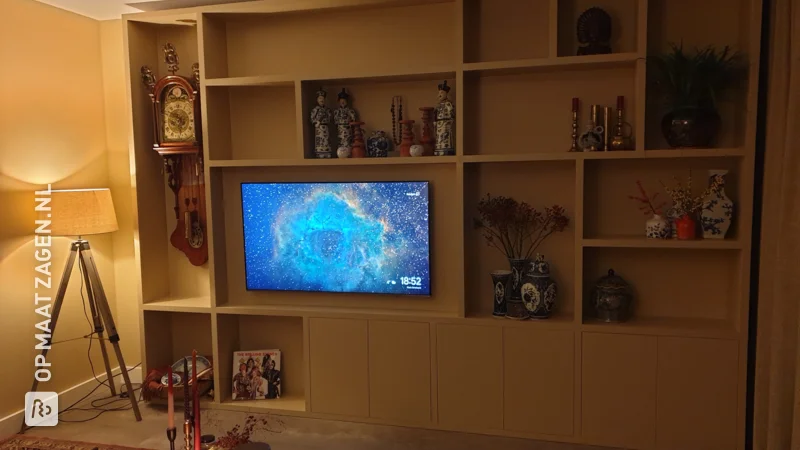
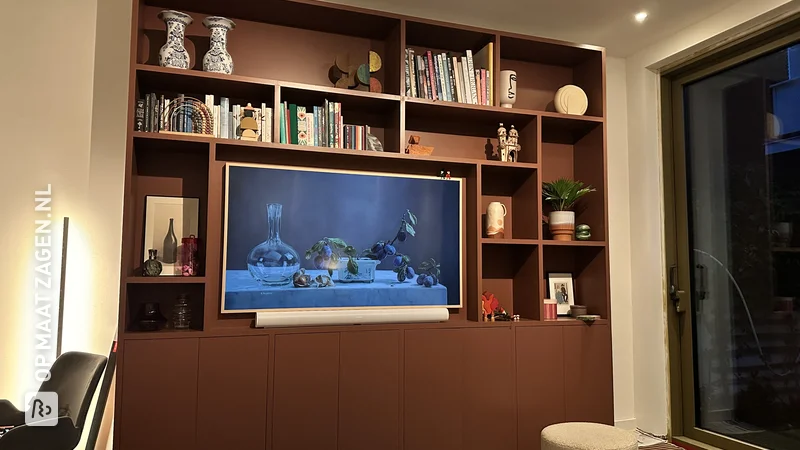
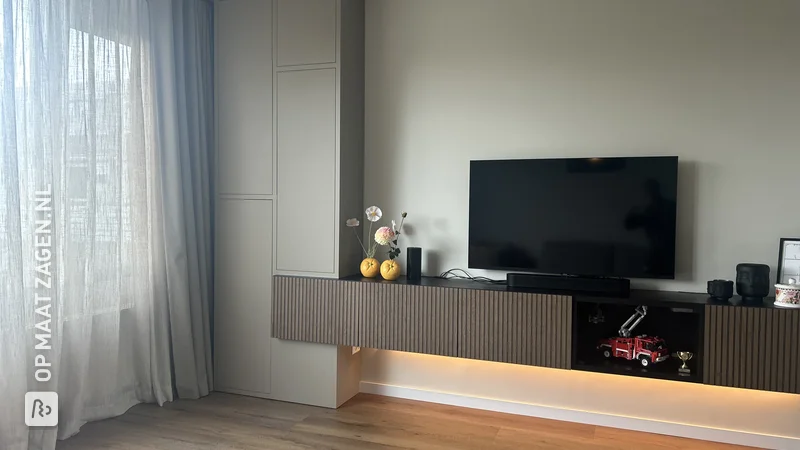
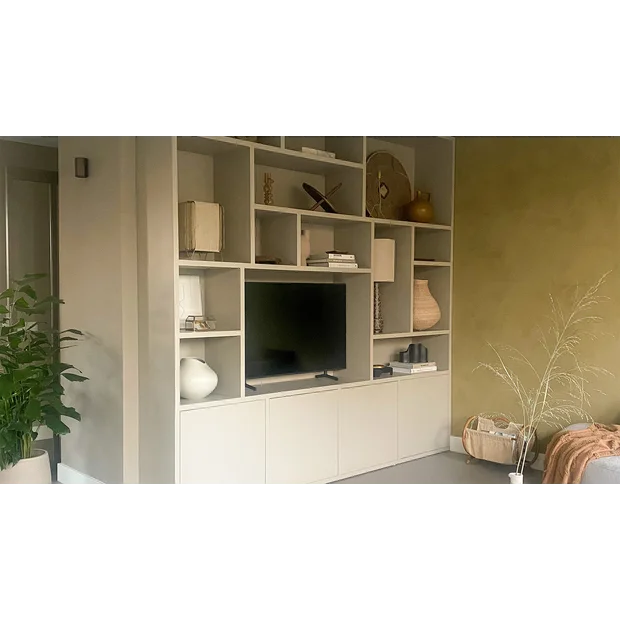
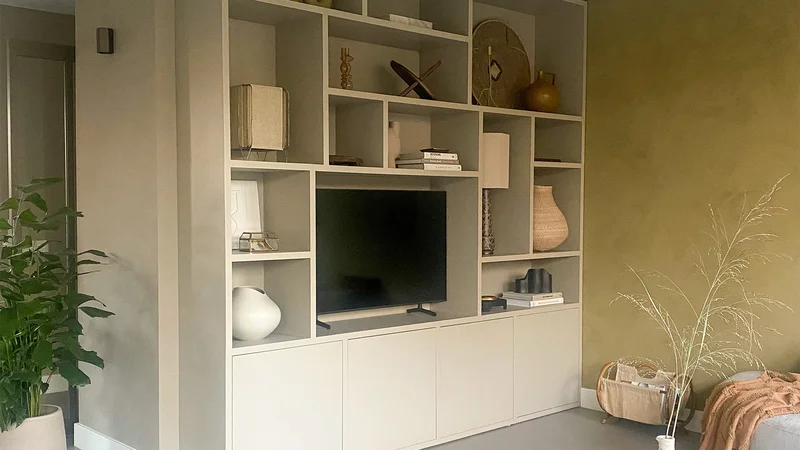
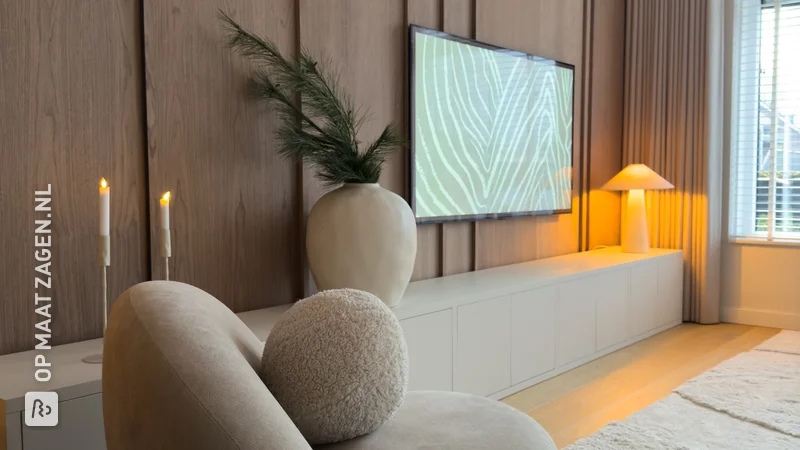
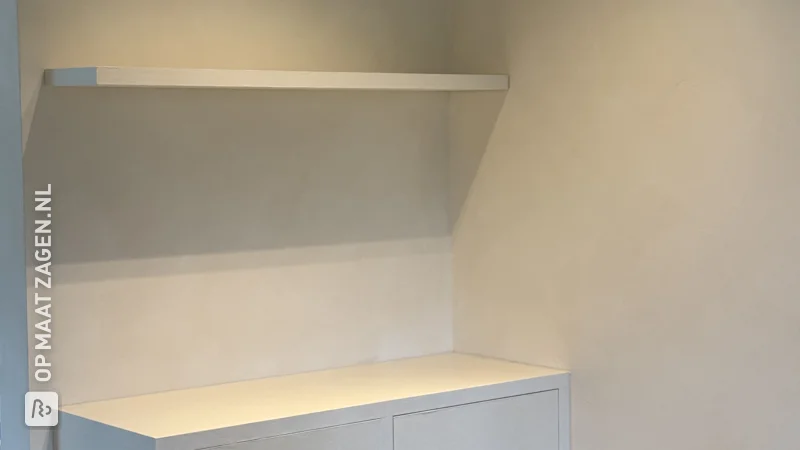
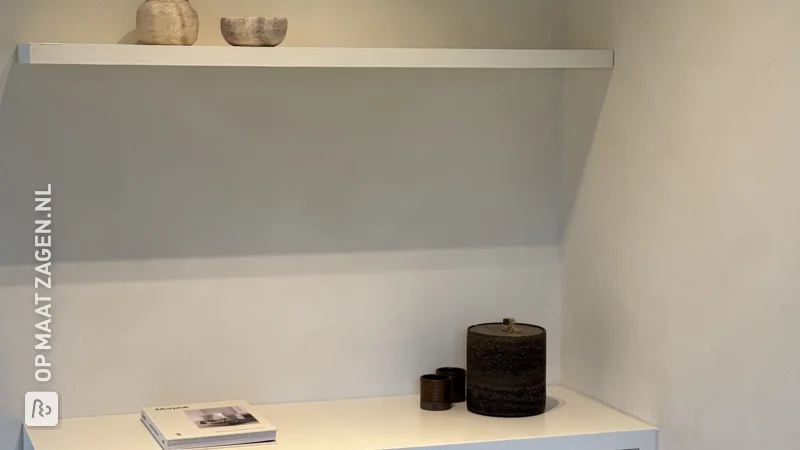
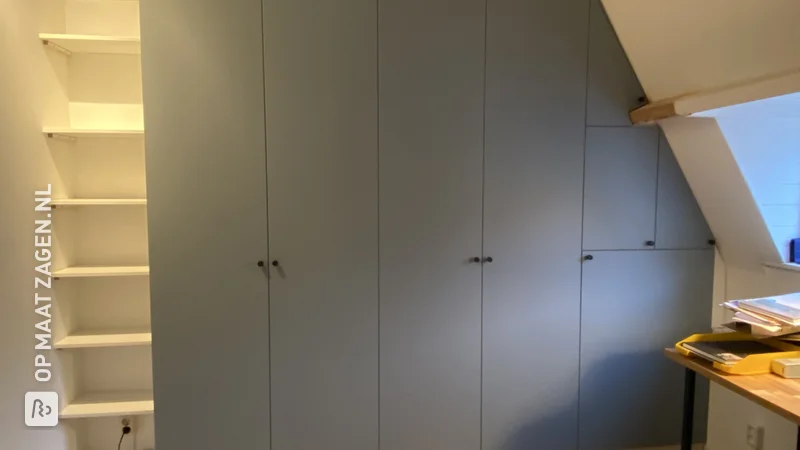
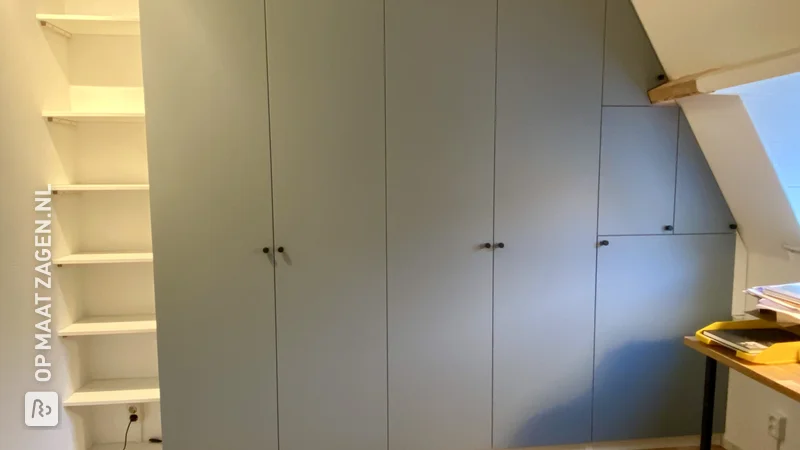
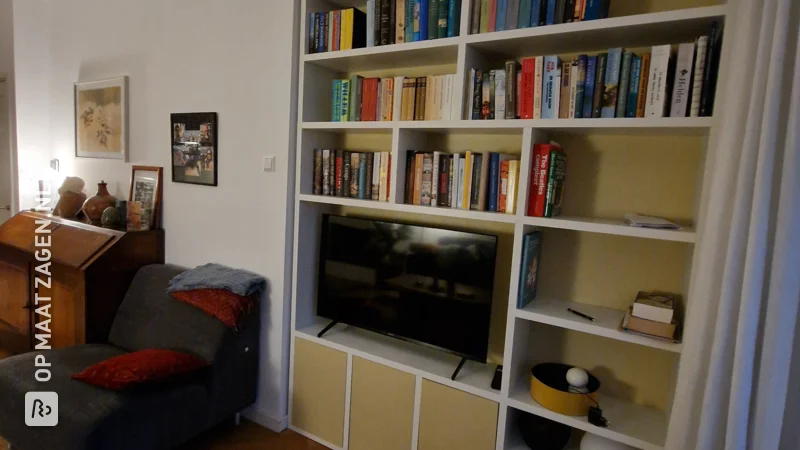
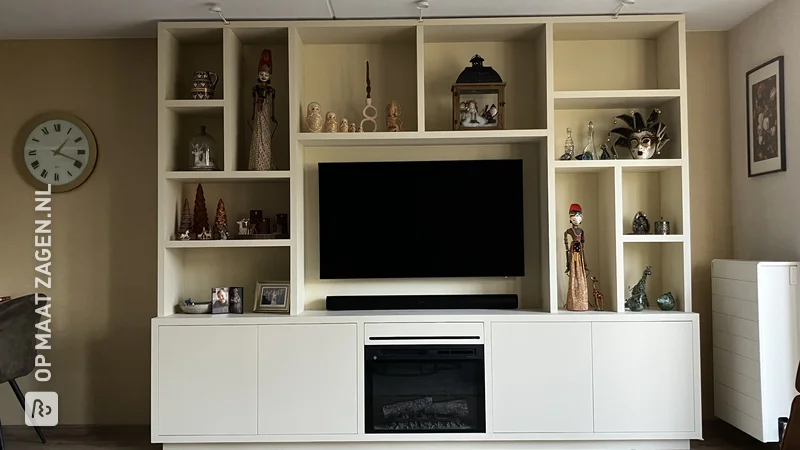
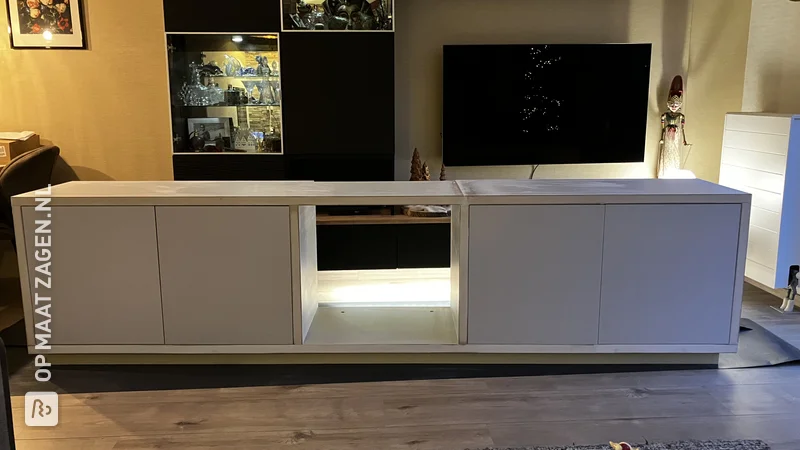
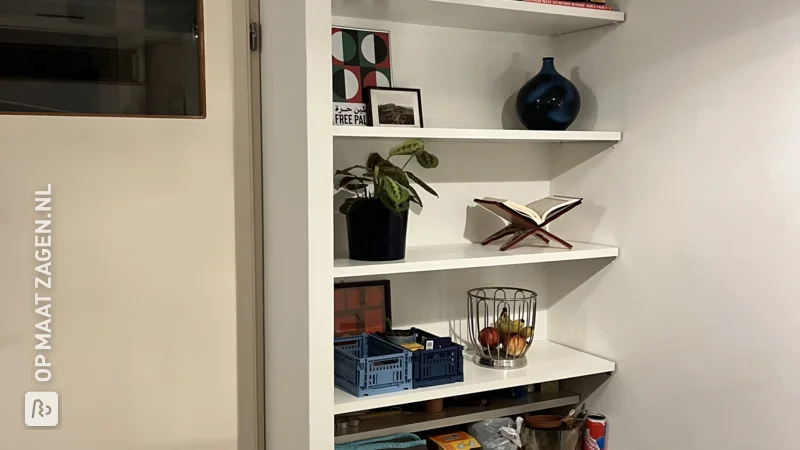
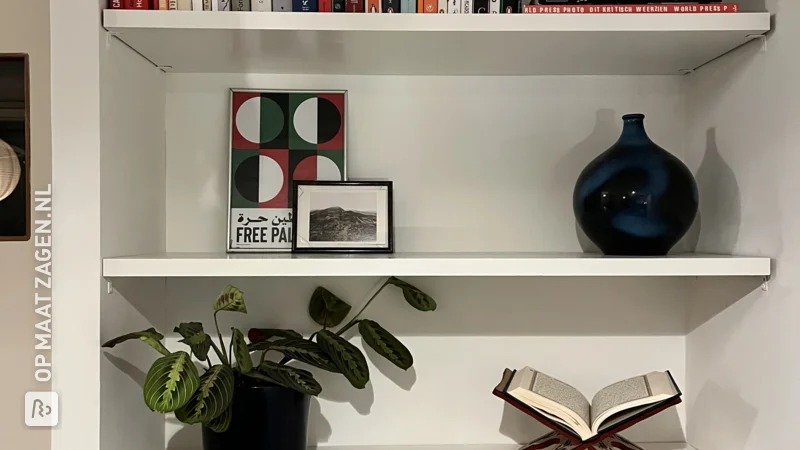
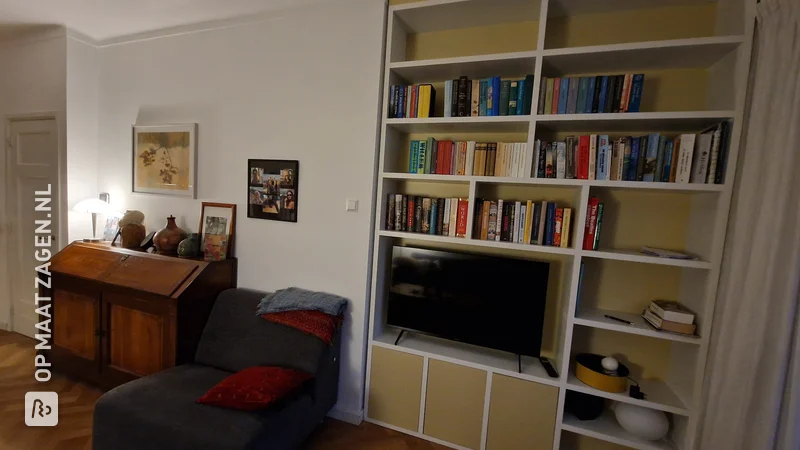
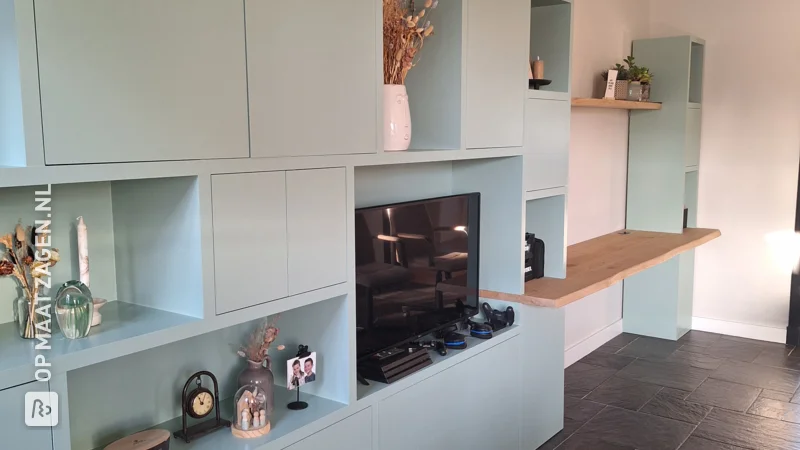
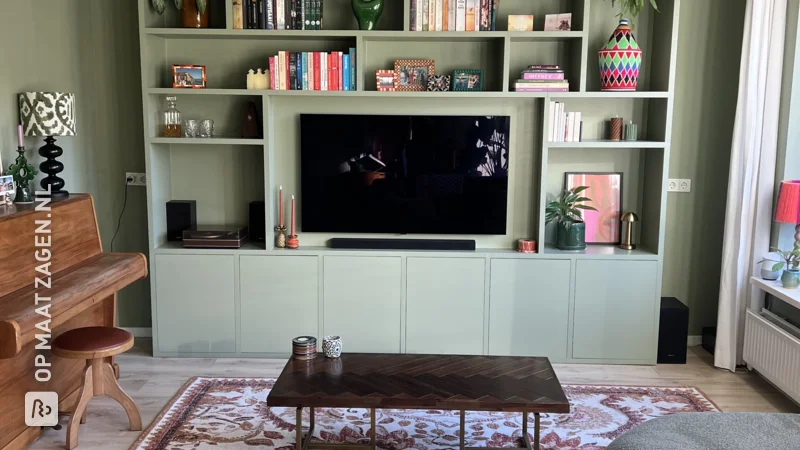
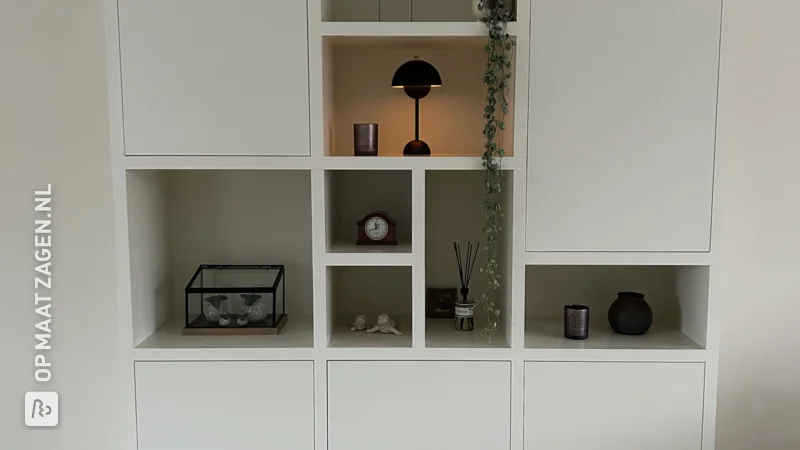
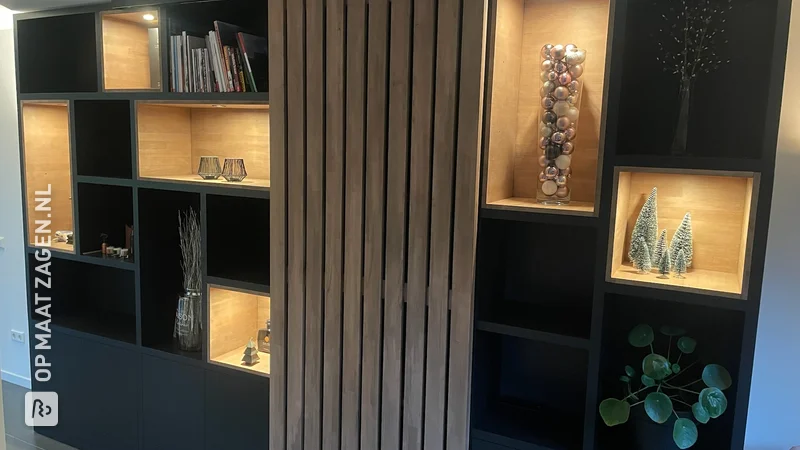
We wanted a large cabinet against the back wall of our office with ample storage space (hidden behind doors) as well as open compartments with lighting to display some nice objects. On the left side of the wall is a soffit that is exactly 58 cm deep, so we thought it would be nice to create a cabinet with varying depths: a lower section of 58 cm depth recessed with the soffit for ample storage behind doors, and an upper section of 40 cm depth with open compartments with lighting and an additional row of compartments with doors.
How I Made This Project
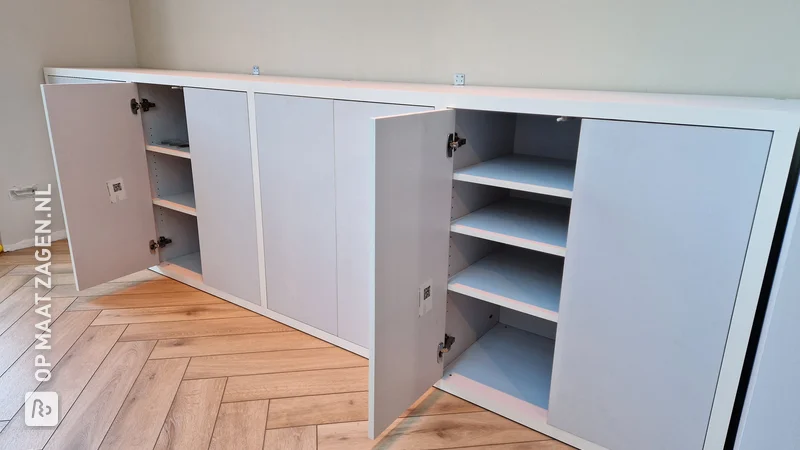
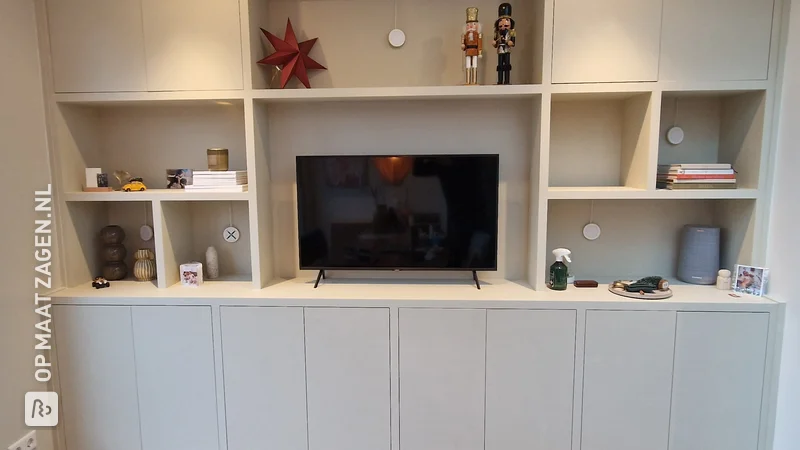
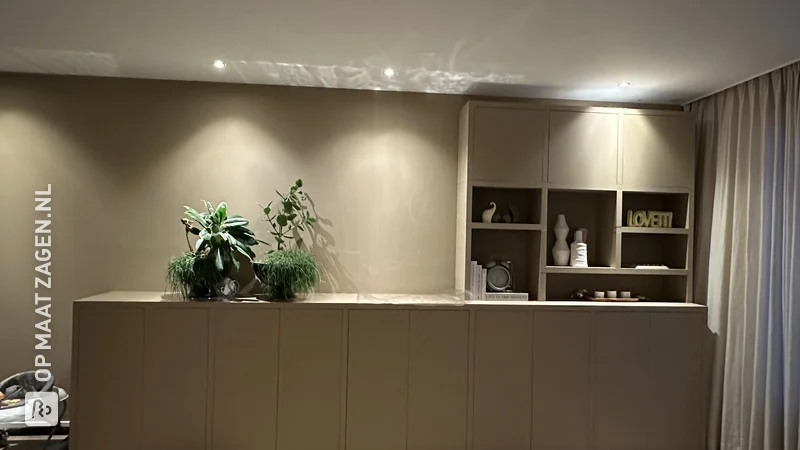
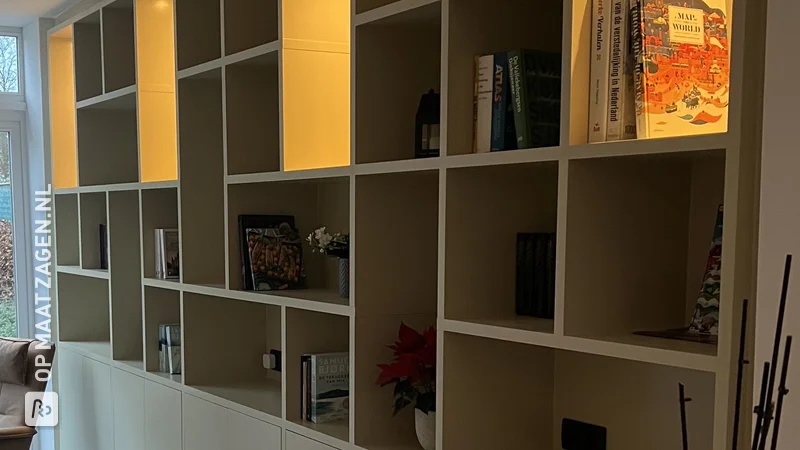
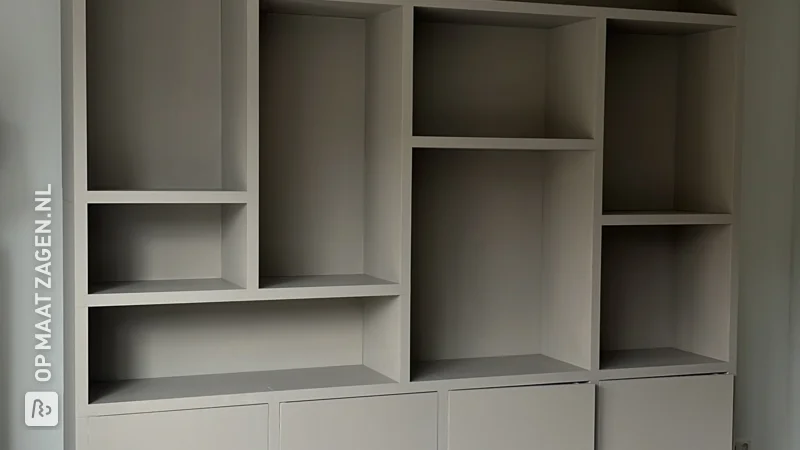
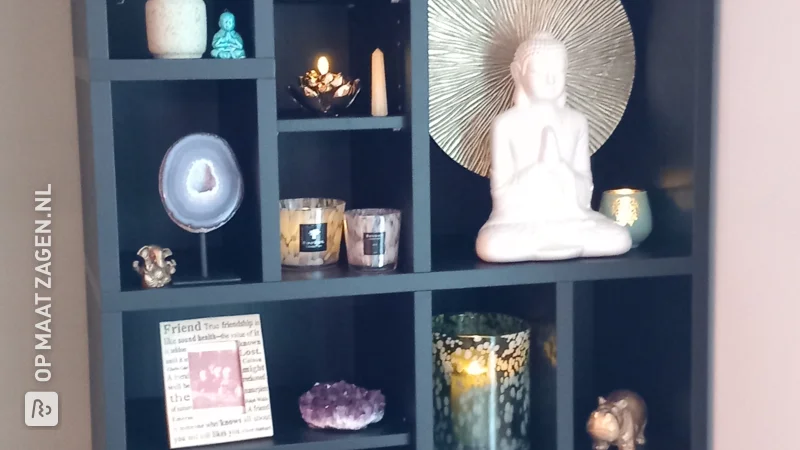
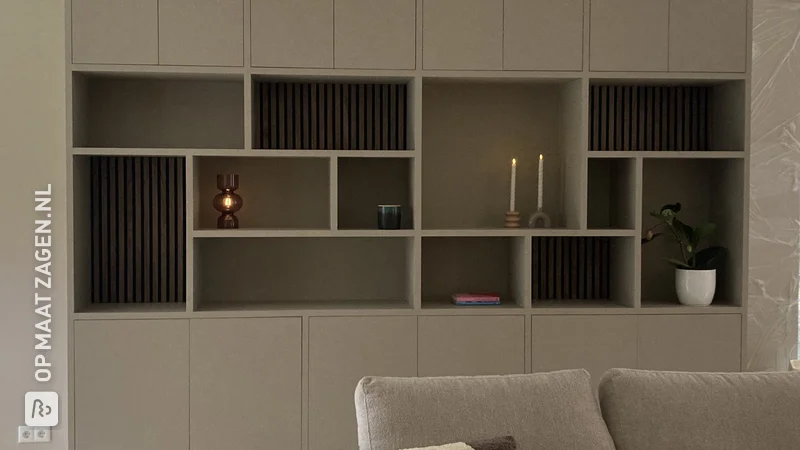
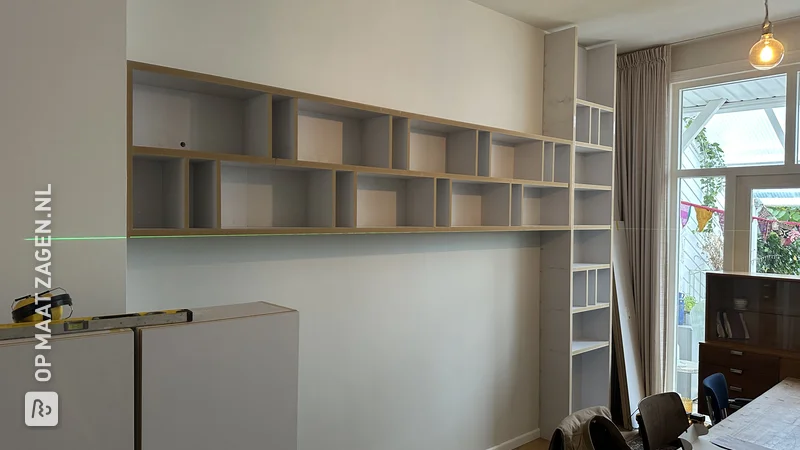
Since we wanted a cabinet with different depths, which was not yet supported by the OPMAATZAGEN.nl configurator, we decided in consultation with customer service to assemble the cabinet from two separate units: a lower cabinet of 58 cm depth, and an upper cabinet of 40 cm depth. We were advised to either stack these cabinets or, if we were handy and didn't want a visible edge, to transfer the dowel holes from the lower rails of the upper cabinet to the upper rails of the lower cabinet so that we could place the uprights of the upper cabinet directly on the lower cabinet. It sounds complicated, but it turned out to be quite manageable. We chose a cabinet in primed MDF material so that we could easily paint it ourselves in the desired color. To determine the open compartments of the cabinet, we first made a grid of 3x5 compartments. We then removed various shelves and uprights to achieve a playful arrangement of different sized compartments without it becoming too chaotic. When assembling the cabinet, I first applied a coat of paint to the outer edges because they would not sit flush against the wall (due to the baseboard), and I wouldn't be able to reach them well later. Once the lower part was in place, I used dowel markers to transfer the holes for the dowels of the uprights of the upper cabinet to the top of the lower cabinet. This made the cabinet 3 cm shorter overall but eliminated the visible edge. For lighting, we chose IKEA Mittled surface-mounted spotlights. They are very compact, easy to install, and can be paired with our Philips Hue lamps. During assembly, I drilled holes in the back wall to hide the cables. Overall, the assembly was manageable thanks to the clear instructions, and I only spent a bit more time transferring the dowels and installing the lighting. Once the cabinet was fully assembled, I could start painting it, which I somewhat underestimated. This ended up taking most of the time, especially since we chose a dark color that didn't cover well on the first coat. But the end result is a beautifully designed cabinet with plenty of storage and large open compartments with lighting. Exactly what we wanted!
Dimensions of My DIY Project
Lower Cabinet: 90 cm x 296 cm x 58 cm (h x w x d) Upper Cabinet (including lower rails of 3 cm): 165 cm x 296 cm x 40 cm (h x w x d) Total (without lower rails of the upper cabinet): 252 cm x 296 cm x 58 cm (h x w x d)
Tip! Also check out our handy DIY tips!
What now?
Do you want to create this DIY project? This piece of furniture is part of our TOSIZE Furniture collection. Design your personalized, custom-made furniture using our 3D configurator! Want more information? Learn more about available colors, assembly, or browse all frequently asked questions. You’ll receive a TOSIZE Furniture package, including an installation kit.
€ 3.112,00
View all furniture
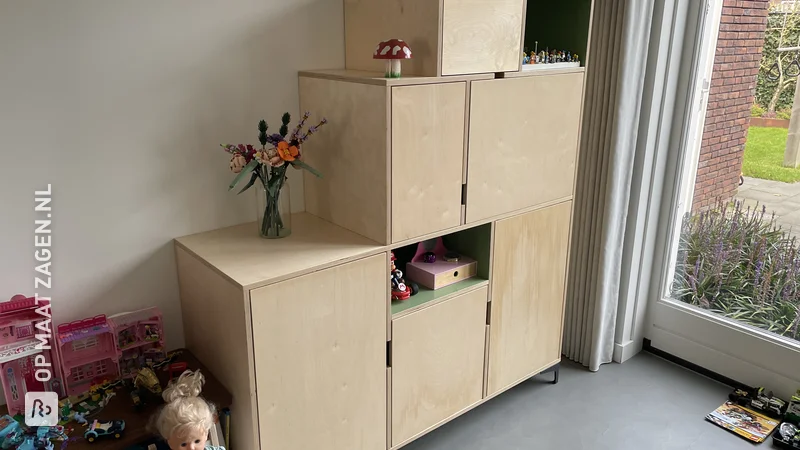
What others made with MDF
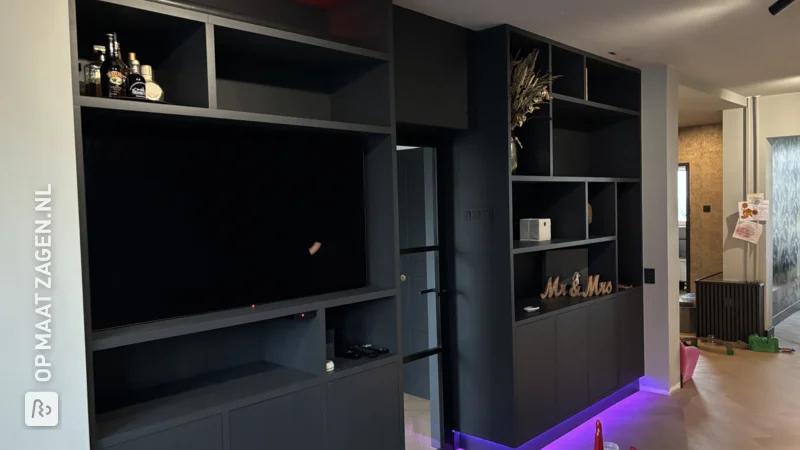


Also check out these similar DIY projects
View all projects.webp)

Plywood and Underlayment