- OPMAATZAGEN.nl
- Do it yourself
- DIY Projects
Practical work table for the garage, by Matthijs


Create this project yourself with sheet material cut to size by OPMAATZAGEN.nl!
Matthijs
Very easy
2 minutes
Discover Matthijs' Unique Work Table
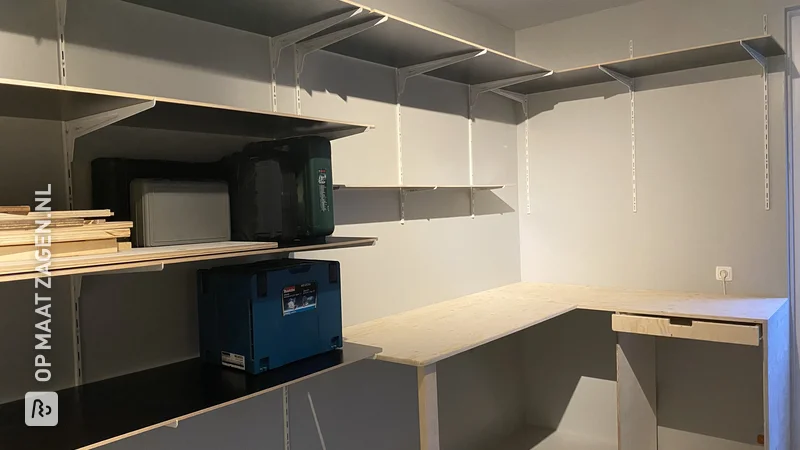
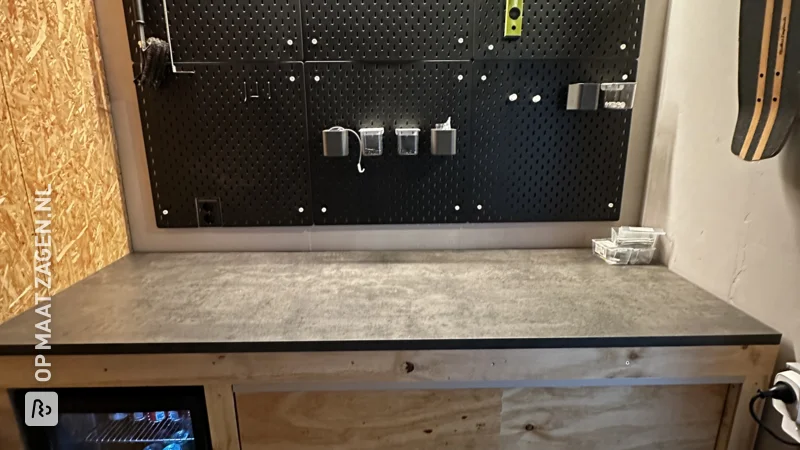
A work table that is not only functional, but also looks great in your garage. Matthijs has created an inspiring project using Betonplex Birch Antislip 24 mm. This material, purchased from OPMAATZAGEN.nl, forms the basis of a sturdy table with three elegant legs and a practical edge sealer.
Sustainability Meets Design
Matthijs' work table is designed with both durability and style in mind. The use of Betonplex Birch makes the table extremely strong and resistant to wear, while the non-slip surface ensures that tools and materials remain firmly in place while working. The color of the wood adds a modern and professional look to the space.
Perfect for the Garage
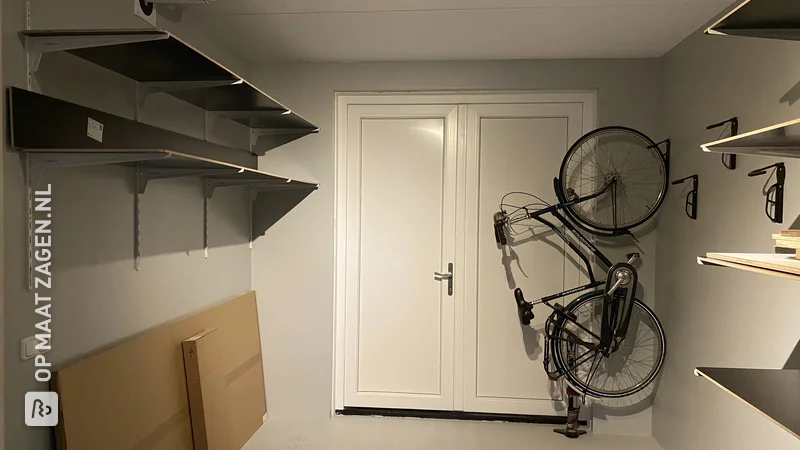
This workbench is not just an addition to the garage; it is a must-have for every handyman. The garage offers the ideal space with sufficient light and ventilation, allowing you to work comfortably for long periods of time. The compact layout with three legs makes optimal use of the available space, which is perfect for smaller garages.
Creating Your Own Workbench
Designing and building your own workbench gives you the freedom to make it exactly the way you want it. With the ability to customize materials and dimensions to your liking, you can create something distinctive and functional. With OPMAATZAGEN.nl custom cut planks, you can effortlessly bring your creative ideas to life.
The Style of the Work Table
Matthijs chose a minimalist and industrial style that contrasts beautifully with the sleek lines and dark color of the Betonplex Birch. The versatile character of this style ensures that the work table effortlessly becomes part of any garage interior.
Advantages of Birch Non-slip Concrete Plywood
Concrete plywood Birch Anti-slip 24 mm is an excellent choice for the do-it-yourselfer. The material is durable and offers good protection against moisture, which is especially useful in a damp environment such as a garage. The anti-slip layer not only increases safety, but also contributes to the robust appearance of the project.
Tip! Also check out our handy DIY tips!
Step by step guide
Preparation
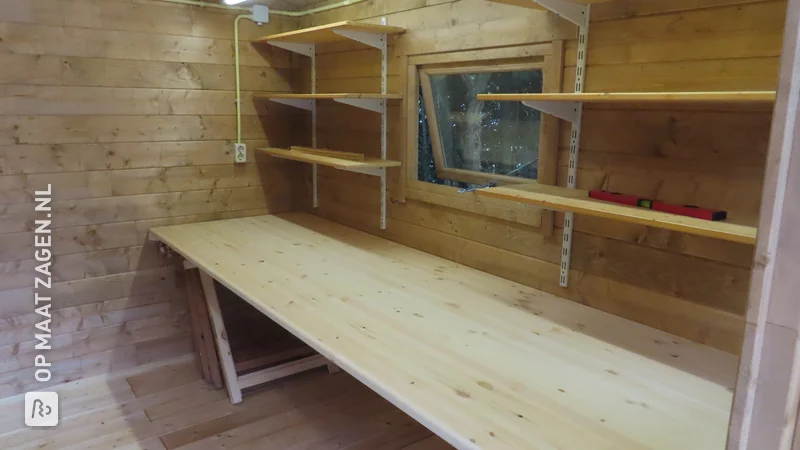
- First of all: measure well! I wanted the work table to be a bit higher than the sink. It is now hanging at 96 cm and that is exactly right. Then I sealed the edges with edge sealer (apply twice).
Montage
- First I screwed three one-meter slats to the wooden wall. The worktop will rest on this on the wall side. The worktop is 302 cm long, so with a centimeter of space between each slat that works out perfectly. Then I mounted two legs on either side (front of the worktop). Then I lifted the worktop onto the slats and set the legs to the correct height so that the worktop was at the correct height everywhere. Then I screwed the worktop to the slats, of course from the bottom up. Finally, I mounted a third supporting leg in the middle and voila!
Finish
- Finishing was no more than wiping with a damp cloth. Very happy with the result!
What now?
Want to make this DIY project? Check out Matthijs's saw list and complete your order easily.
€ 611,23
All materials used
View all sheet materials
My experience with OPMAATZAGEN.nl
Order
Delivery
General experience

