- OPMAATZAGEN.nl
- Do it yourself
- DIY Projects
Create a unique walnut wall cabinet with sliding doors and LED, by Sebastian


Create this project yourself with sheet material cut to size by OPMAATZAGEN.nl!
Sebastian
Above average
2 minutes
Make an impression with a walnut wall cabinet
Do you dream of a stylish storage solution that gives your space a natural and warm look? Sebastian recently showed you how to create a beautiful walnut wall cabinet with sliding doors and integrated LED lighting. In this inspirational project you can read how you can recreate this eye-catcher in your living room.
Project description and benefits of making it yourself
Sebastian opted for high-quality Walnut Carpentry Panel of 26 mm thick, carefully cut to size by OPMAATZAGEN.nl. The advantage of designing a cabinet yourself lies in the flexibility of the dimensions and the free choice of materials. This not only makes it a unique piece but also friendly to your budget. By building it yourself, you create a piece of furniture that fits perfectly into your living space, completely according to your personal preferences and requirements.
The woodworking process
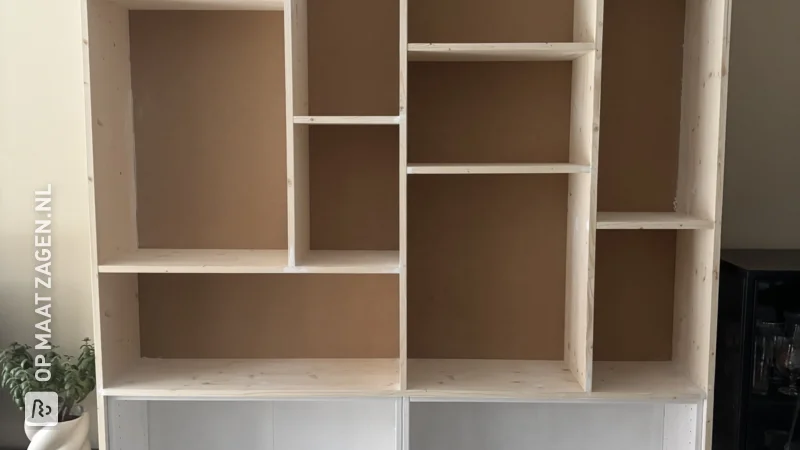
Outdoors, we see Sebastian at work, meticulously crafting the walnut wood. This DIY project shows how, with the right preparation and attention to detail, you can achieve a professional-looking result. The walnut planks are assembled to perfection and prepared for the installation of the sliding doors and LED lighting.
The installation of the wall cabinet
The wall unit slowly comes to life, panel by panel, as Sebastian builds the structure in the living room. The finish becomes visible and we see the beautiful grain of the walnut that forms a harmonious whole with the rest of the space.
The style of the project
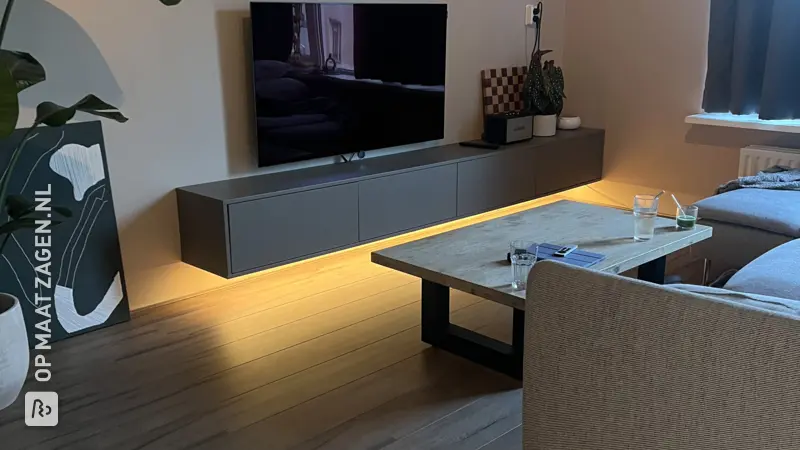
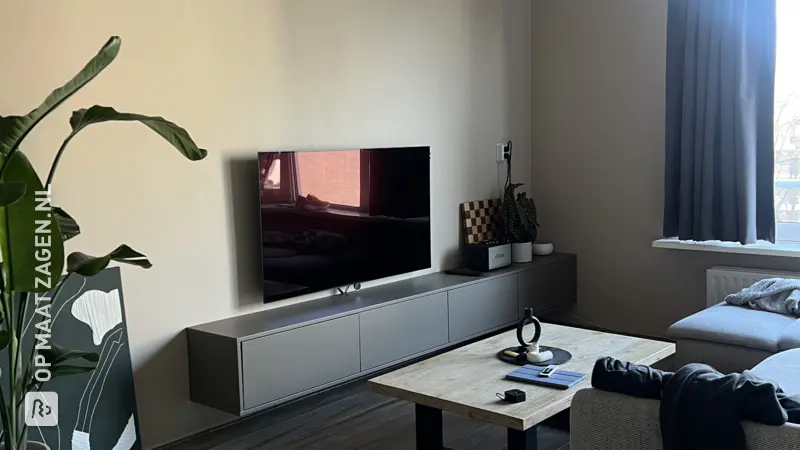
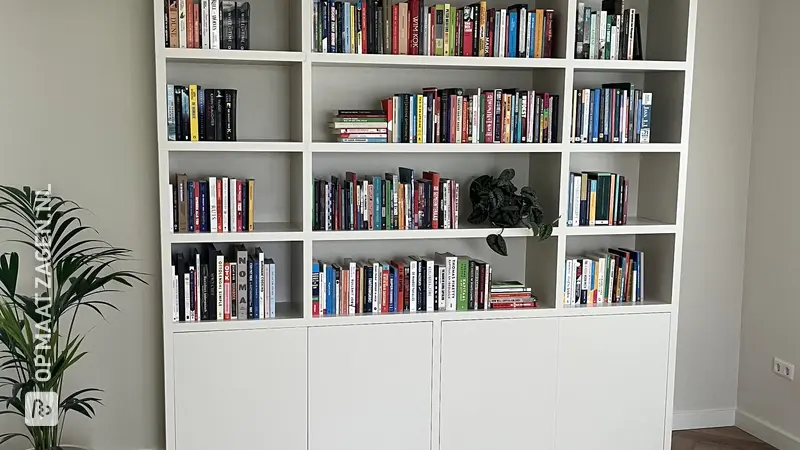
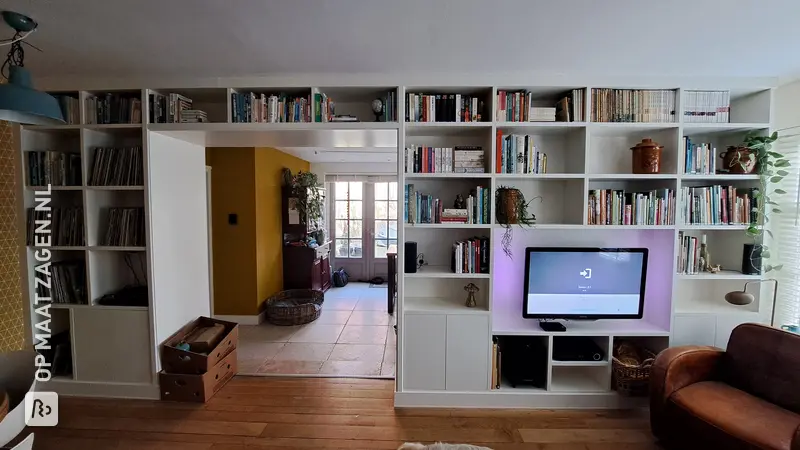
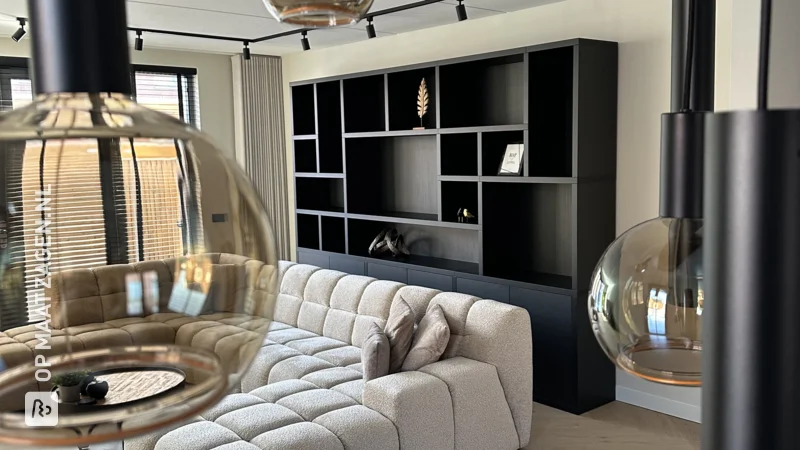
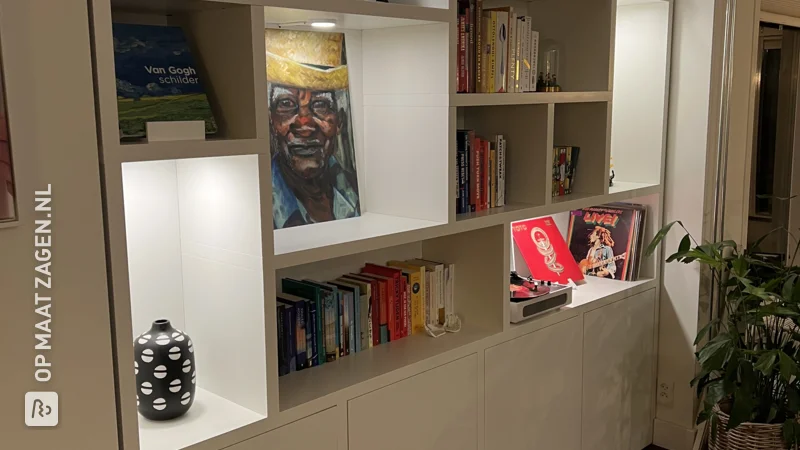
The end result is a modern yet timeless wall cabinet that blends seamlessly into the living room. The LED lighting brings the cabinet to life in the evening, atmospherically illuminating the contents. Sebastian's choice of sleek lines and natural materials reflects the style of the project: modern and natural.
Benefits of Walnut Carpentry Panel
Walnut Carpentry Panel is known for its solid structure and rich, warm color. This material is not only visually appealing, but also durable and stable, making it perfect for furniture projects like this wall cabinet. It adds a touch of luxury and creates a natural, warm atmosphere in any room.
Tip! Also check out our handy DIY tips!
Step by step guide
Preparation
- I came across the idea on Pinterest and wanted exactly this cabinet. There are sliding doors on the front with slats and they were completely concealed. This was still a challenge to find out how they had done this since I am not a professional. Cabinet eventually drawn in Sketchup to get a good idea of the dimensions. Then we ordered several samples and because it is an open wall cabinet, the quality of the wood must be good because everything is visible. In the end we ended up with walnut. After measuring everything properly, we placed the order. An important detail here was that the ceiling differs no less than 3 cm from left to right.
Montage
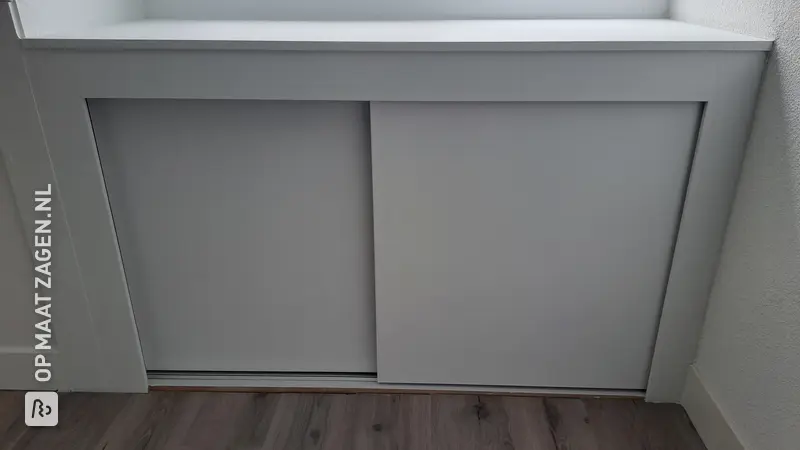
- The wood that came in was of course treated. So in order to be able to assemble everything, I had to measure everything to make the holes for the dowels in the right places. Then I made a long milling cutter on the back of each vertical plank. The profile for the LED strip was placed in this. I wanted everything to be concealed, so I also made a long vertical milling cutter to be able to guide the current upwards where all the LED strips are connected to the power supply. I also placed a Zigbee controller in between so that these could be operated in the living room via the Hue system. After all the holes had been made and all the LED strips attached. I also wanted to have sliding doors in it that could hang in front of each compartment, so I also had to make a small milling cutter on the top row of planks in which a profile was placed. I made a small notch in the vertical planks at the front so that the wheels on which the door hangs could also slide in between. You can hardly see it and the cabinet also becomes very practical. After everything was milled the cabinet could be assembled by gluing everything together with dowels and clamps. This had to be done per compartment because it is a huge cabinet (260 cm high) and therefore also nice heavy wood.
Finish
- The wood was untreated so I chose to apply a small layer of wax with pigment which gave it a nice slightly darker color. I did this just before the final assembly of course. Furthermore I tried to hide everything because it is an open cabinet so you see everything. That is why it was so important to go for the walnut wood because it gives a luxurious sleek look.
What now?
This is a project for inspiration. Because our assortment has changed, (some of) the products are no longer available.
View all sheet materials
My experience with OPMAATZAGEN.nl
Order
Delivery
General experience


