- OPMAATZAGEN.nl
- Do it yourself
- DIY Projects
DIY changing table on dresser: Practical baby changing mat by Daniel


Create this project yourself with sheet material cut to size by OPMAATZAGEN.nl!
Daniel
Very easy
2 minutes
DIY Changing Table on Dresser: An Inspiration
Are you looking for a unique changing table for your baby? Daniel shows us how you can create a custom changing table on a dresser with a simple DIY project that is not only practical but also a visual eye-catcher.
material selection and preparation
Daniel chose Multiplex Waterproof B/BB 15 mm wood from OPMAATZAGEN.nl for this project. This high-quality wood is perfect for furniture that is used frequently and needs to be easy to maintain.
The structure of the changing table
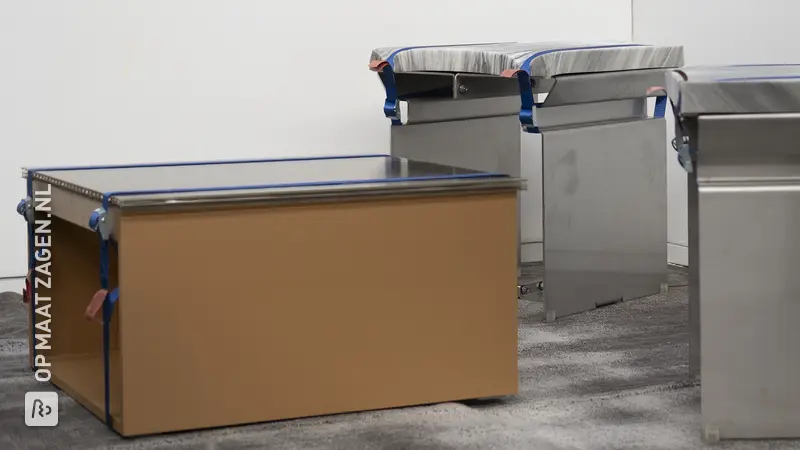
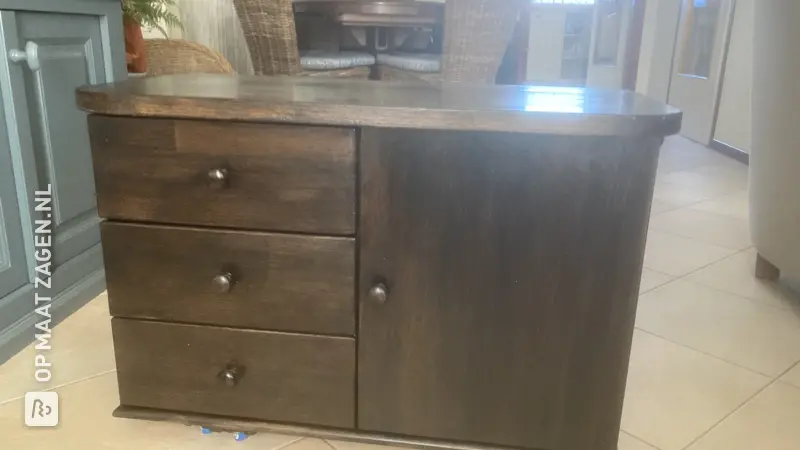
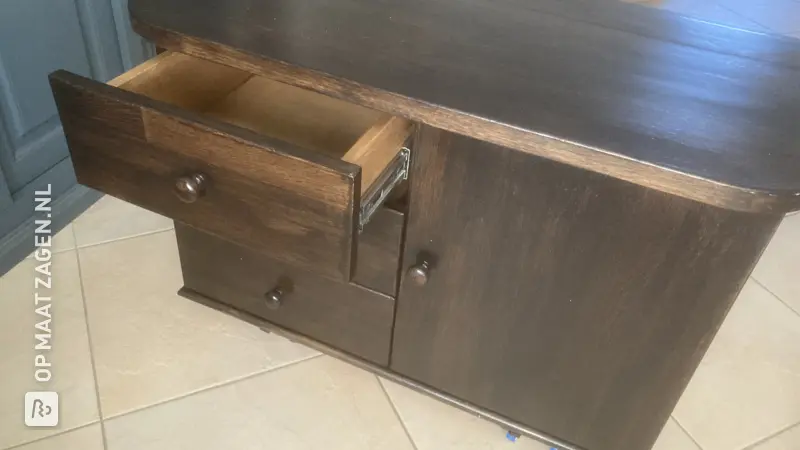
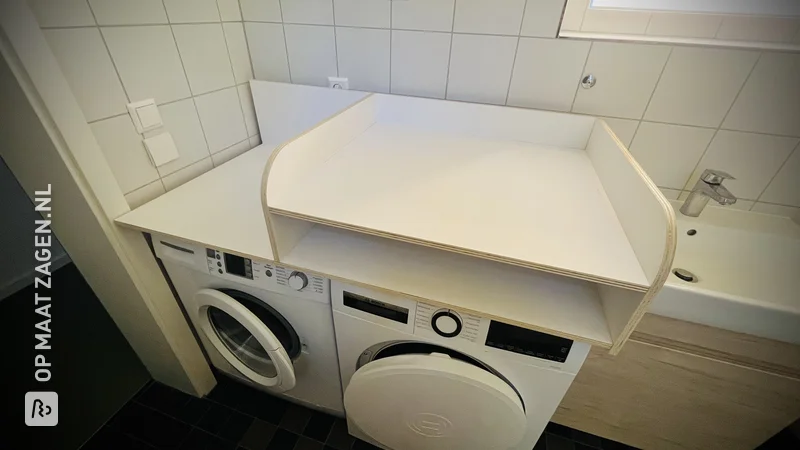
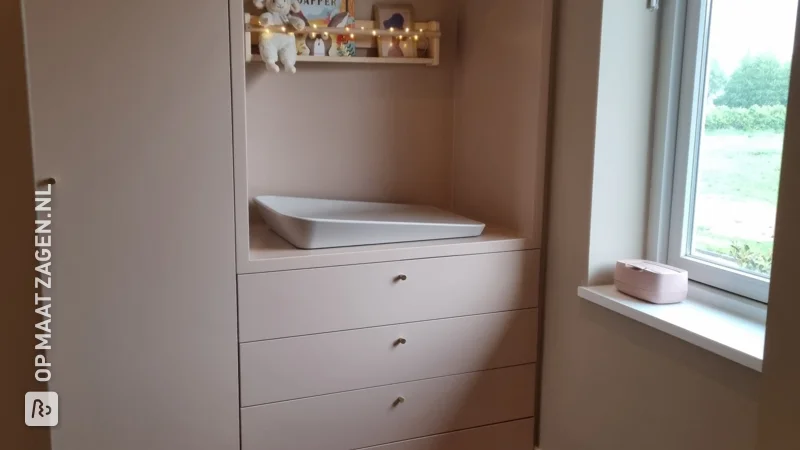
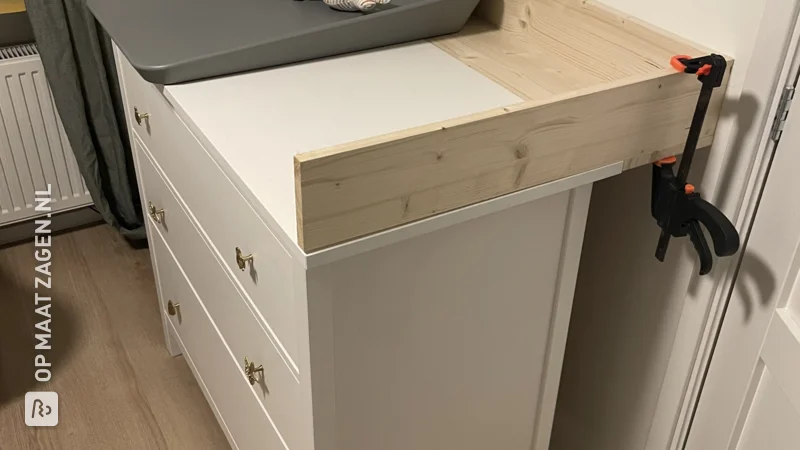
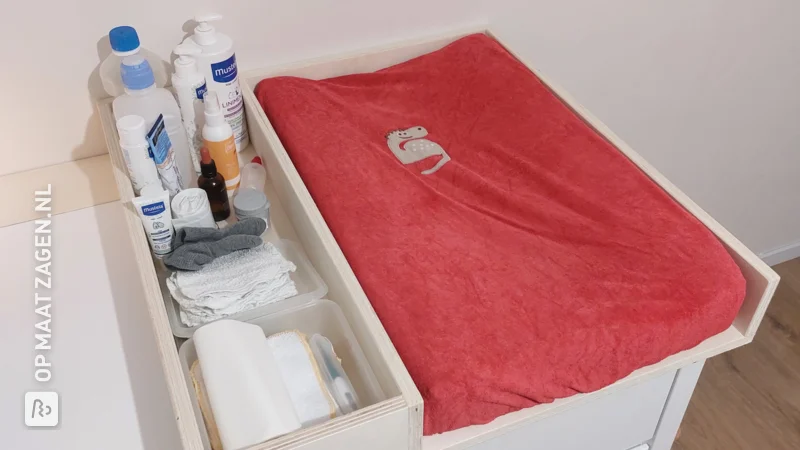
The basis for this inspiring baby room project is a sturdy cupboard. Side barriers ensure additional safety for the baby during changing.
adaptation to the room
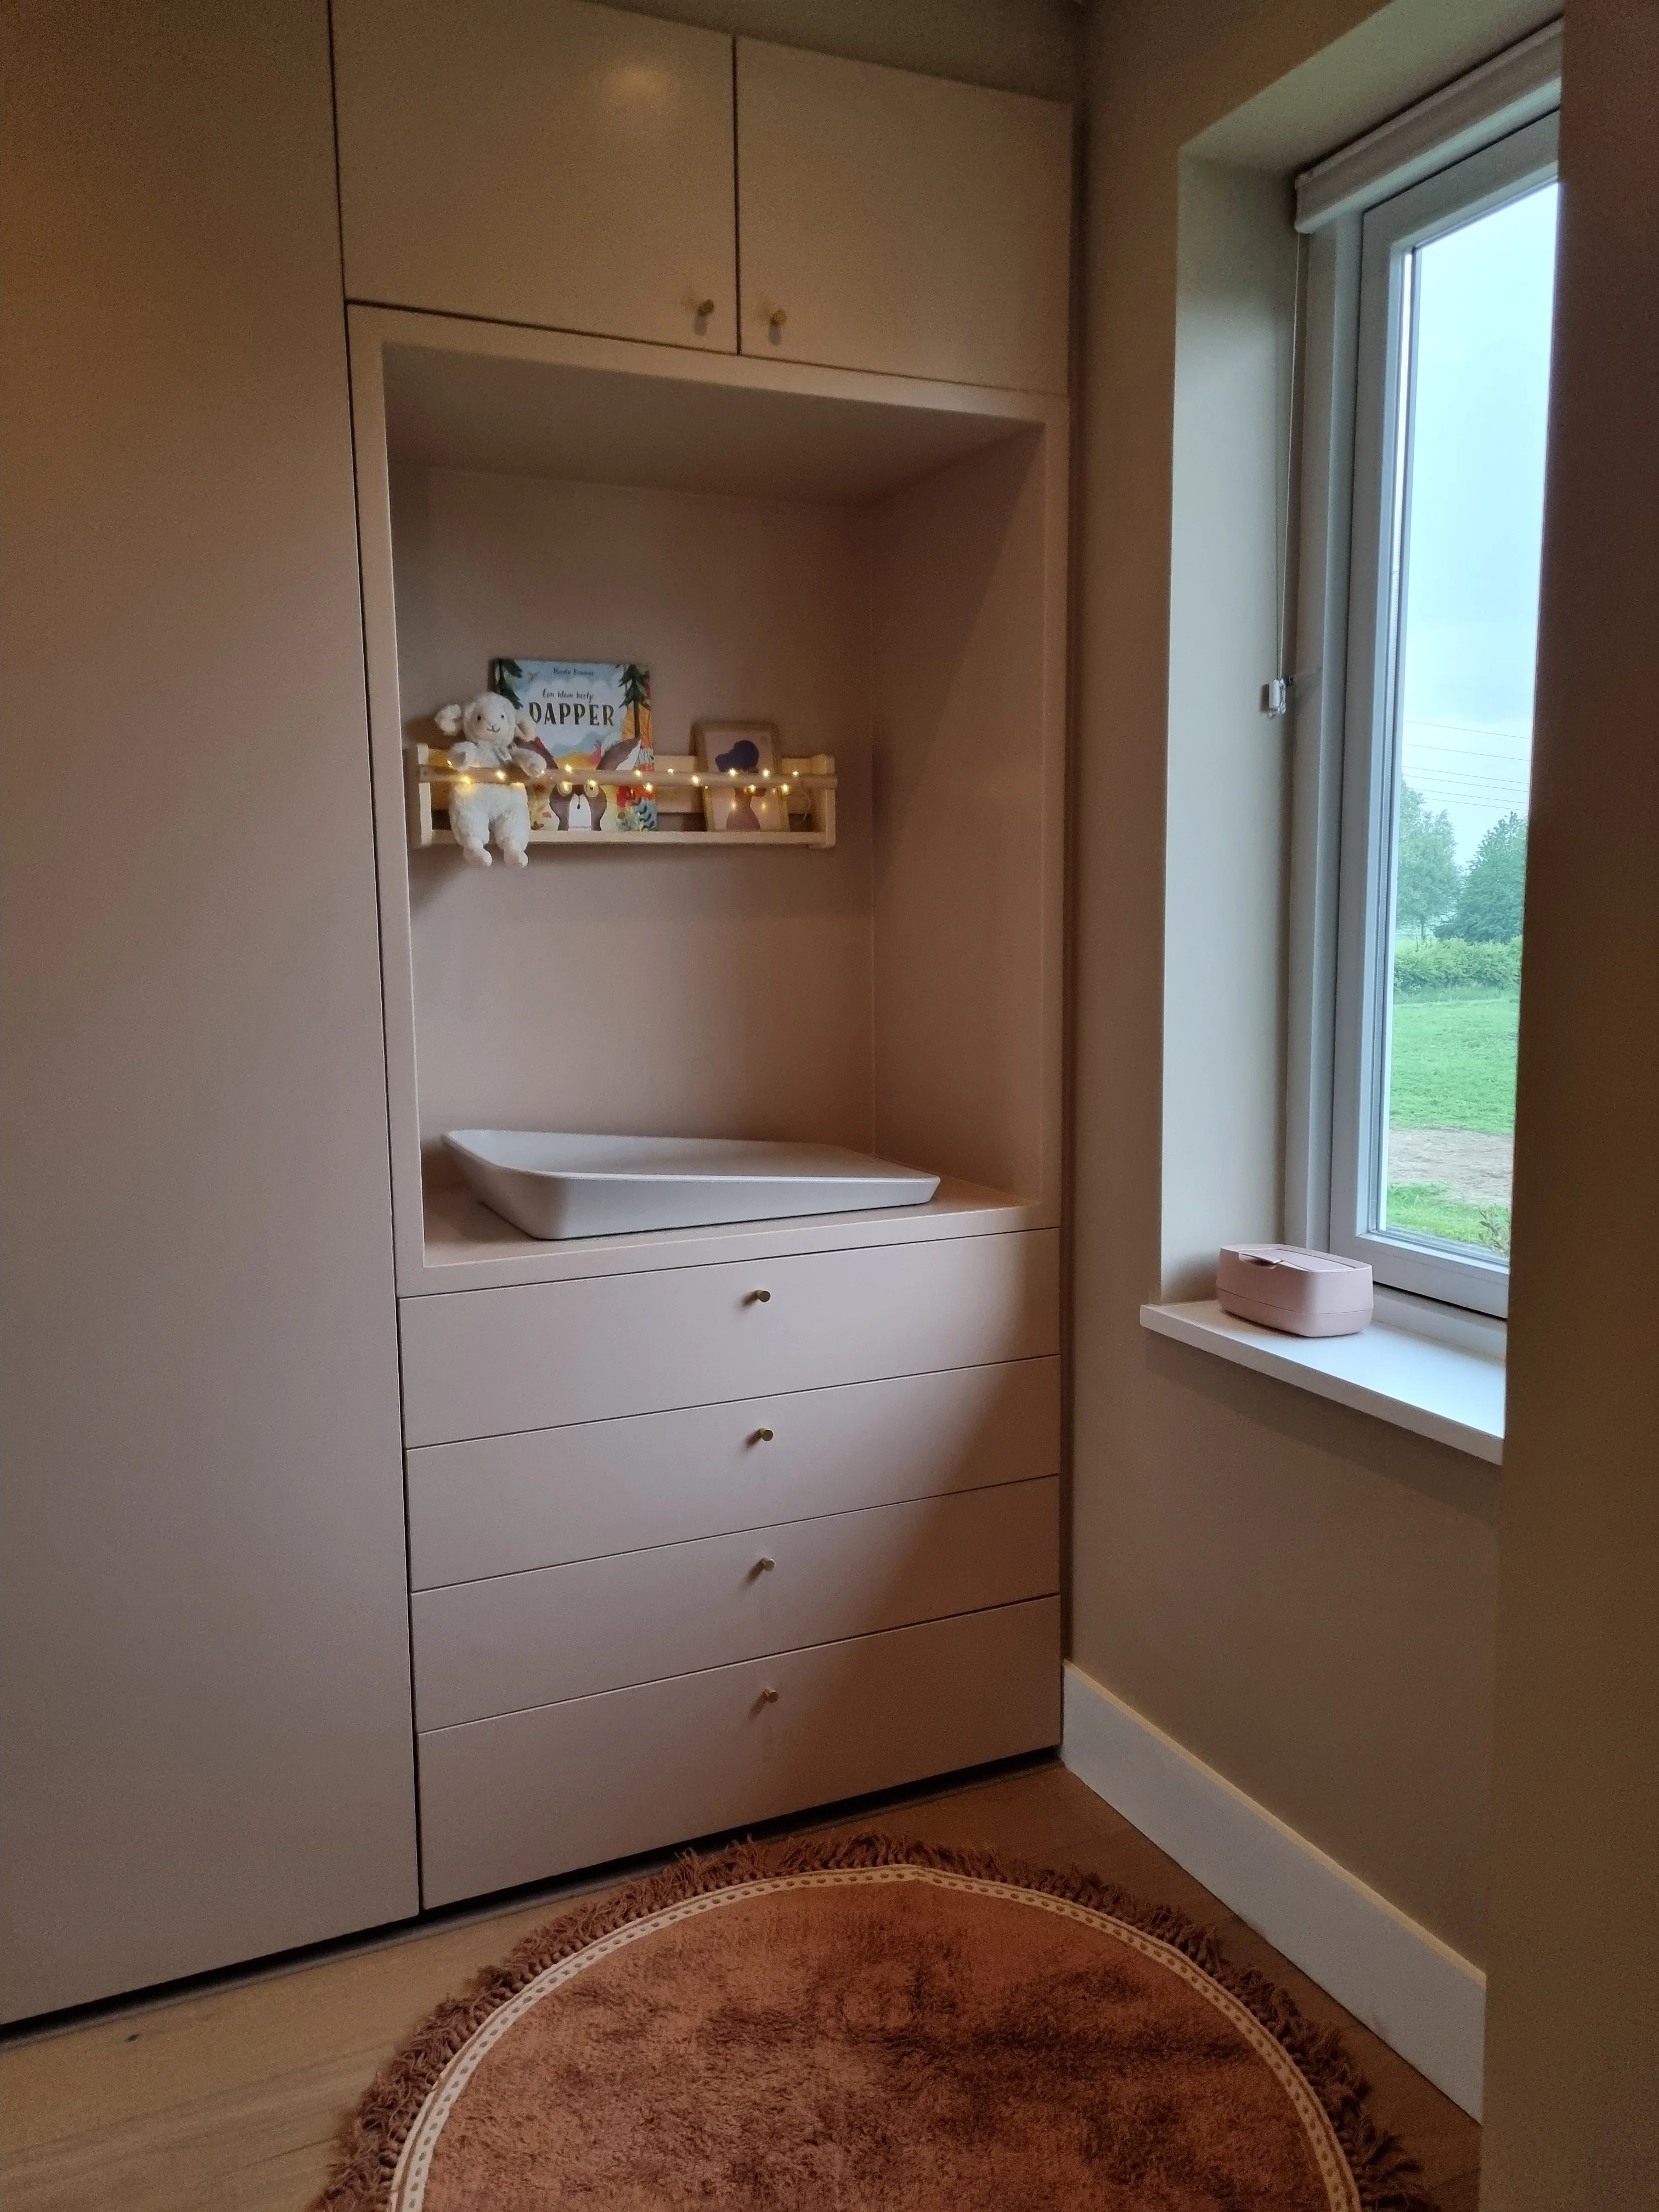
The homemade changing table shines in a warm wood tone that goes perfectly with the other furniture in the room and creates a cozy atmosphere in the children's room. The rounded shape of the dresser and the soft colors of the wooden panels ensure a harmonious overall picture.
flexibility and budget
This DIY project offers many advantages over purchased changing tables. Custom-made ones allow for a perfect fit for the space available. In addition, the choice of material allows for a personal touch and consideration of the budget.
style and design of the changing table
Daniel's changing table features a modern, rustic design. The combination of natural wood and clean lines gives the room a modern touch without appearing cold or impersonal.
Advantages of Multiplex Wood
Multiplex Waterproof B/BB is a versatile material that is ideal for furniture that needs to be highly resilient and long-lasting. The wood's layered gluing ensures stability and water resistance, making it ideal for intensive use in a baby's room.
Tip! Also check out our handy DIY tips!
Step by step guide
Preparation
- Measuring the maximum width of the changing table, as it had to fit into a niche. My wife decided on the number and positioning of the side compartments. Diaper packs and the changing mat were available for measuring.
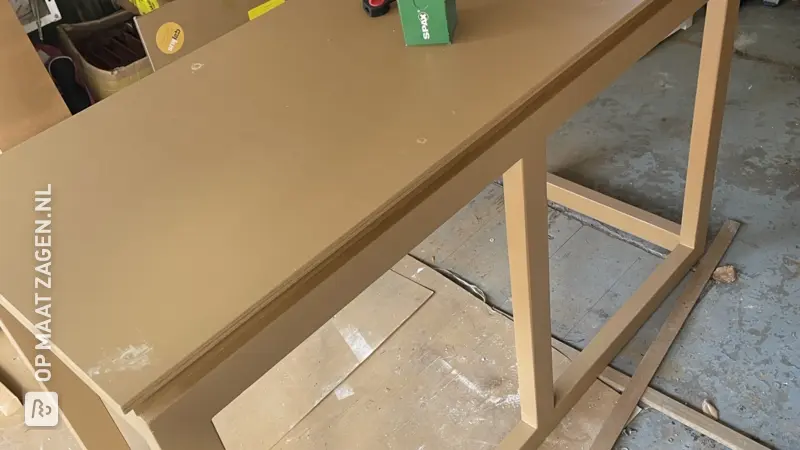
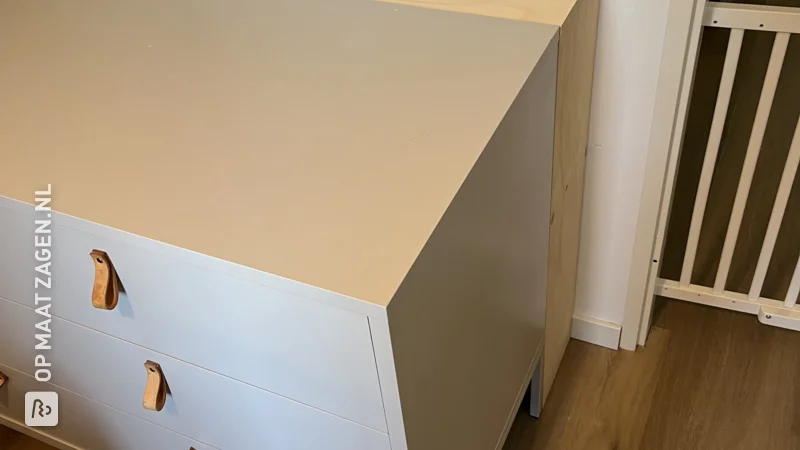
- The usual changing mats for dressers do not have a continuous base board, as the top of the cabinet is also the floor and there is only a narrow extension board at the front. Due to the curved front of the carpenter's dresser, it was not possible to buy something like that, so we built it ourselves with a full base plate.
Montage
- I once sanded the boards really smooth with a 240 grit orbital sander, but this was mostly only necessary on the edges, as the surfaces are already very smooth. I also wanted the front corners to be rounded.
- It was screwed together using 3.5x45 screws from underneath the base plate and one or two from the side, so 90% of the screws are not visible. The narrowest wooden strip is mounted underneath the base plate so that it hooks behind the dresser and prevents the changing mat from slipping forward.
Finish
- Due to the waterproof design of the wooden panel, no further finishing with varnish or similar was required; the natural wood fits very well.
What now?
Want to make this DIY project? Check out Daniel's saw list and complete your order easily.
€ 109,56
All materials used
View all sheet materials
My experience with OPMAATZAGEN.nl

